


A garden brick wall does not have to look stern, bare, or unfinished. With greenery, lighting, and a few well chosen additions, it can become a warm backdrop that stays put when the wind picks up.
If your garden brick wall looks acceptable in theory but dull, severe, or strangely incomplete in real life, you are not alone. Brick can become one broad slab of builder leftover once the plants die back, the patio furniture shifts aside, and the sun lands on it all day.
Garden brick walls often seem harsh because they create a large, uninterrupted stretch of one color and texture. Without anything to catch the eye, the whole surface can feel easy to overlook.
The answer is usually decoration rather than an expensive renovation. Add layers of greenery and lighting, then bring in one strong focal point so the wall reads as a backdrop instead of a boundary.
A few thoughtful changes can make the wall feel intentional while still working with your available sunlight, budget, and comfort level with drilling. The goal is a smarter setup, not a complete overhaul.
The ideas ahead cover vertical garden choices, nighttime lighting and projection, outdoor-safe brick wall decor, and paint treatments that remain relatively easy to change if a permanent color feels risky.
Garden Wall Decoration
- Because the wall gets full sun, a trellis can support a climbing rose or jasmine. Add 2 uplights beneath it to show off the plants after dark.
- A wall planter can hold both a fern and heuchera when the wall is in shade. Add warm string lights around the planter for a softer evening detail.
- A freestanding grid can hold a hanging pot without being attached to the wall. If you rent and cannot drill, add solar lights to the setup.
- Large wall art can create a quick focal point when combined with 2 uplights.
Garden Wall Decoration Decision Table for 3 Goals
| Goal | Best Idea | Cost | Difficulty | Time |
|---|---|---|---|---|
| Soften wall | A trellis supports a vine. | $40-$150 | Easy to medium | Weekend |
| Night glow | Uplight | $30-$150 | Easy | 1-2 hours |
| No-drill solution | Use brick clips or choose a freestanding panel. | $20-$120 | Easy | 1 hour |
| Major makeover | Choose between limewash and paint. | $60-$200 | Medium | Weekend+ |
Choose one direction and execute it thoroughly, then add 1 supporting layer to avoid clutter in the garden.
Wall Preparation
- Brush the wall while the brick is dry, because brick retains a lot of dust. A dry surface makes it easier to remove the dust before mounting.
- After cleaning the wall, let it dry completely. If it is grimy, wash it with plain water and a stiff brush.
- Remove all loose or flaking material before mounting so the surface is stable.
- Brush off any white, powdery spots, then let the wall dry completely.
- Choose the mounting zones before installation. Mortar joints are usually suitable for mounting.
- If using an adhesive mounting method, test the adhesive on a small spot and wait 1day.
- Plan for planter drainage before installation, since poor drainage can cause mystery stains.
Brick Wall Softening
A brick wall can be a uniform-colored, uniform-textured large plane that feels harsh while displaying its surface details.
The wall displays color variation as well as its mortar joints and wall stains. Those joints and stains remain part of what you see.
In full sun, a brick wall can look intense, while the same wall in shade can look blank. The lighting changes how much the wall stands out.
Greenery placed before the brick wall adds one layer, while lighting changes the wall’s night appearance. For a fast fix, select 2 or more layers and include a focal element with intentional placement.
Stand in the seating location before buying anything for the wall. This shows what the decoration will look like from where you sit.
Identify the primary viewing location first, because the wall can feel as though it is staring at you when its main decoration is placed elsewhere. Put the main decoration at that viewing location, whether it is a coffee spot, grill spot, or retreat spot, and use other elements as support.
Photograph the wall before decorating it so the photo provides a progress record.
Vertical Garden Options for a Brick Wall
A wall with greenery can read as more layered and softer. Vertical greenery adds movement and breaks up wall flatness, and the plants do not need to be blooming.
On a small patio, vertical greenery uses vertical space and reduces the need for floor pots. The plants move upward instead of taking up as much floor area.
Plant Selection for Sun Versus Shade
For full sun, a climbing rose makes a strong visual statement, while star jasmine adds fragrance as well as a climbing form. Trailing lantana is tough and suits a wall where it can fall downward, and ivy geranium provides spillover as it grows beyond its container and hangs over the planting. Succulents also suit full sun when planted in pockets with great drainage; place them in pockets rather than in spots that hold water.
Ferns suit shade and add softness where the wall receives less direct light. Heuchera grows in shade and brings color through its foliage, while hostas suit shade but may be a poor choice if slugs are a persistent problem. Coleus is fast-growing and bright in shade, so its color can fill the planting area quickly. Trailing creeping jenny works in shade, while forgiving lamium can trail from a shaded wall planting.
Wall-Mounted Planter

A wall-mounted planter can hold herbs, trailing plants, and pops of color while adding depth without taking up floor space. Its shape can also reflect the style of the space, with modern and cottage forms offering different looks.
A staggered arrangement gives greenery room to spread across the wall, with plants growing downward from each row. Wall-mounted planters can work in sun or shade, depending on the plant, while a freestanding panel can provide a rental-friendly option for small patios and narrow yards. Maintenance is moderate: small soil volumes dry quickly, so the plants need regular attention.
Individual wall-mounted planters typically cost $15-$60 each, while a planter set usually runs from $60-$180. Drainage matters because standing water can swamp roots and leave stains on brick, so make sure the planters have drainage.
Trellis for Climbing Plants
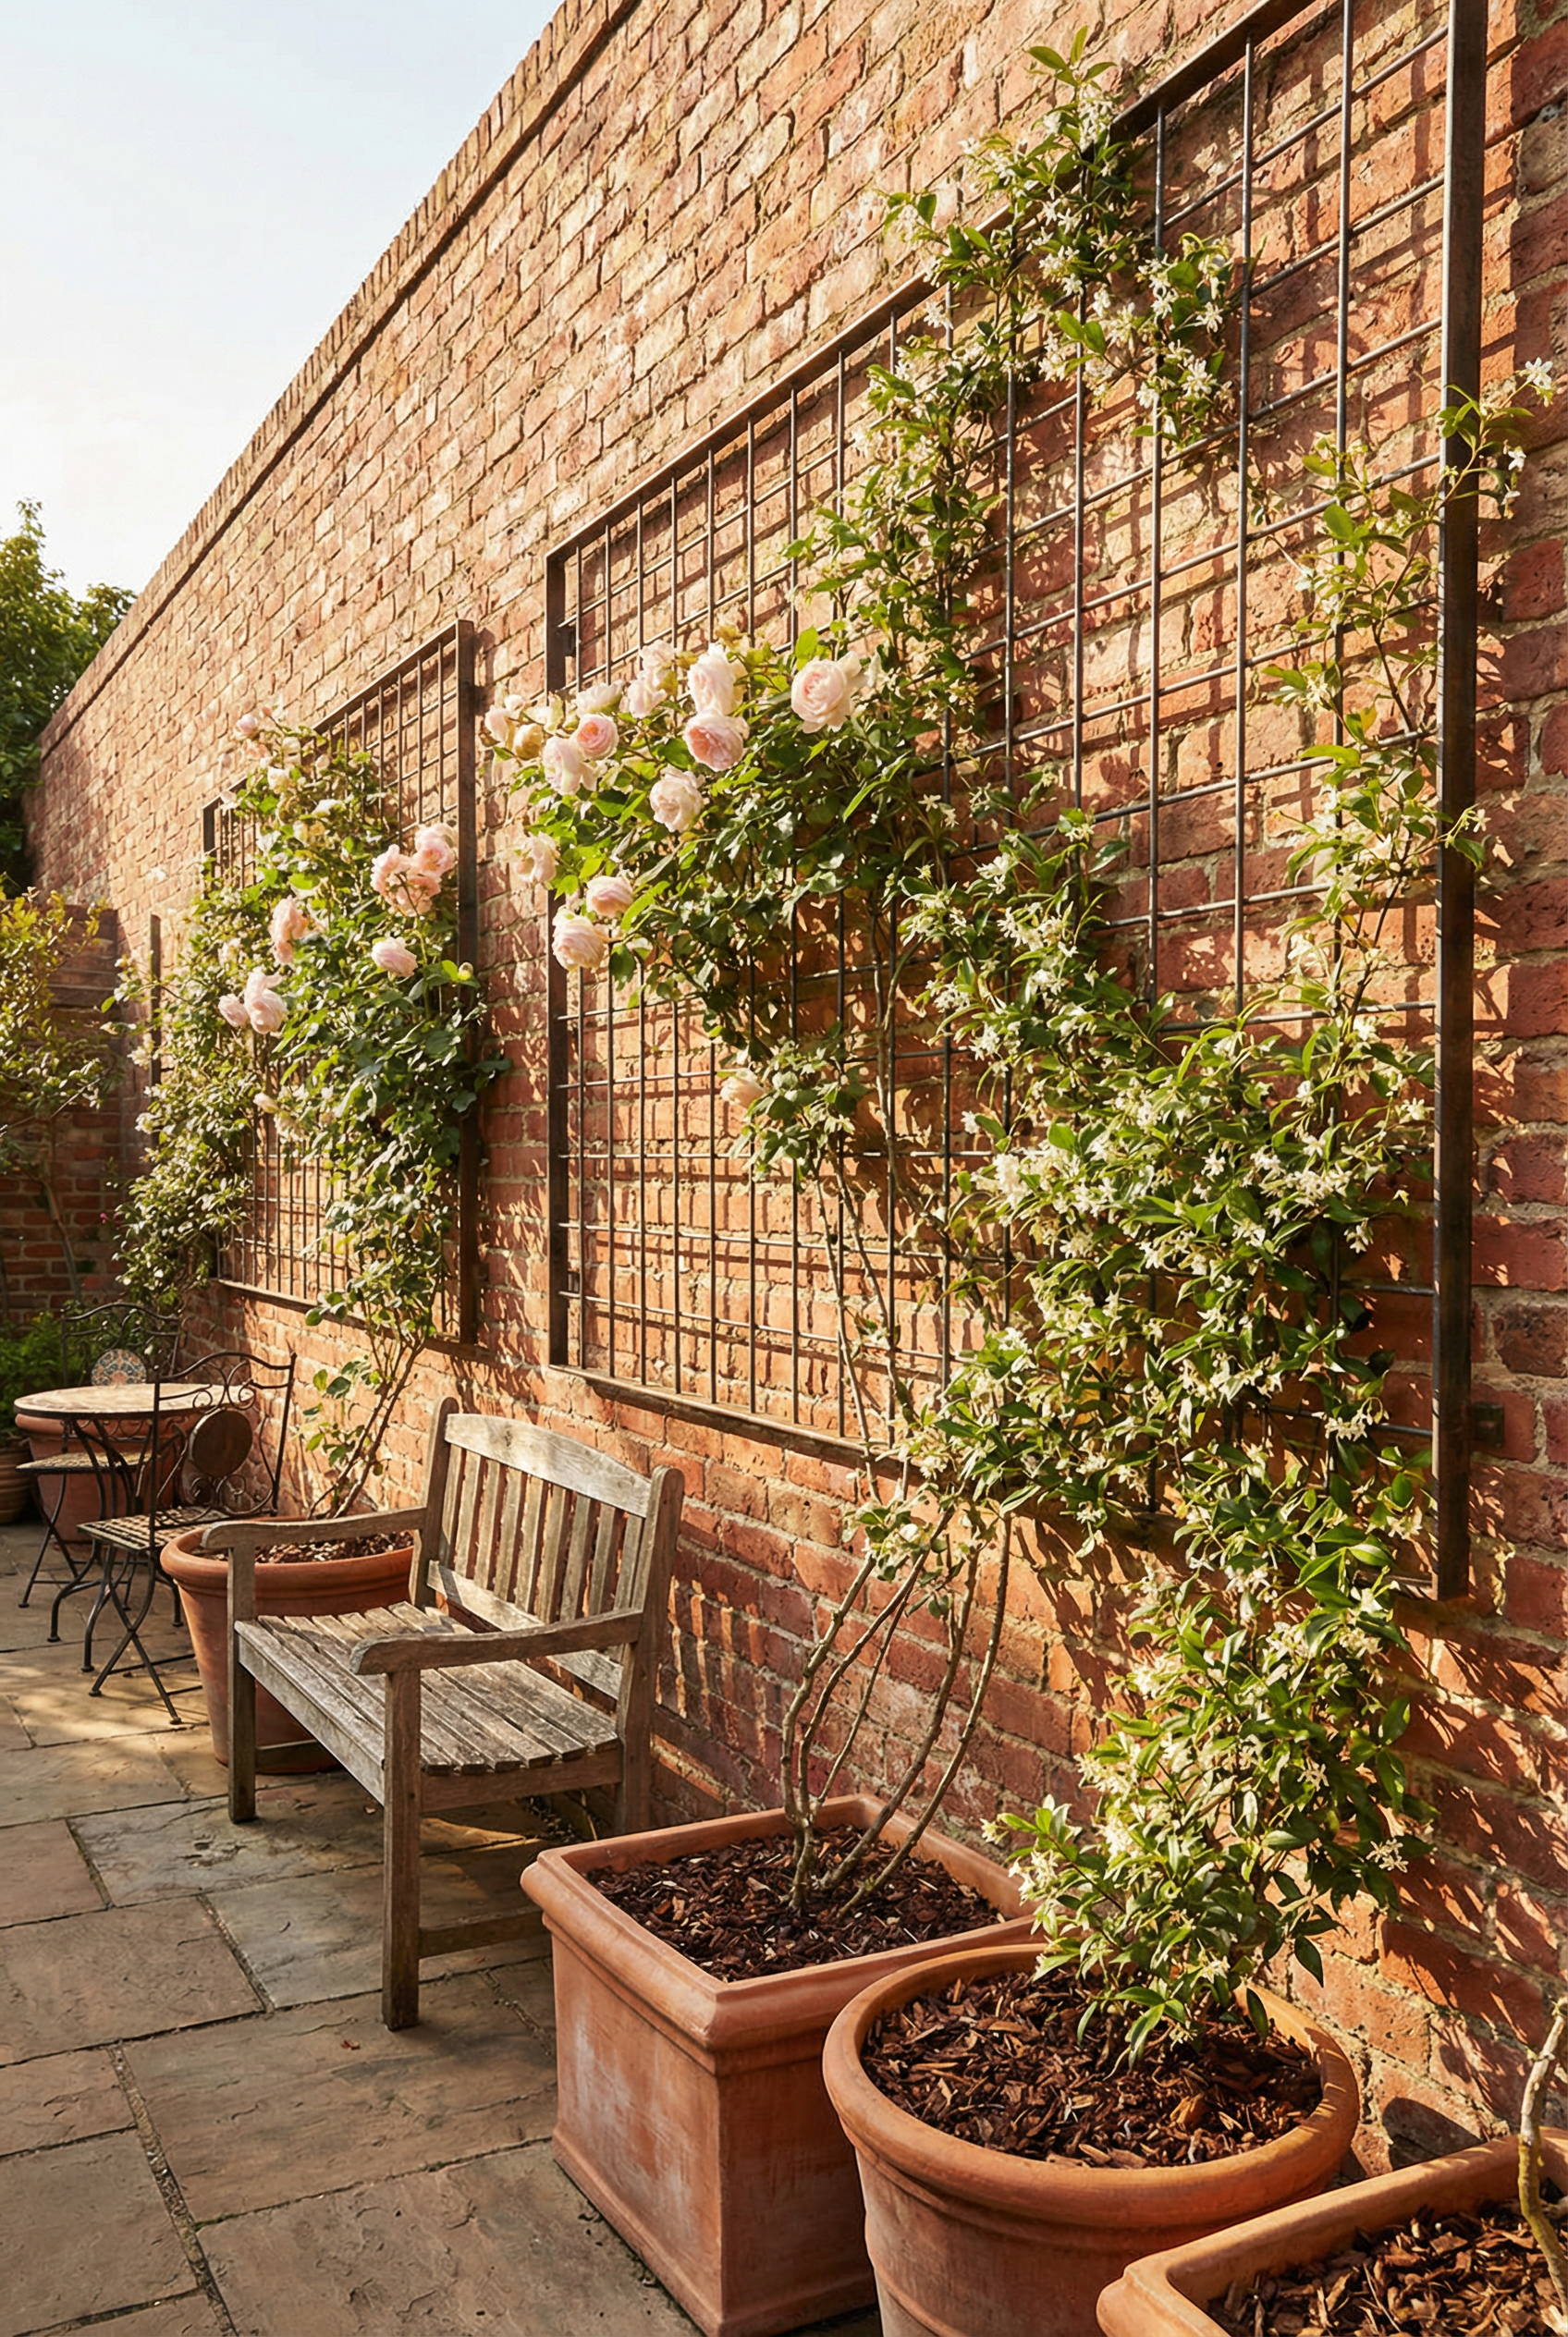
A trellis covered with vines can soften a wall and turn brick into a garden backdrop. Its vertical lines combine with leaf shapes and changing shadows, while a grid or lattice lets vines weave through the structure and gradually cover the brick. This arrangement can create a romantic garden look, especially on larger walls in full sun.
Maintenance can range from low to high, depending on the vine and how much pruning it needs. A typical trellis costs $25 to $120, while large metal trellises in the premium category can cost $200 or more; climbing rose starters and jasmine starters each cost about $20 to $50. Leave an air gap between the trellis and the wall instead of mounting it flat so the wall can dry and you have room to tuck in the vine.
DIY Trellis Air Gap
Choose a trellis size that suits the area, ensuring that it fills at least one-third of that space. Use painter’s tape to mark the drilling points rather than estimating, and check that the trellis is aligned against the brick before drilling. Step back 8 to 15 feet for a final visual check. Plan for a 1/2-1 inch gap behind the trellis to keep it off the wall and leave room for the vine; use washers or small wood blocks as spacers to create that gap.
When possible, drill into the mortar joints rather than the brick face. Secure the trellis with masonry screws and choose anchors based on its weight. After mounting it, give it a gentle tug to make sure it is secure.
Tie the vine loosely so it has room to grow, and train it weekly during the first season. Water the base of the plant rather than the wall, and avoid watering the wall.
Modular System for a Living Wall
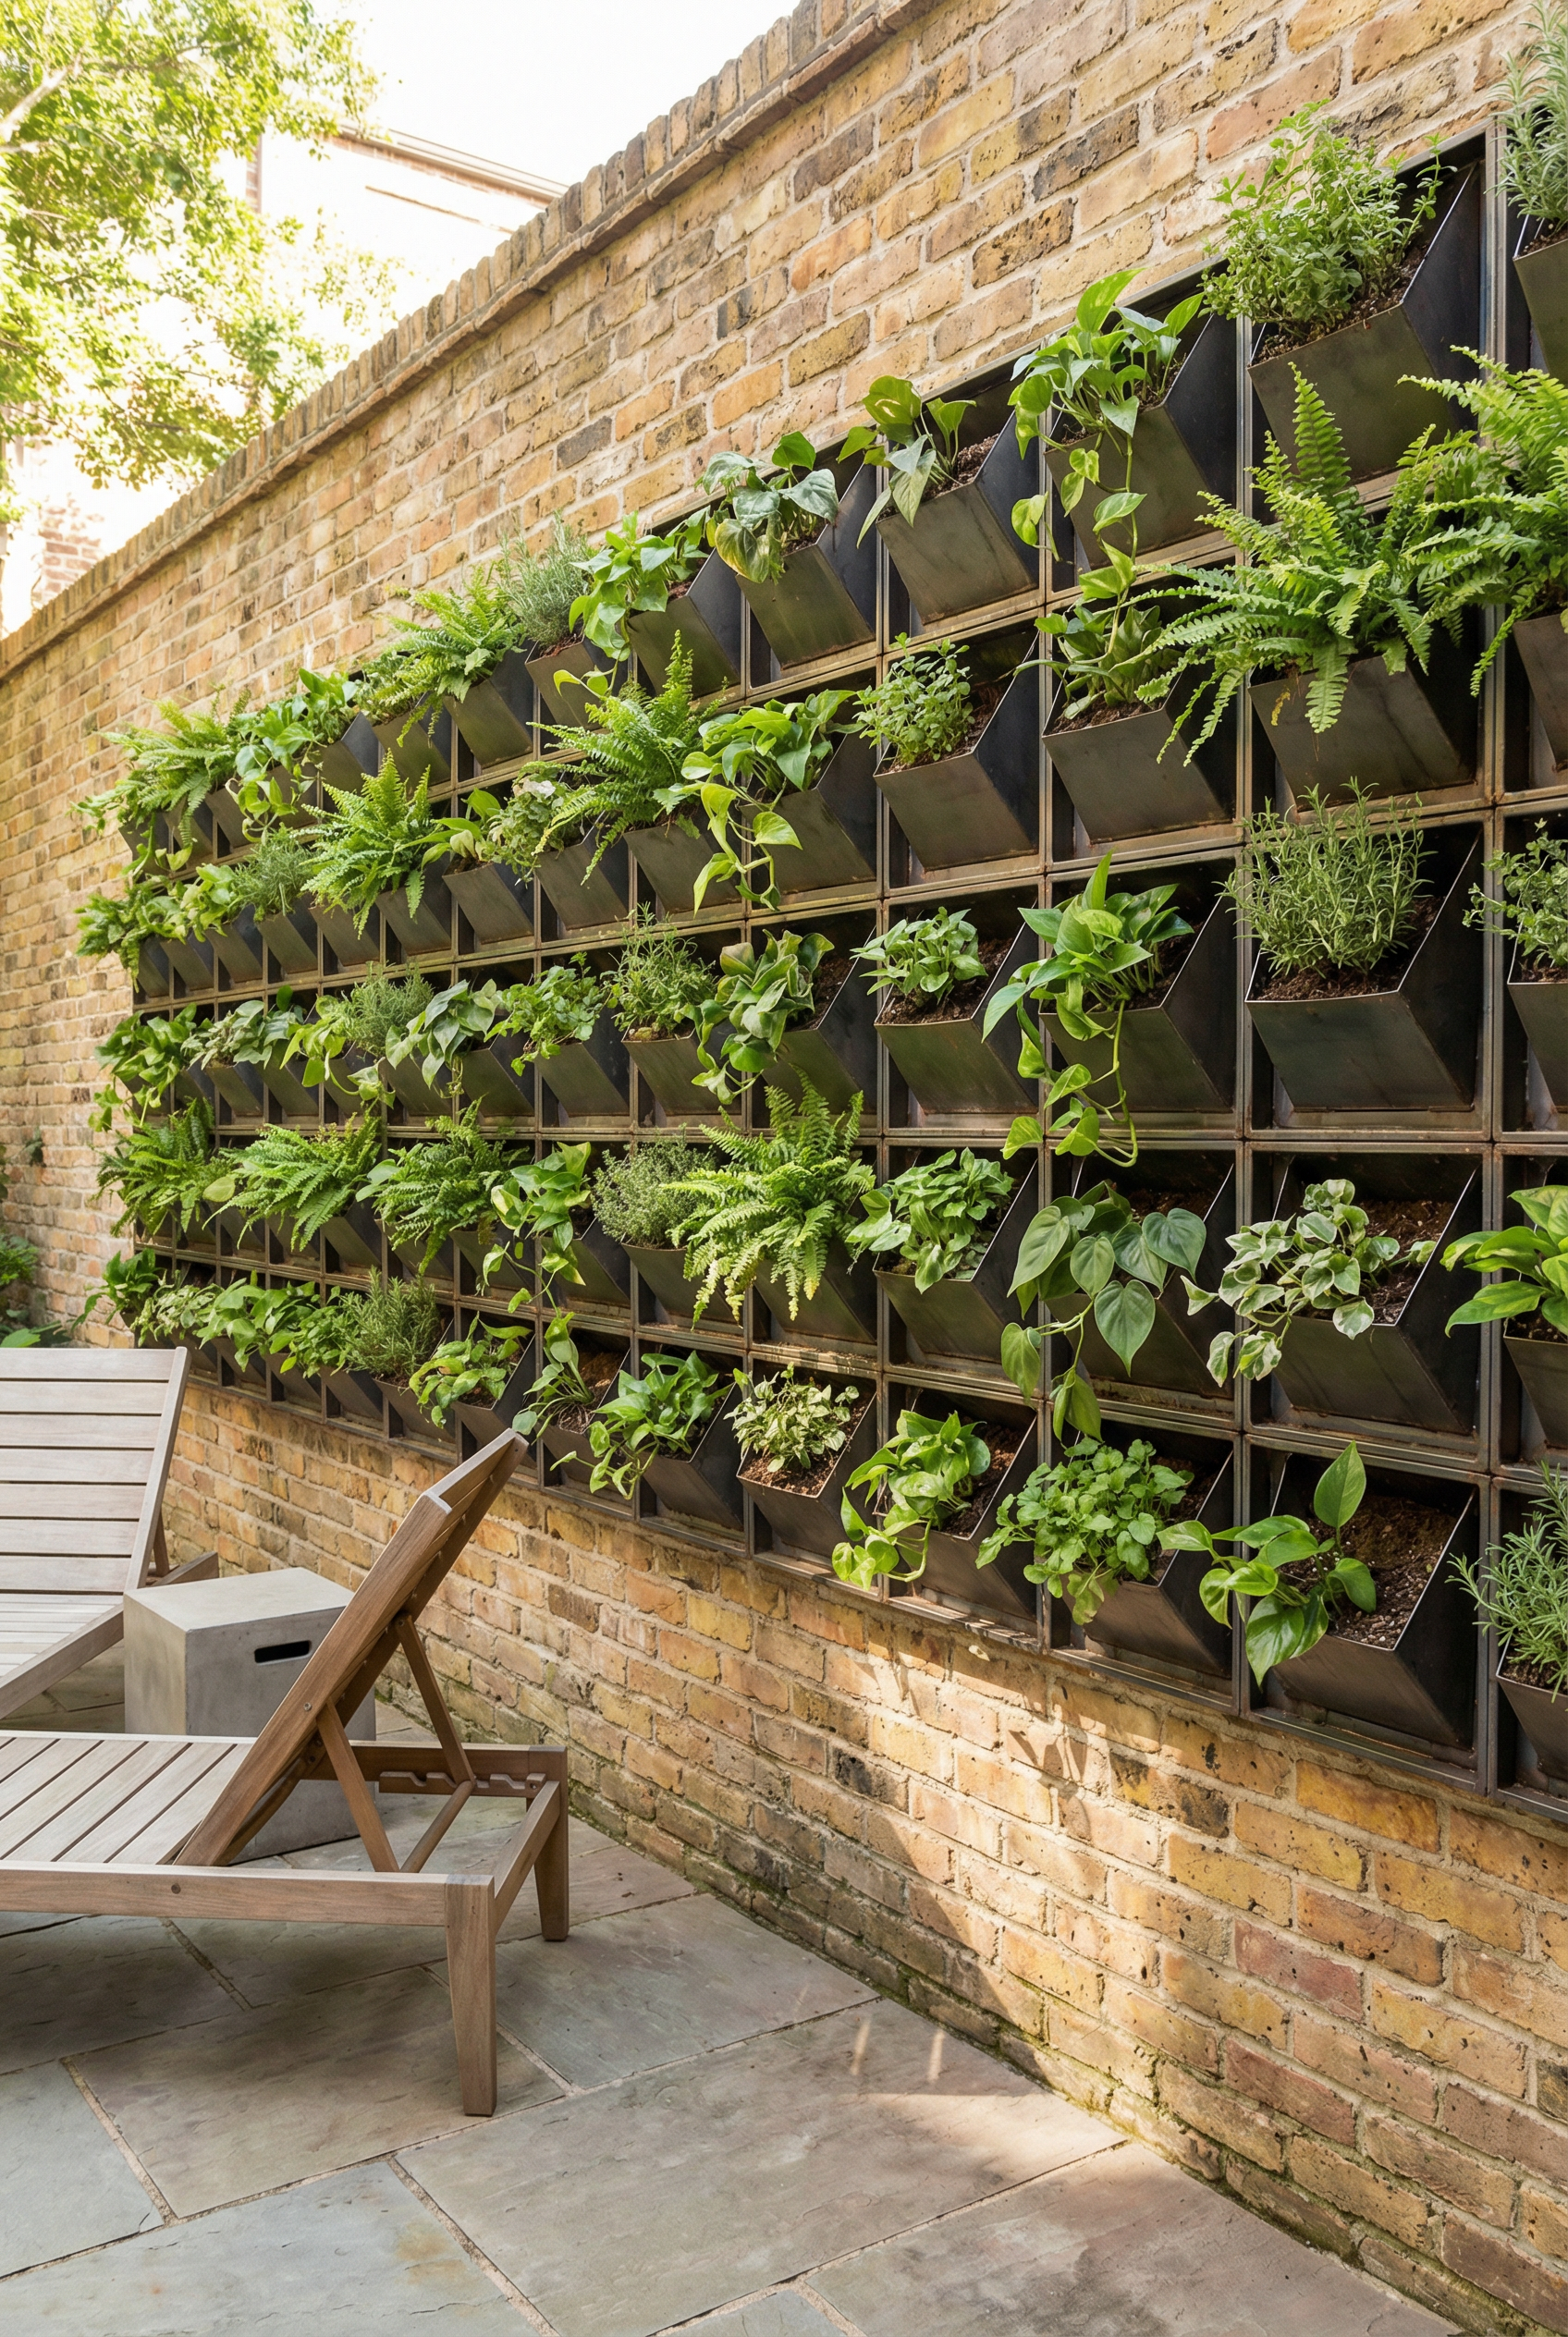
Start with easy plants during the first season, using a modular living wall system with swappable plants for a modern green feature wall. These systems start at $80-$250, while a large premium living wall system costs $300+. Keep in mind that small pockets dry fast.
Faux Greenery
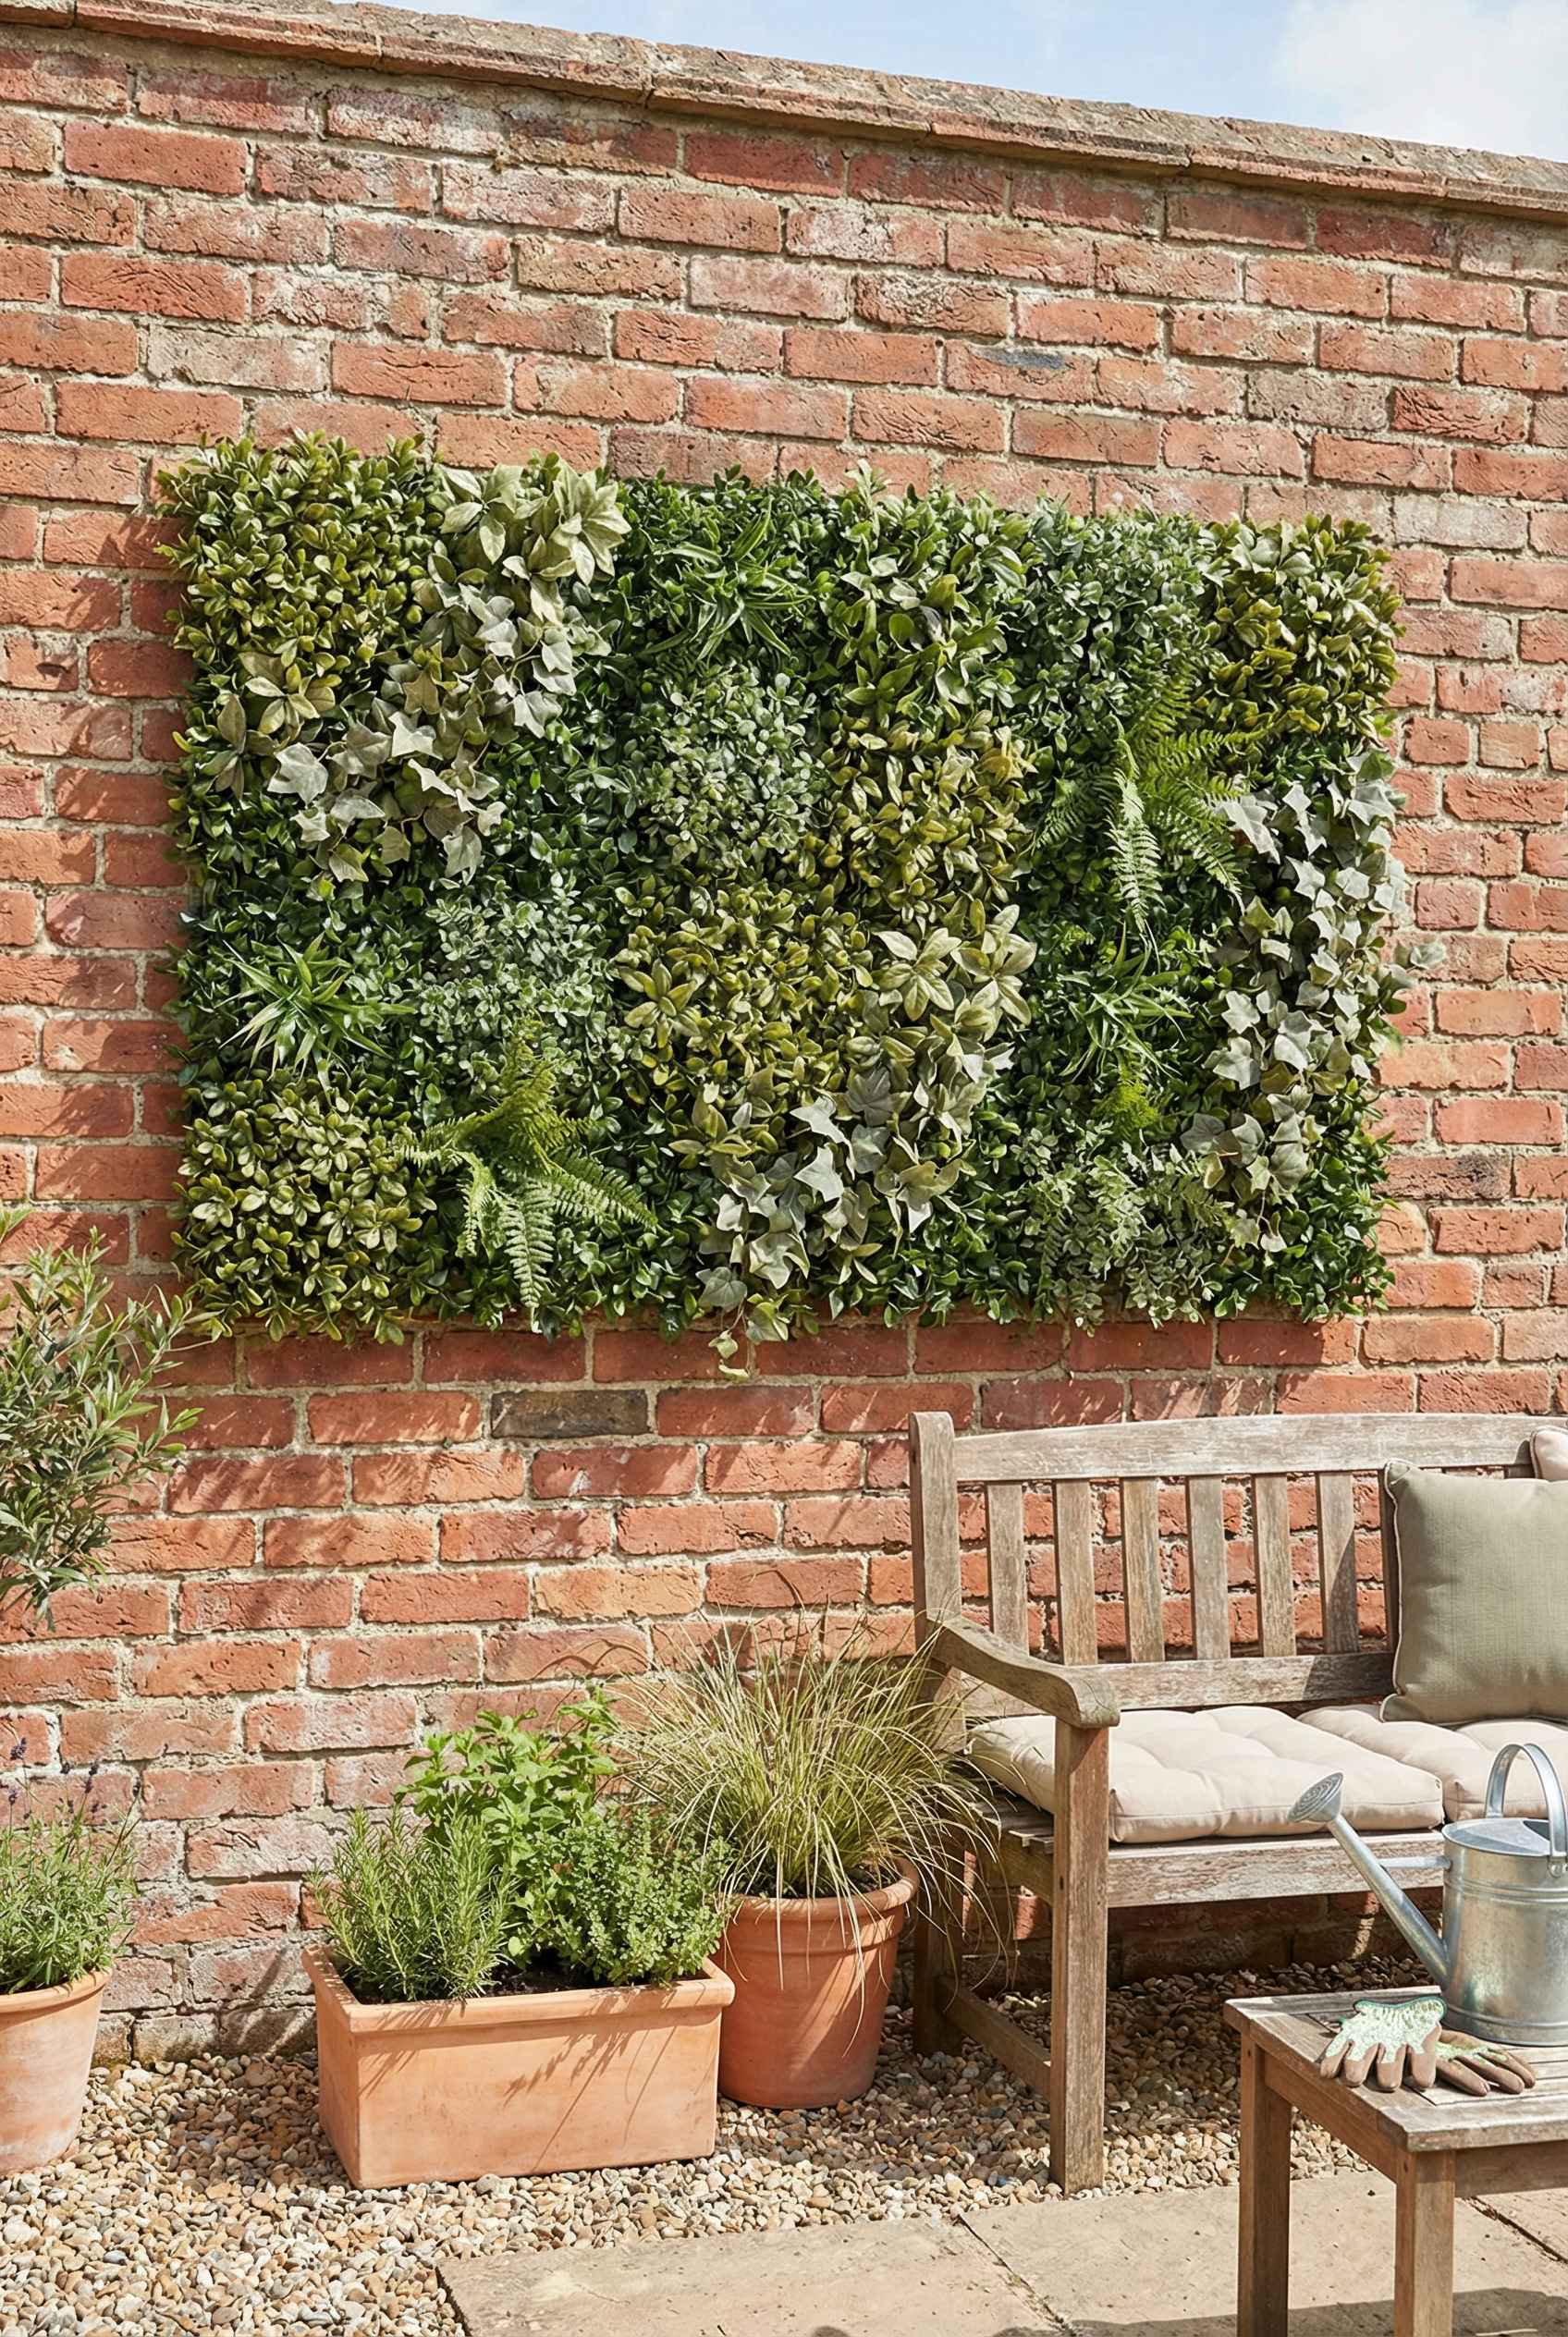
For rentals, frequent travel, brutal sun, or infrequent watering, faux greenery costs about $40-$120 per panel. Before buying enough for a full wall, test one panel outdoors for a couple of weeks. UV-rated faux greenery in the premium category costs $150+.
Nighttime Brick Lighting
Brick has texture, and lighting can dramatically change how its color, pattern, and surface appear at night. Daylight reveals the brick’s color and pattern, while nighttime lighting can reveal its depth.
Light that grazes across the brick surface emphasizes its texture, while incorrect lighting can flatten it and make the wall resemble a parking garage. Soft wall washing is one option, and light placement matters more than the fixture type. Lighting can create outdoor ambiance without rebuilding, while surface-skimming light gives the wall a dramatic effect.
Café String Lights
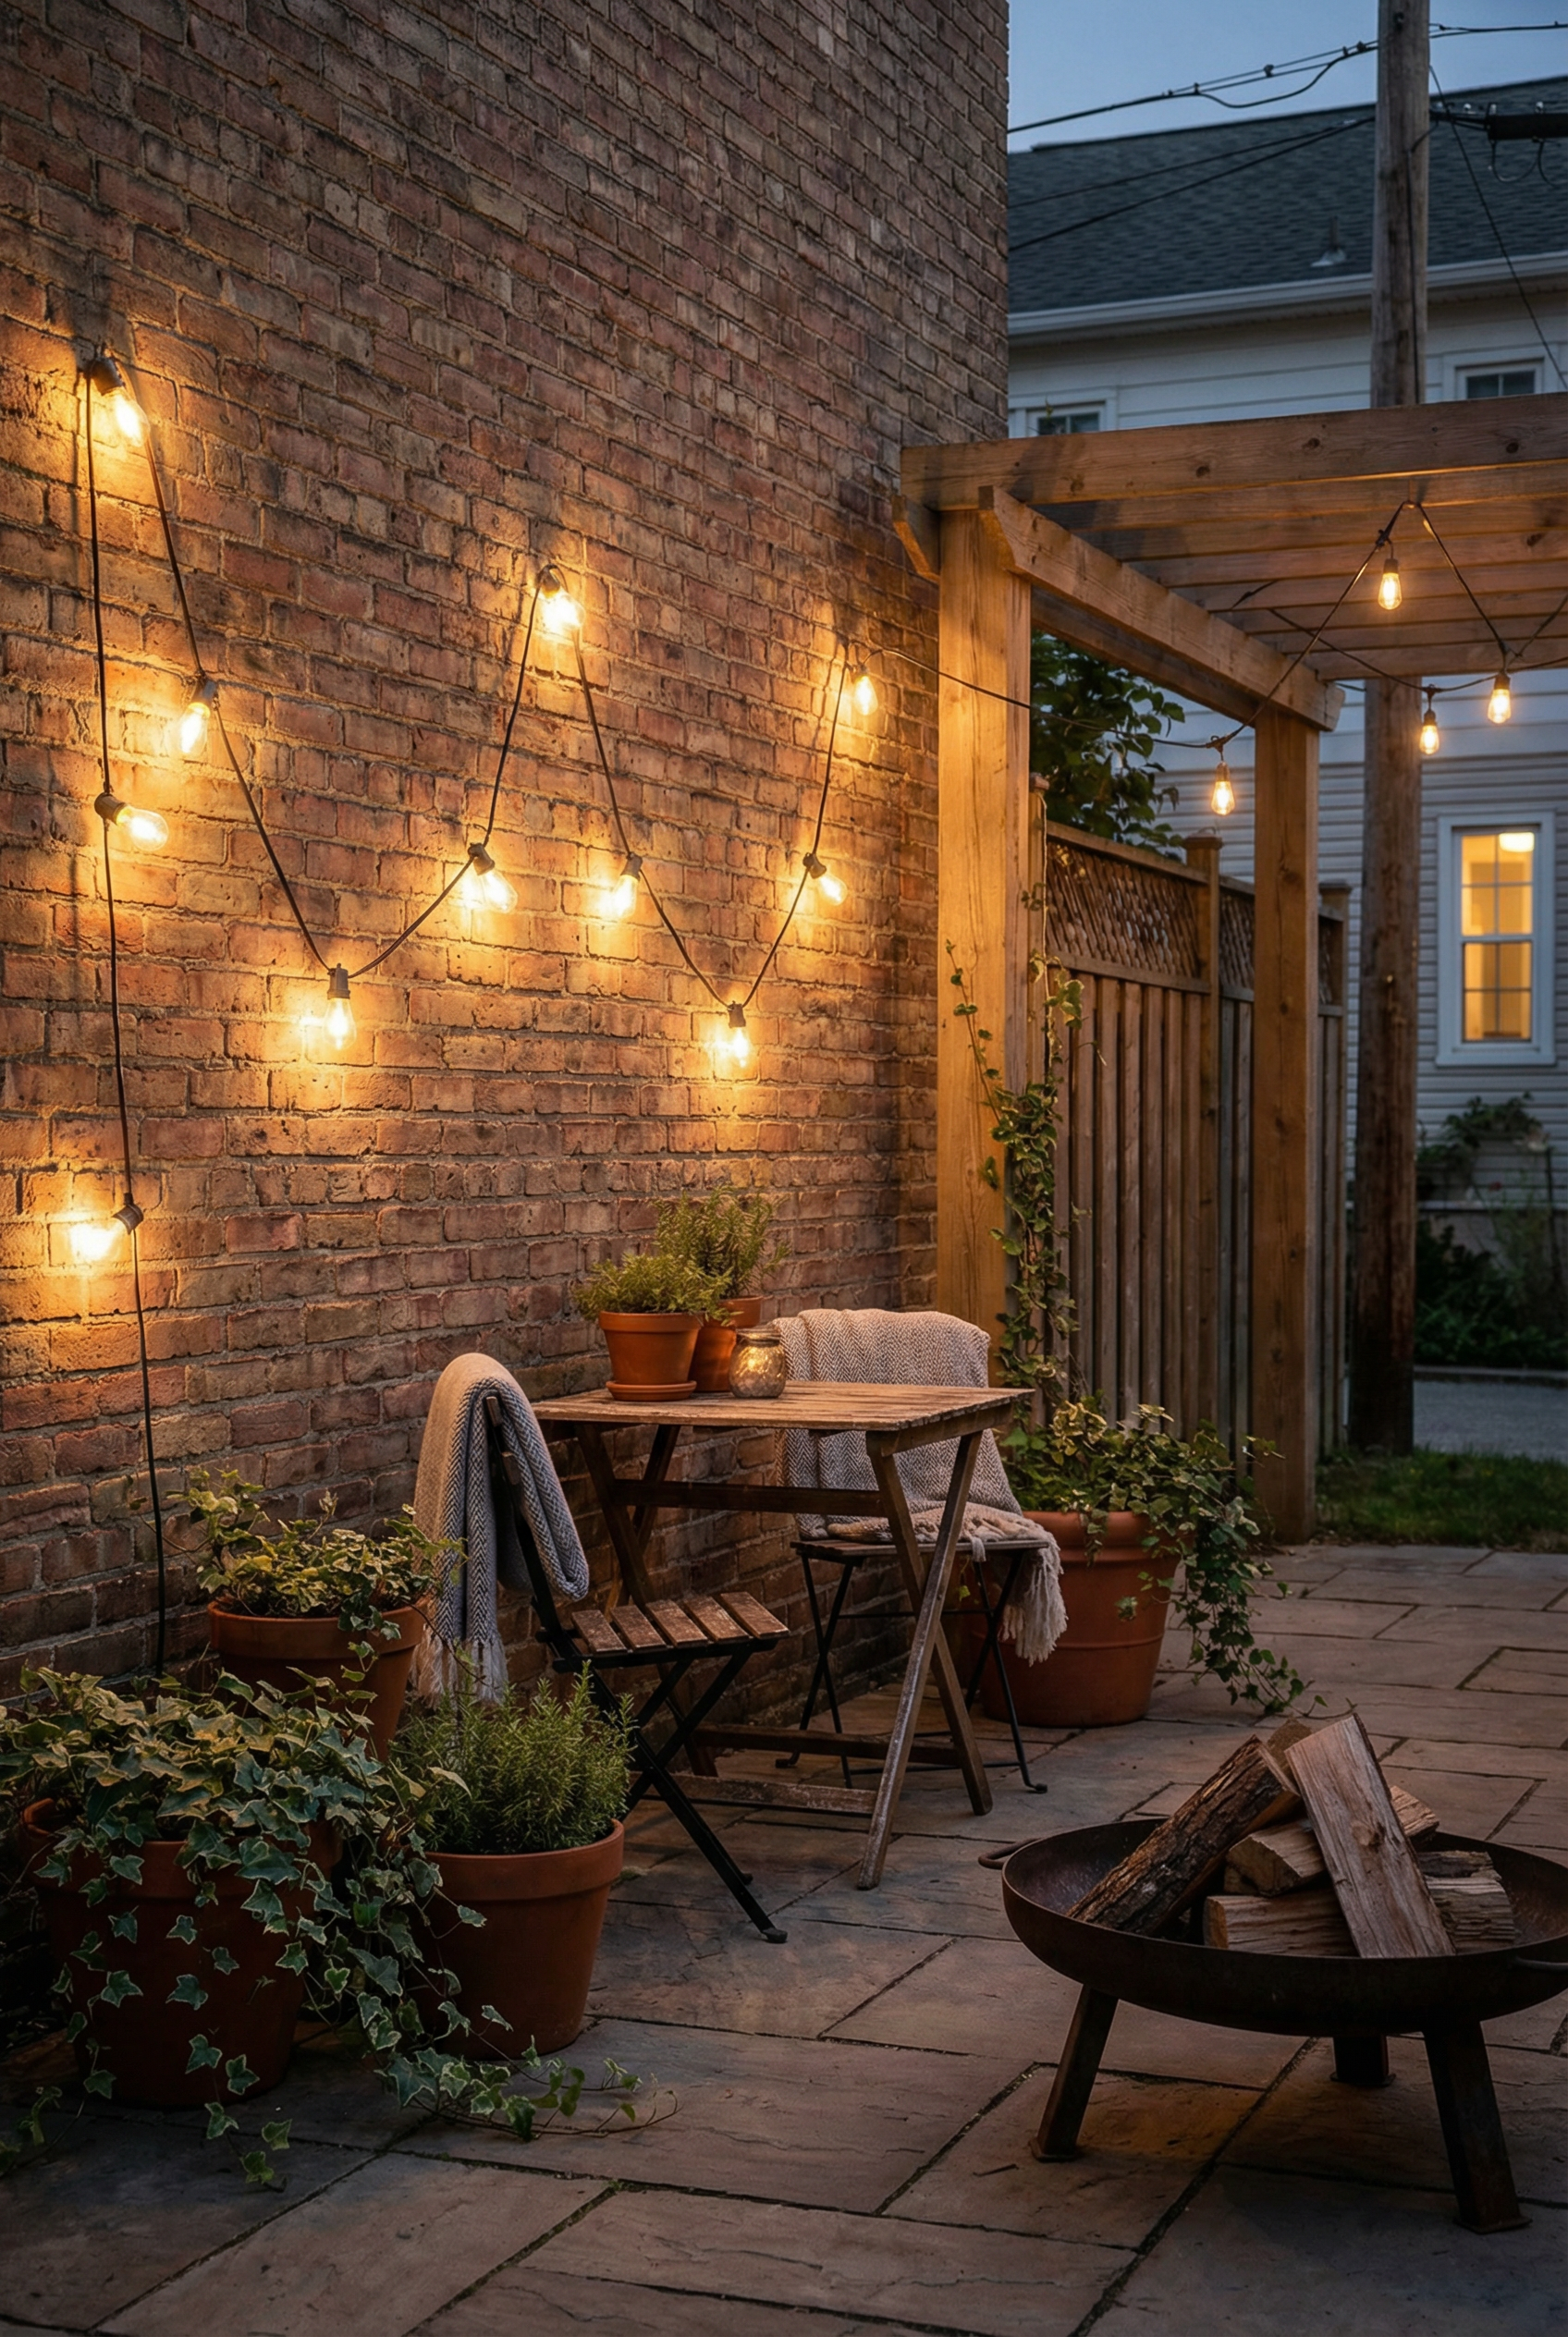
Over a seating area, string lights can run in a zigzag from the house to a wall and then from the wall to a pole, keeping the lights connected across the space. They create a cozy mood that supports a casual atmosphere and makes it easier to linger outdoors. Across a brick wall, they can soften the texture and reduce the drama of the shadows. String lights can use either a plug-in power source or solar power. They typically cost $25-$120 in the US, while premium options cost $150+.
Wall Sconce Lighting
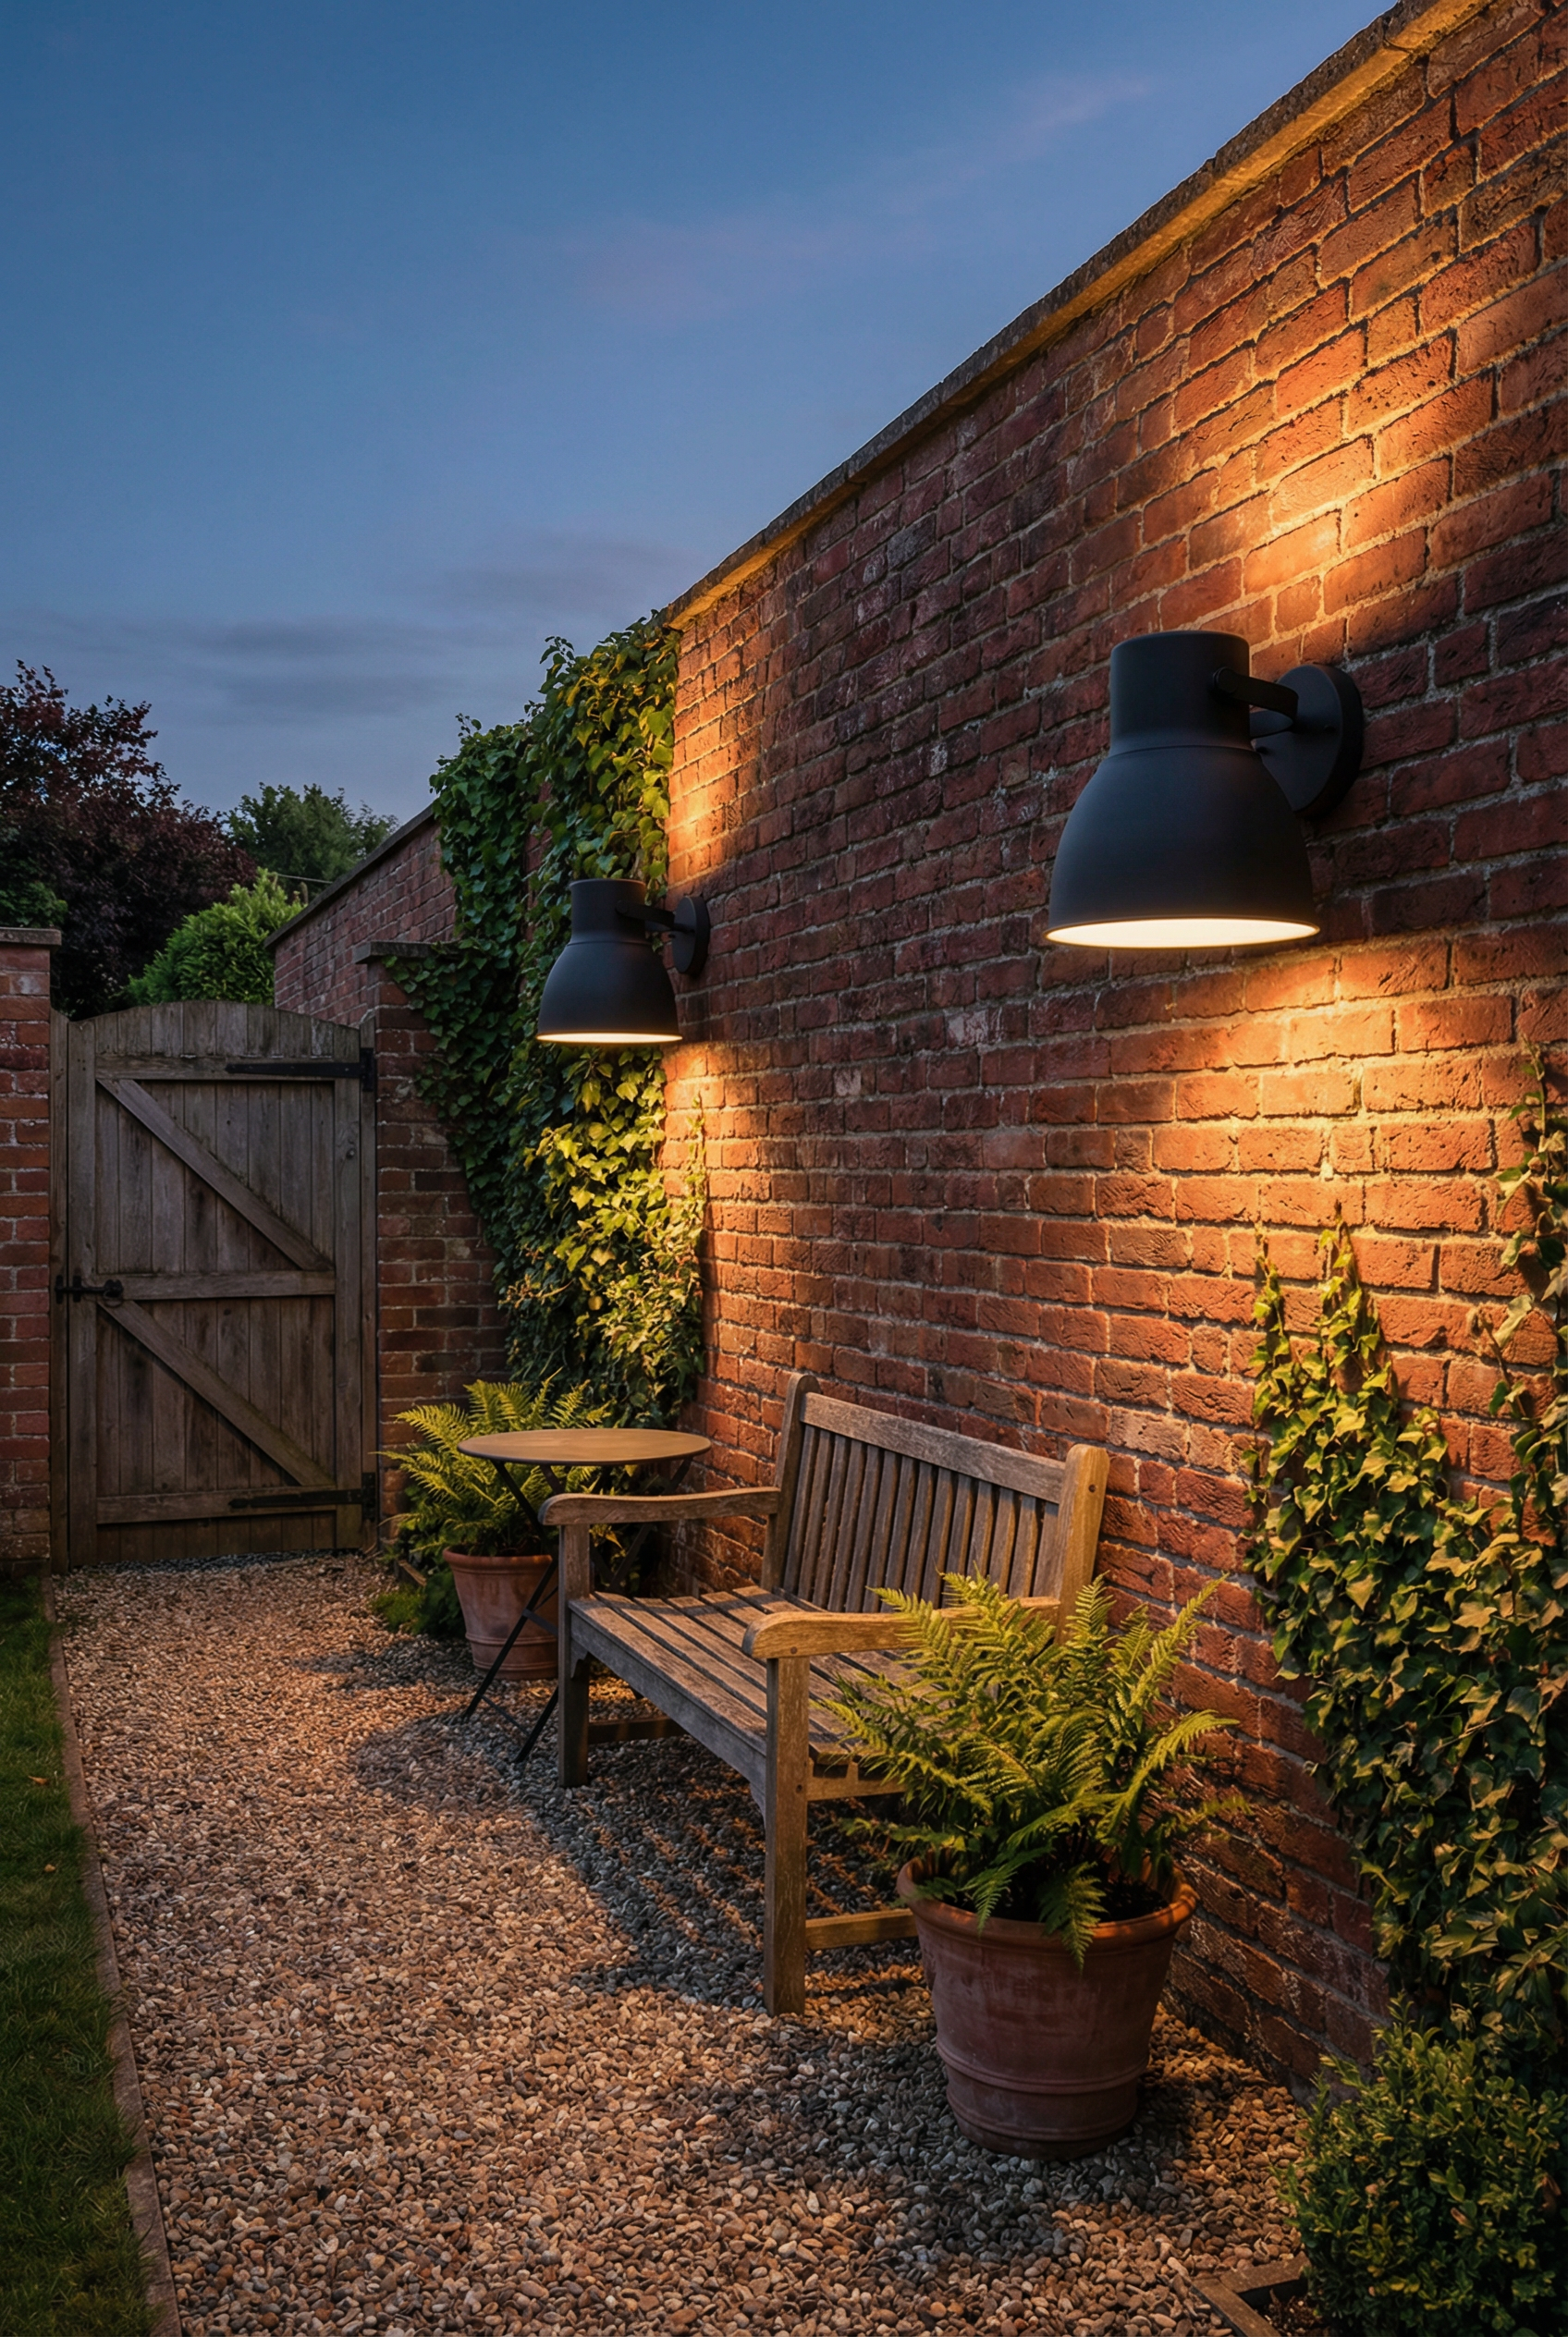
Near doors, gates, and seating, architectural wall sconces can light people and surfaces instead of directing all the light toward the top of the wall. In the US, they generally cost $40-$180, while premium sconces cost $250+.
Ground Uplights

Ground uplights are a quick way to give a wall a designed appearance. Place each one at the base of the wall, about 12 to 24inches away. They can create a moody, designed, and slightly magical atmosphere, while giving brick texture strong definition that can make it look expensive.
Near the wall, ground uplights can run on low voltage, a plug-in transformer, or solar power. Individual ground uplights cost $15 to $60 in the US, while a kit costs $60 to $200.
Uplighting Brick Wall Texture
Start with two ground lights for uplighting a brick wall, then place them 12-24 inches from the wall and angle them upward between 30 and 45 degrees so the light reaches the brick surface. For a long wall, add more lights along its length to prevent the illumination from stopping too soon. Warm white light creates a cozy mood, while neutral light offers a modern look. Position the ground uplights to avoid glare for people using the seating area.
Hide the wires under mulch or along the edges, or use solar ground uplights to avoid wires. Place the solar panels where they receive sun exposure, since their position affects whether the lights can charge. At night, adjust the ground-light angles slowly to see how the illumination falls, and stop before the result becomes stadium lighting. At 7:10 pm, the setup was still worthwhile despite a mosquito bite and the dog stepping on the wire.
Solar Lighting
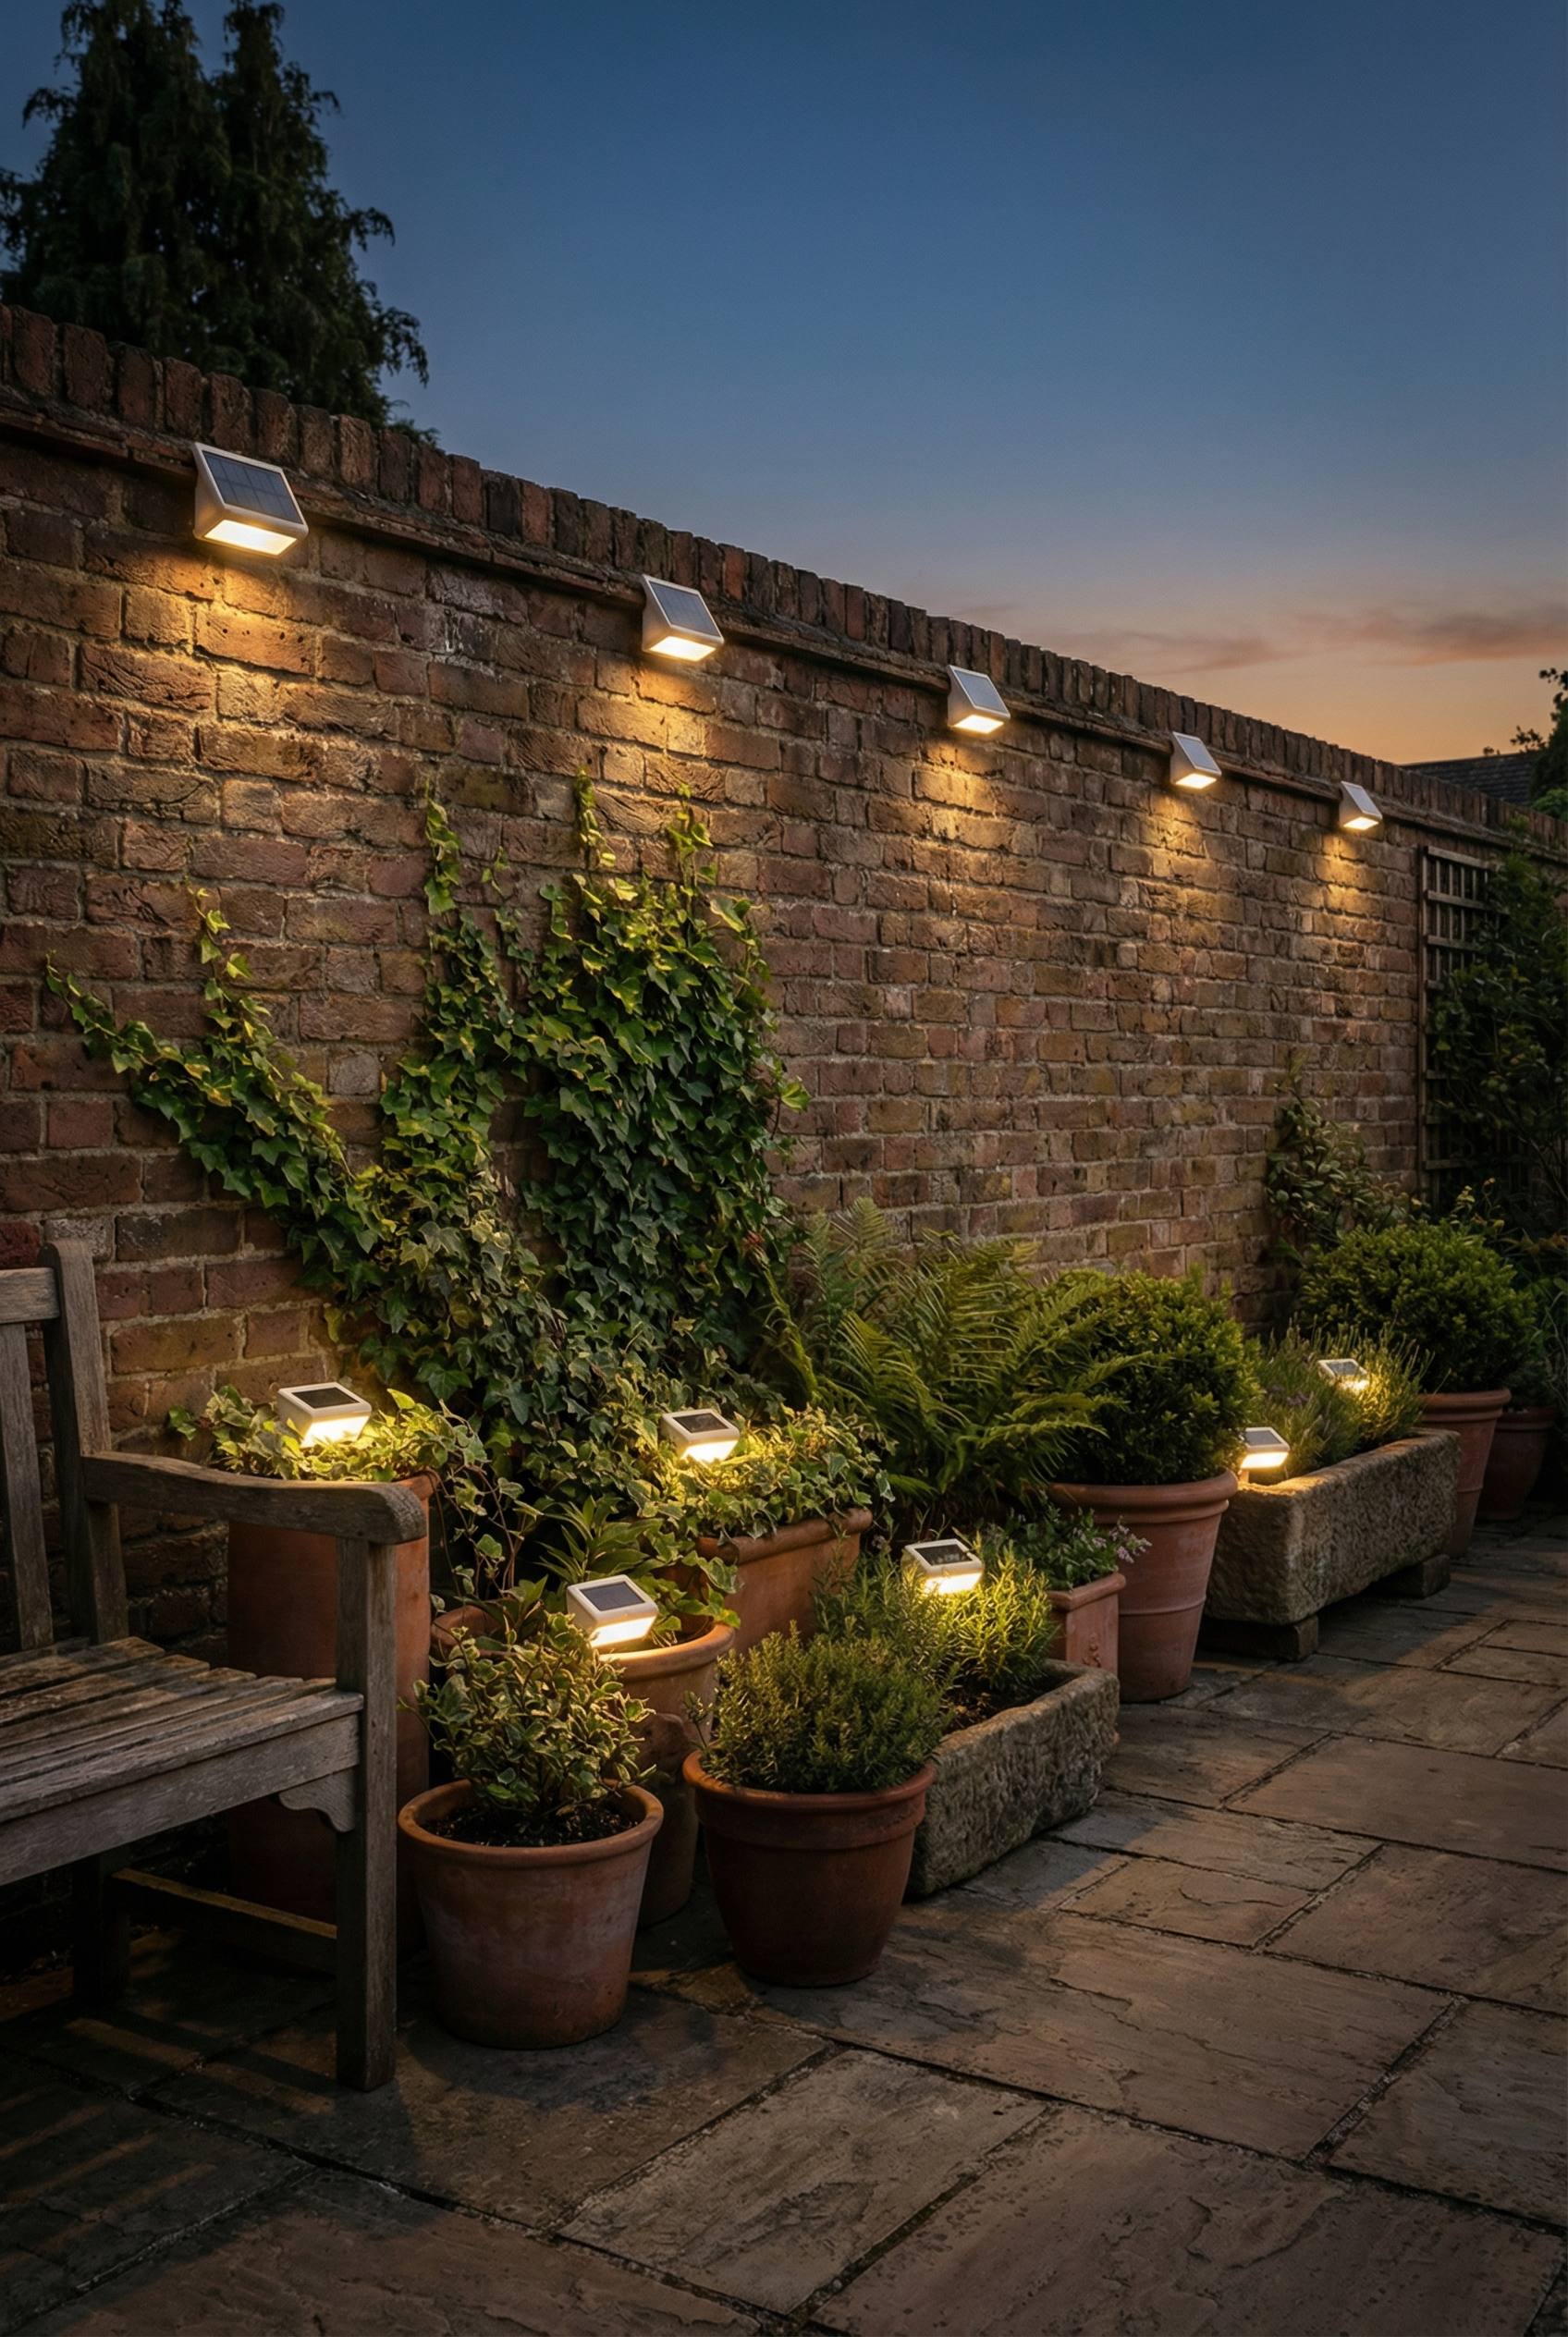
Around planters or along the top edge of a wall, solar lights can provide a quick accent glow with no wiring required. US prices range from $15-$60, while premium solar lights cost $80+ and are brighter. Make sure the solar panel gets sun exposure.
Projection Patterns with a Subtle Style
On a flat wall, use subtle projection patterns for wall movement and a whimsical effect rather than a laser show. A tree shadow is one preferred effect. In the US, these patterns cost $25-$100, while premium options cost $150+.
Wall-Mounted Wall Decor
Brick is not drywall, so plan the mounting method around the brick surface.
Wall decor should match the mounting method and its weight to the wind and weather. Keep the wall clear of clutter so the decor remains a focal point.
Outdoor Metal Artwork

Outdoor metal art is usually light to medium in weight and resists weather best when it has an outdoor rating or a powder-coated finish. Masonry screws installed in the mortar are one mounting option, while compatible brick clips can serve as an alternative. Avoid very windy spots unless the art can be fastened securely, and avoid outdoor metal art altogether if you do not want patina. It usually costs between $40 and $200, while premium large pieces typically cost $250 or more.
Tile Inlay Designs
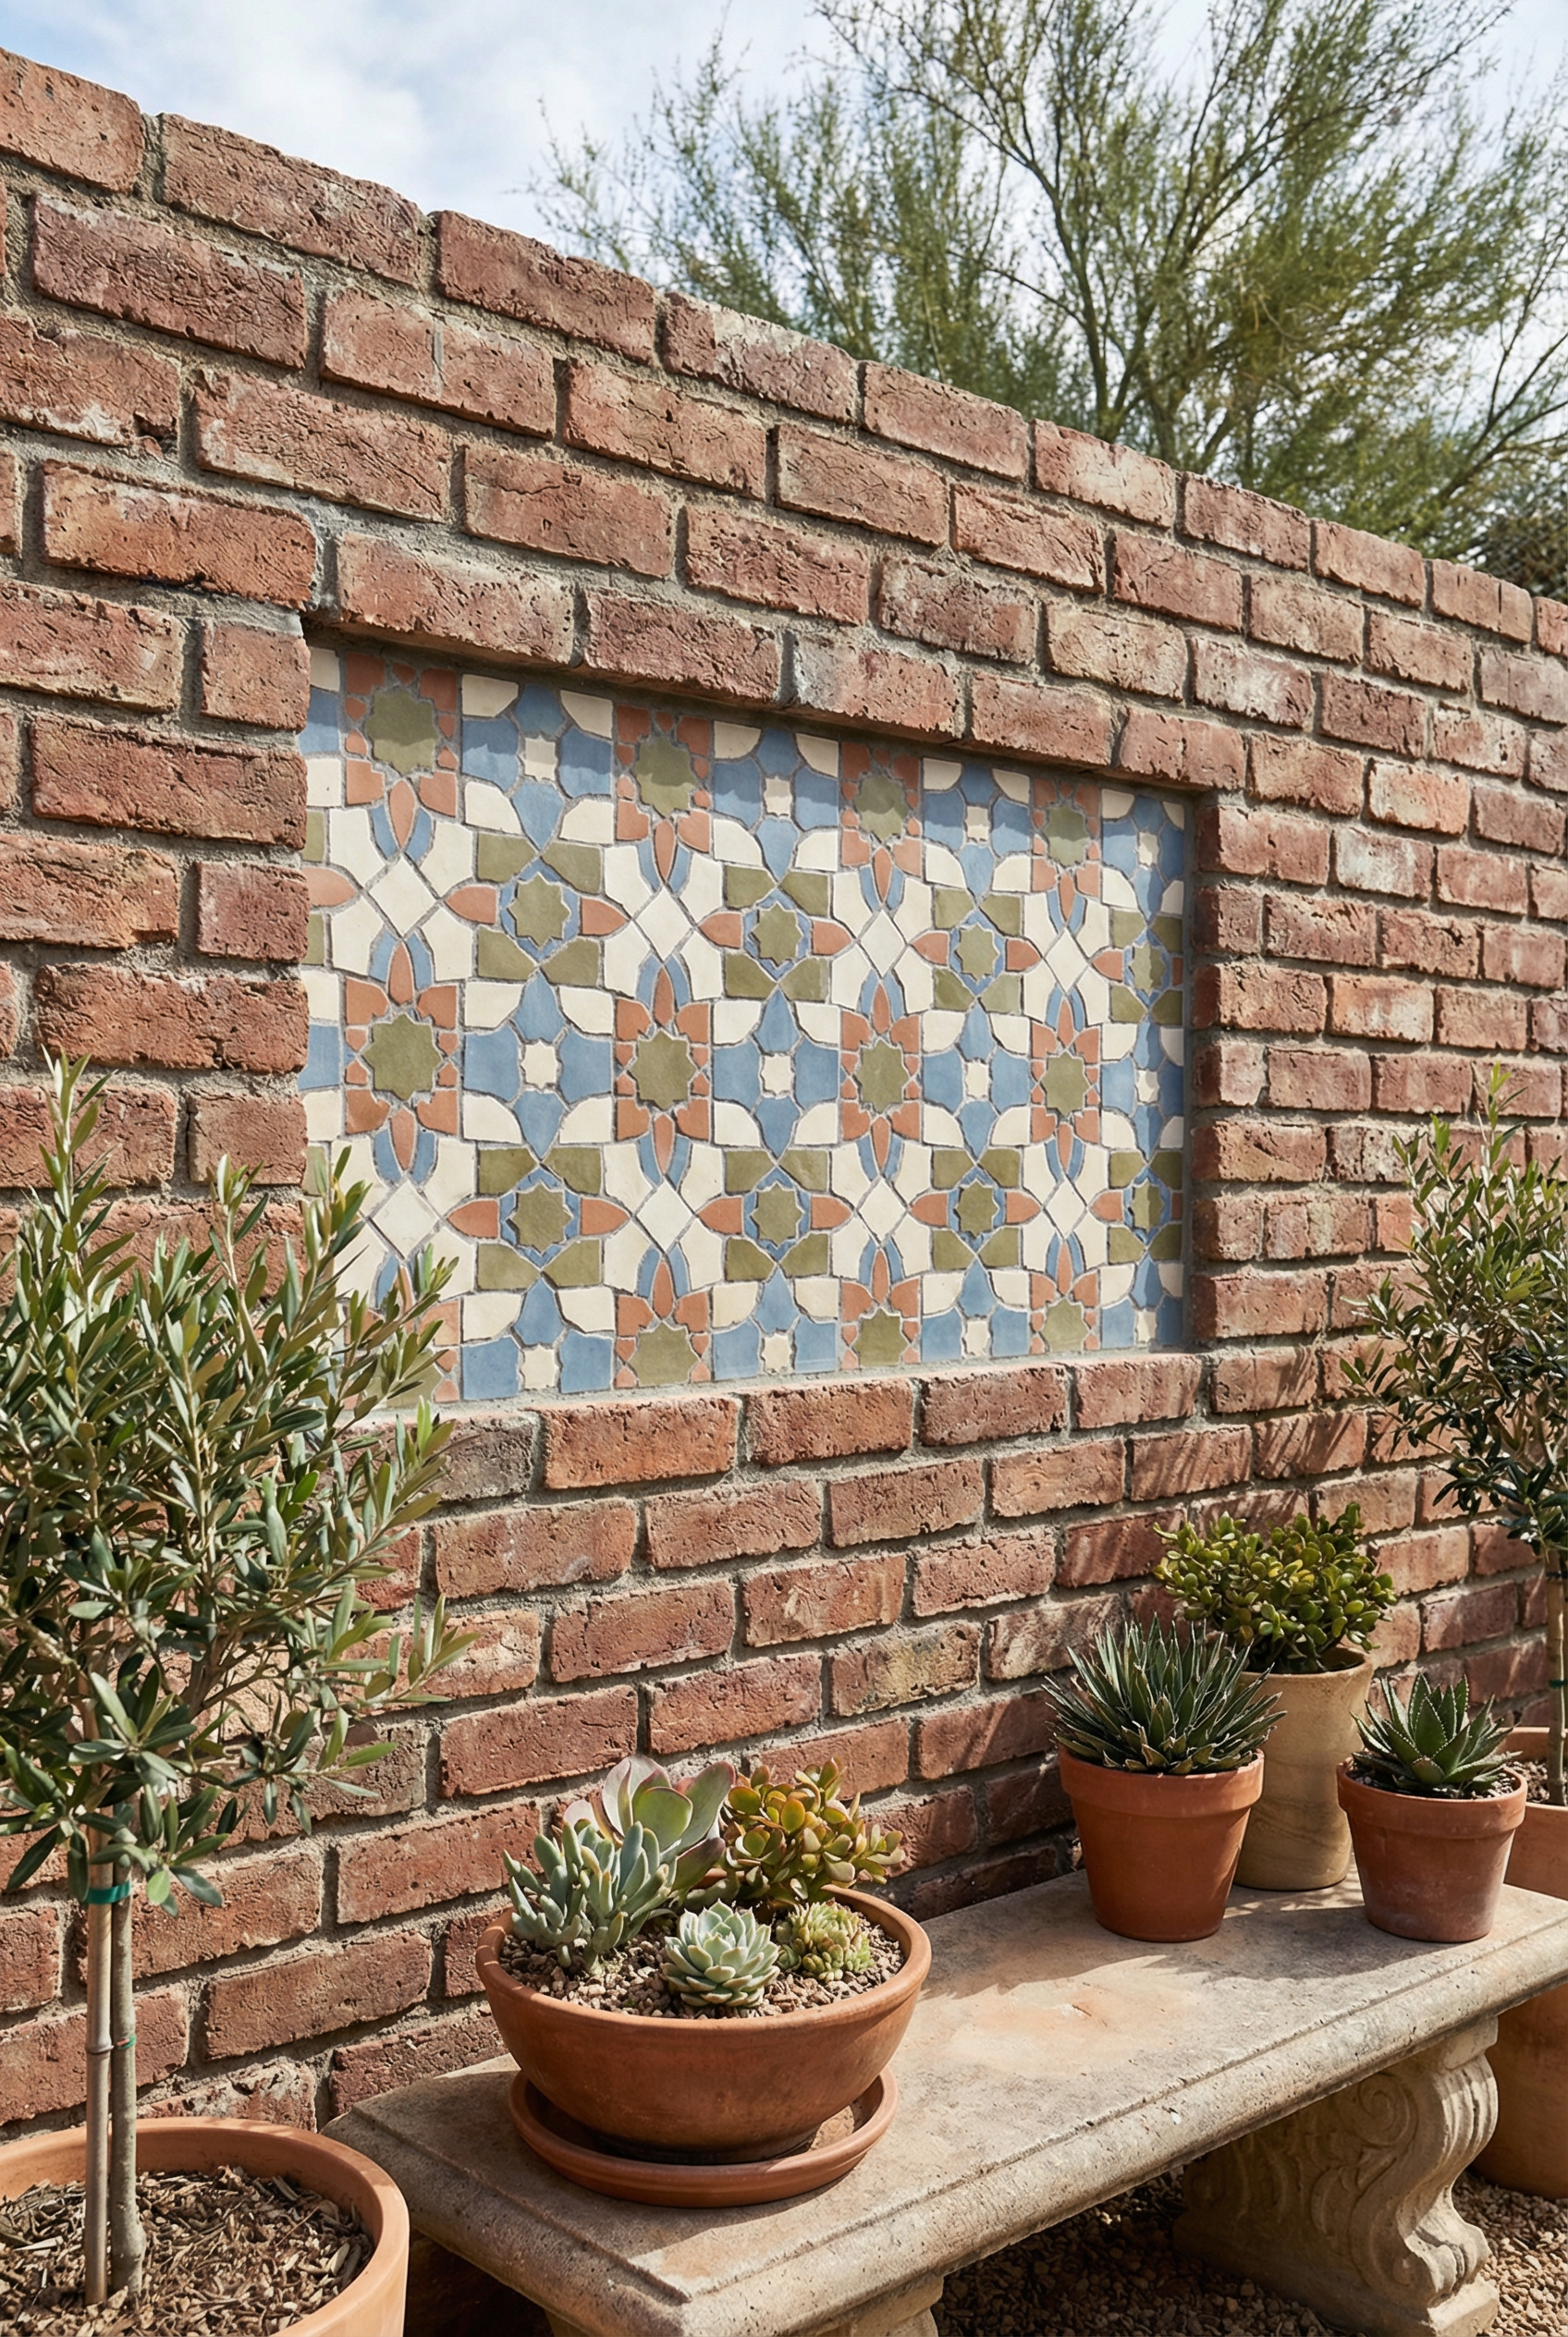
Outdoor-use tile and grout provide excellent weather resistance for ceramic or mosaic inlays, which are medium to heavy once installed. Installation can use either mortar or exterior-rated masonry adhesive. Avoid tile inlays in freeze-thaw zones unless they have proper freeze-thaw preparation, and do not use them on persistently wet walls. Small DIY accents cost about $30 to $150, while premium custom versions typically start at $300.
Reflective Wall Details

Sealed, outdoor-rated mirrors and reflective elements have good weather resistance, but they are medium-heavy. Mount them with mechanical fasteners into the mortar rather than relying on adhesive alone. Avoid harsh direct sun angles and locations where the mirror could reflect clutter. Mirrors and reflective elements usually cost $50 to $180, while premium oversized pieces can cost $250 or more.
Niche Shelving
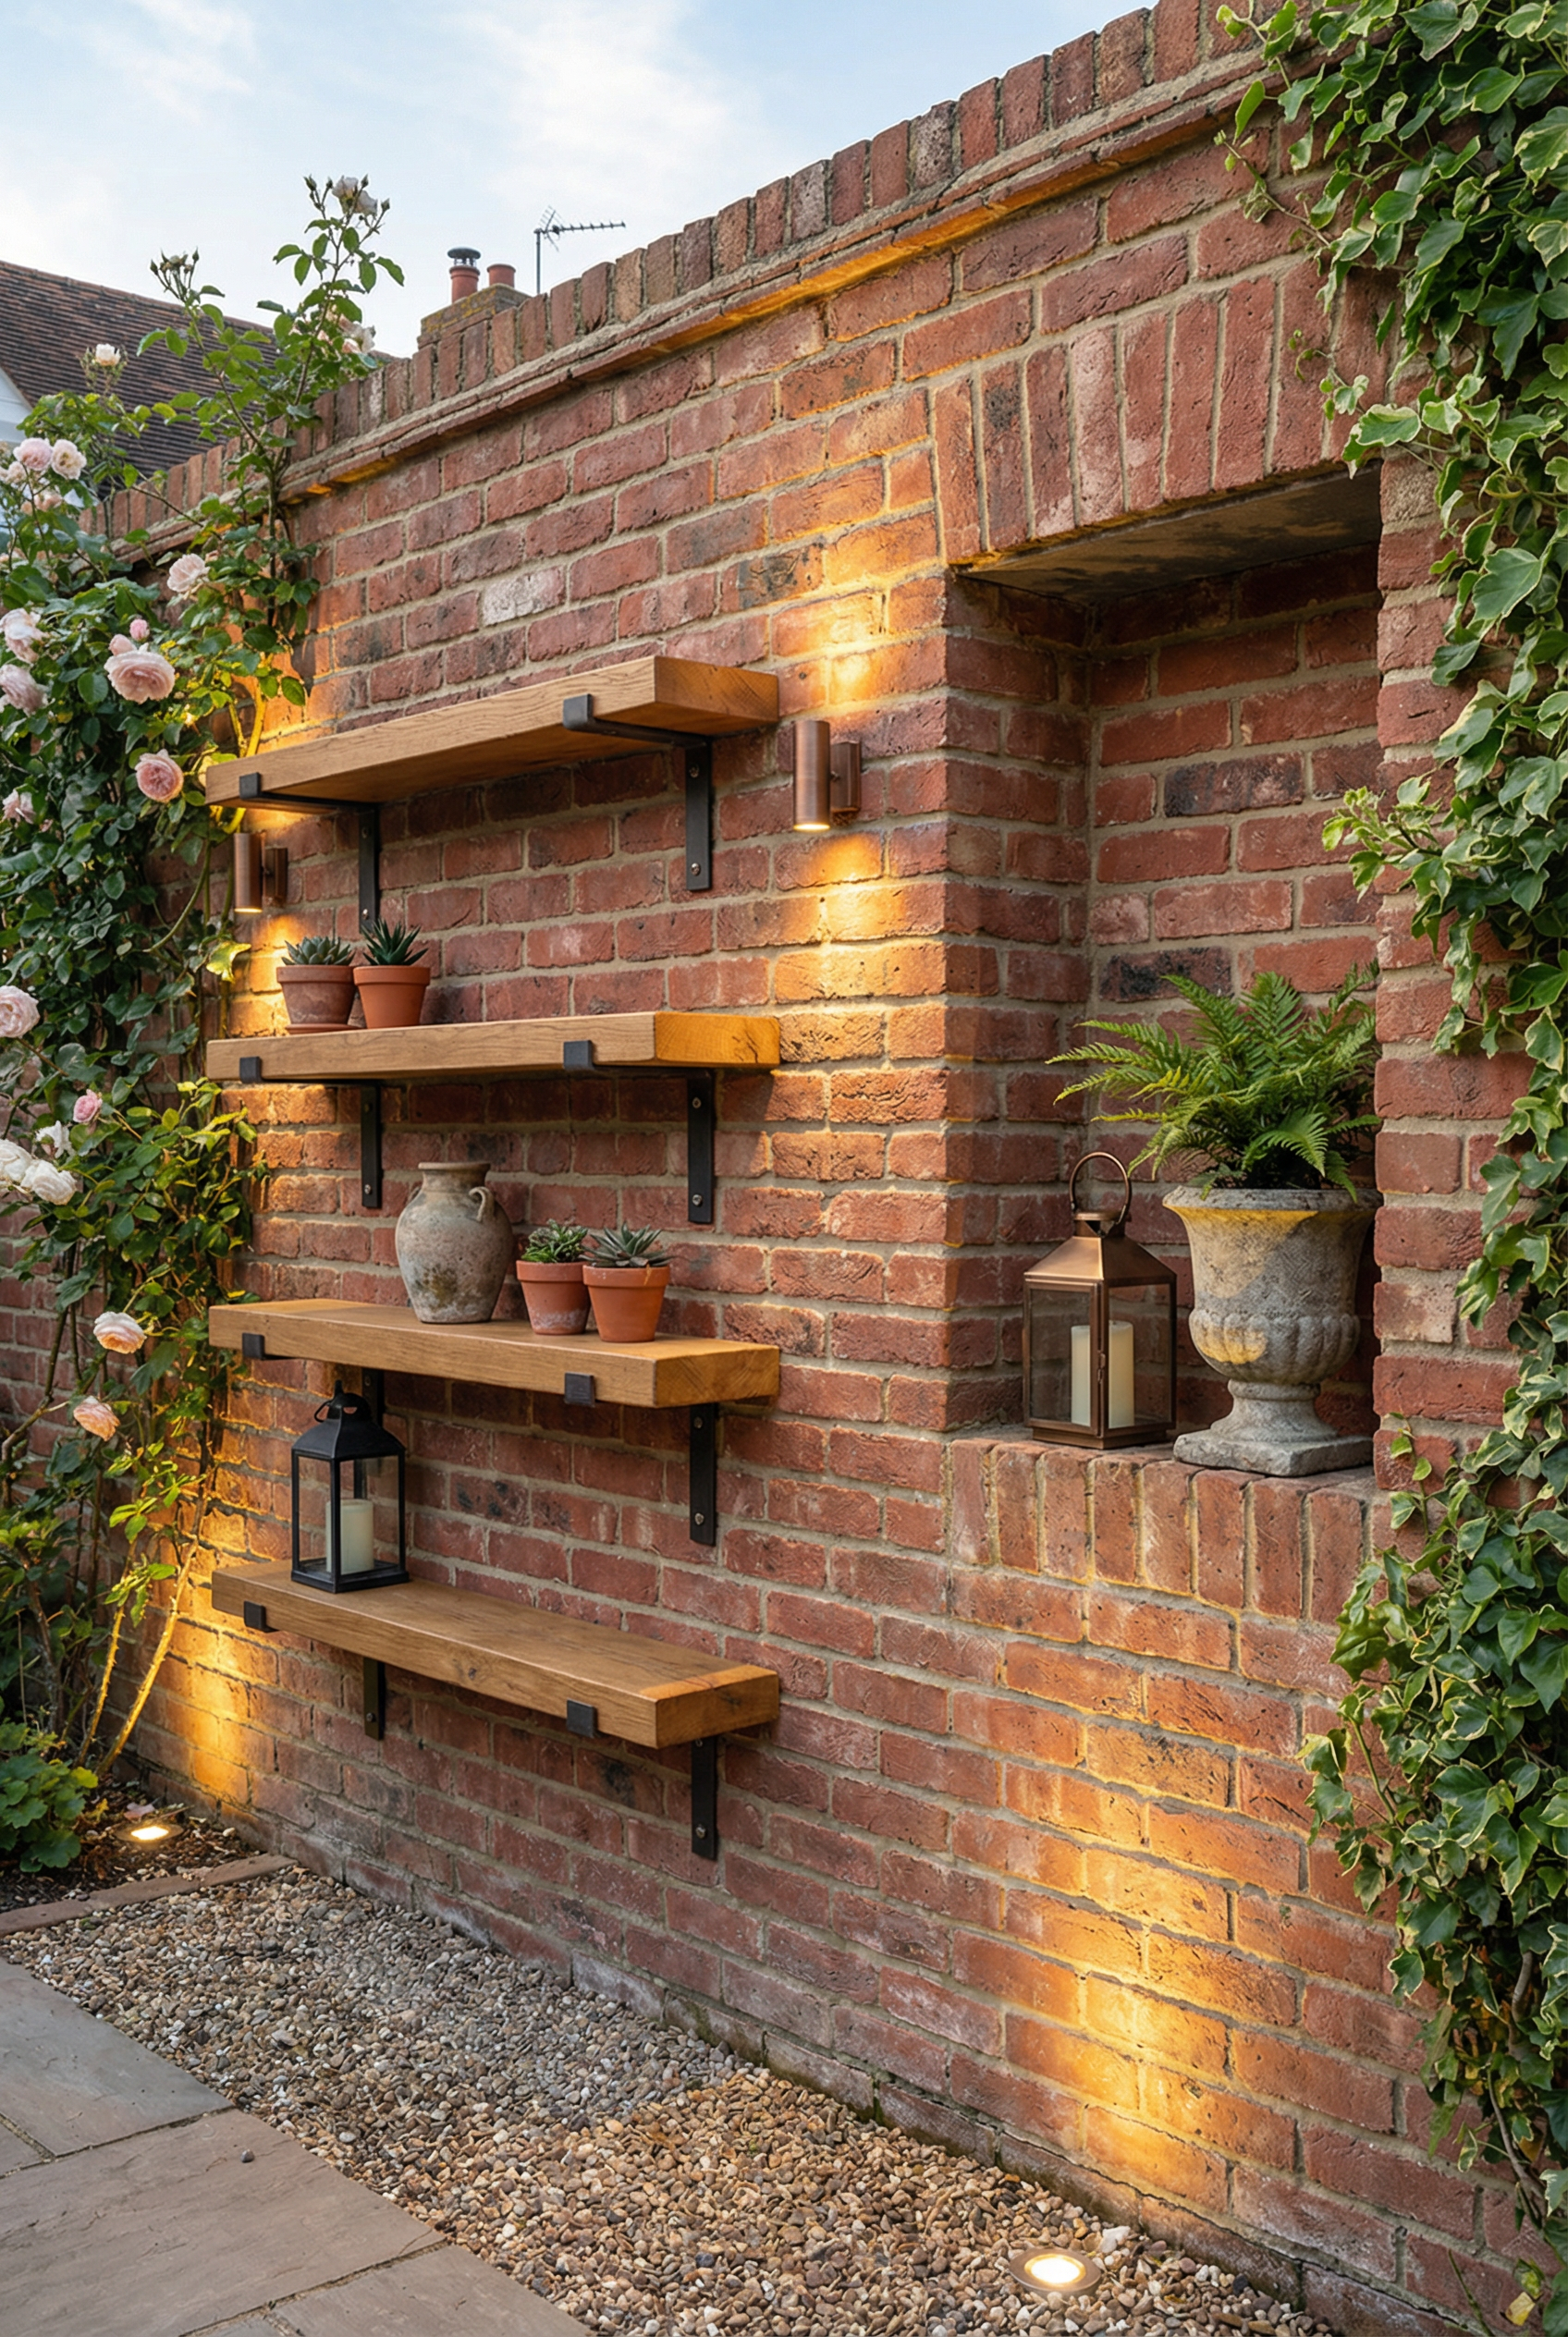
When sealed, exterior wood or metal gives shelves and recessed niches good weather resistance. Their weight is load-dependent and can be medium-heavy. Use mortar screws to mount them, or anchors for heavier loads. Use proper anchoring, and avoid installing shelves or recessed niches on a soaked wall. They typically cost $30 to $150, while premium systems cost $200 or more.
Integrated Seating Nooks
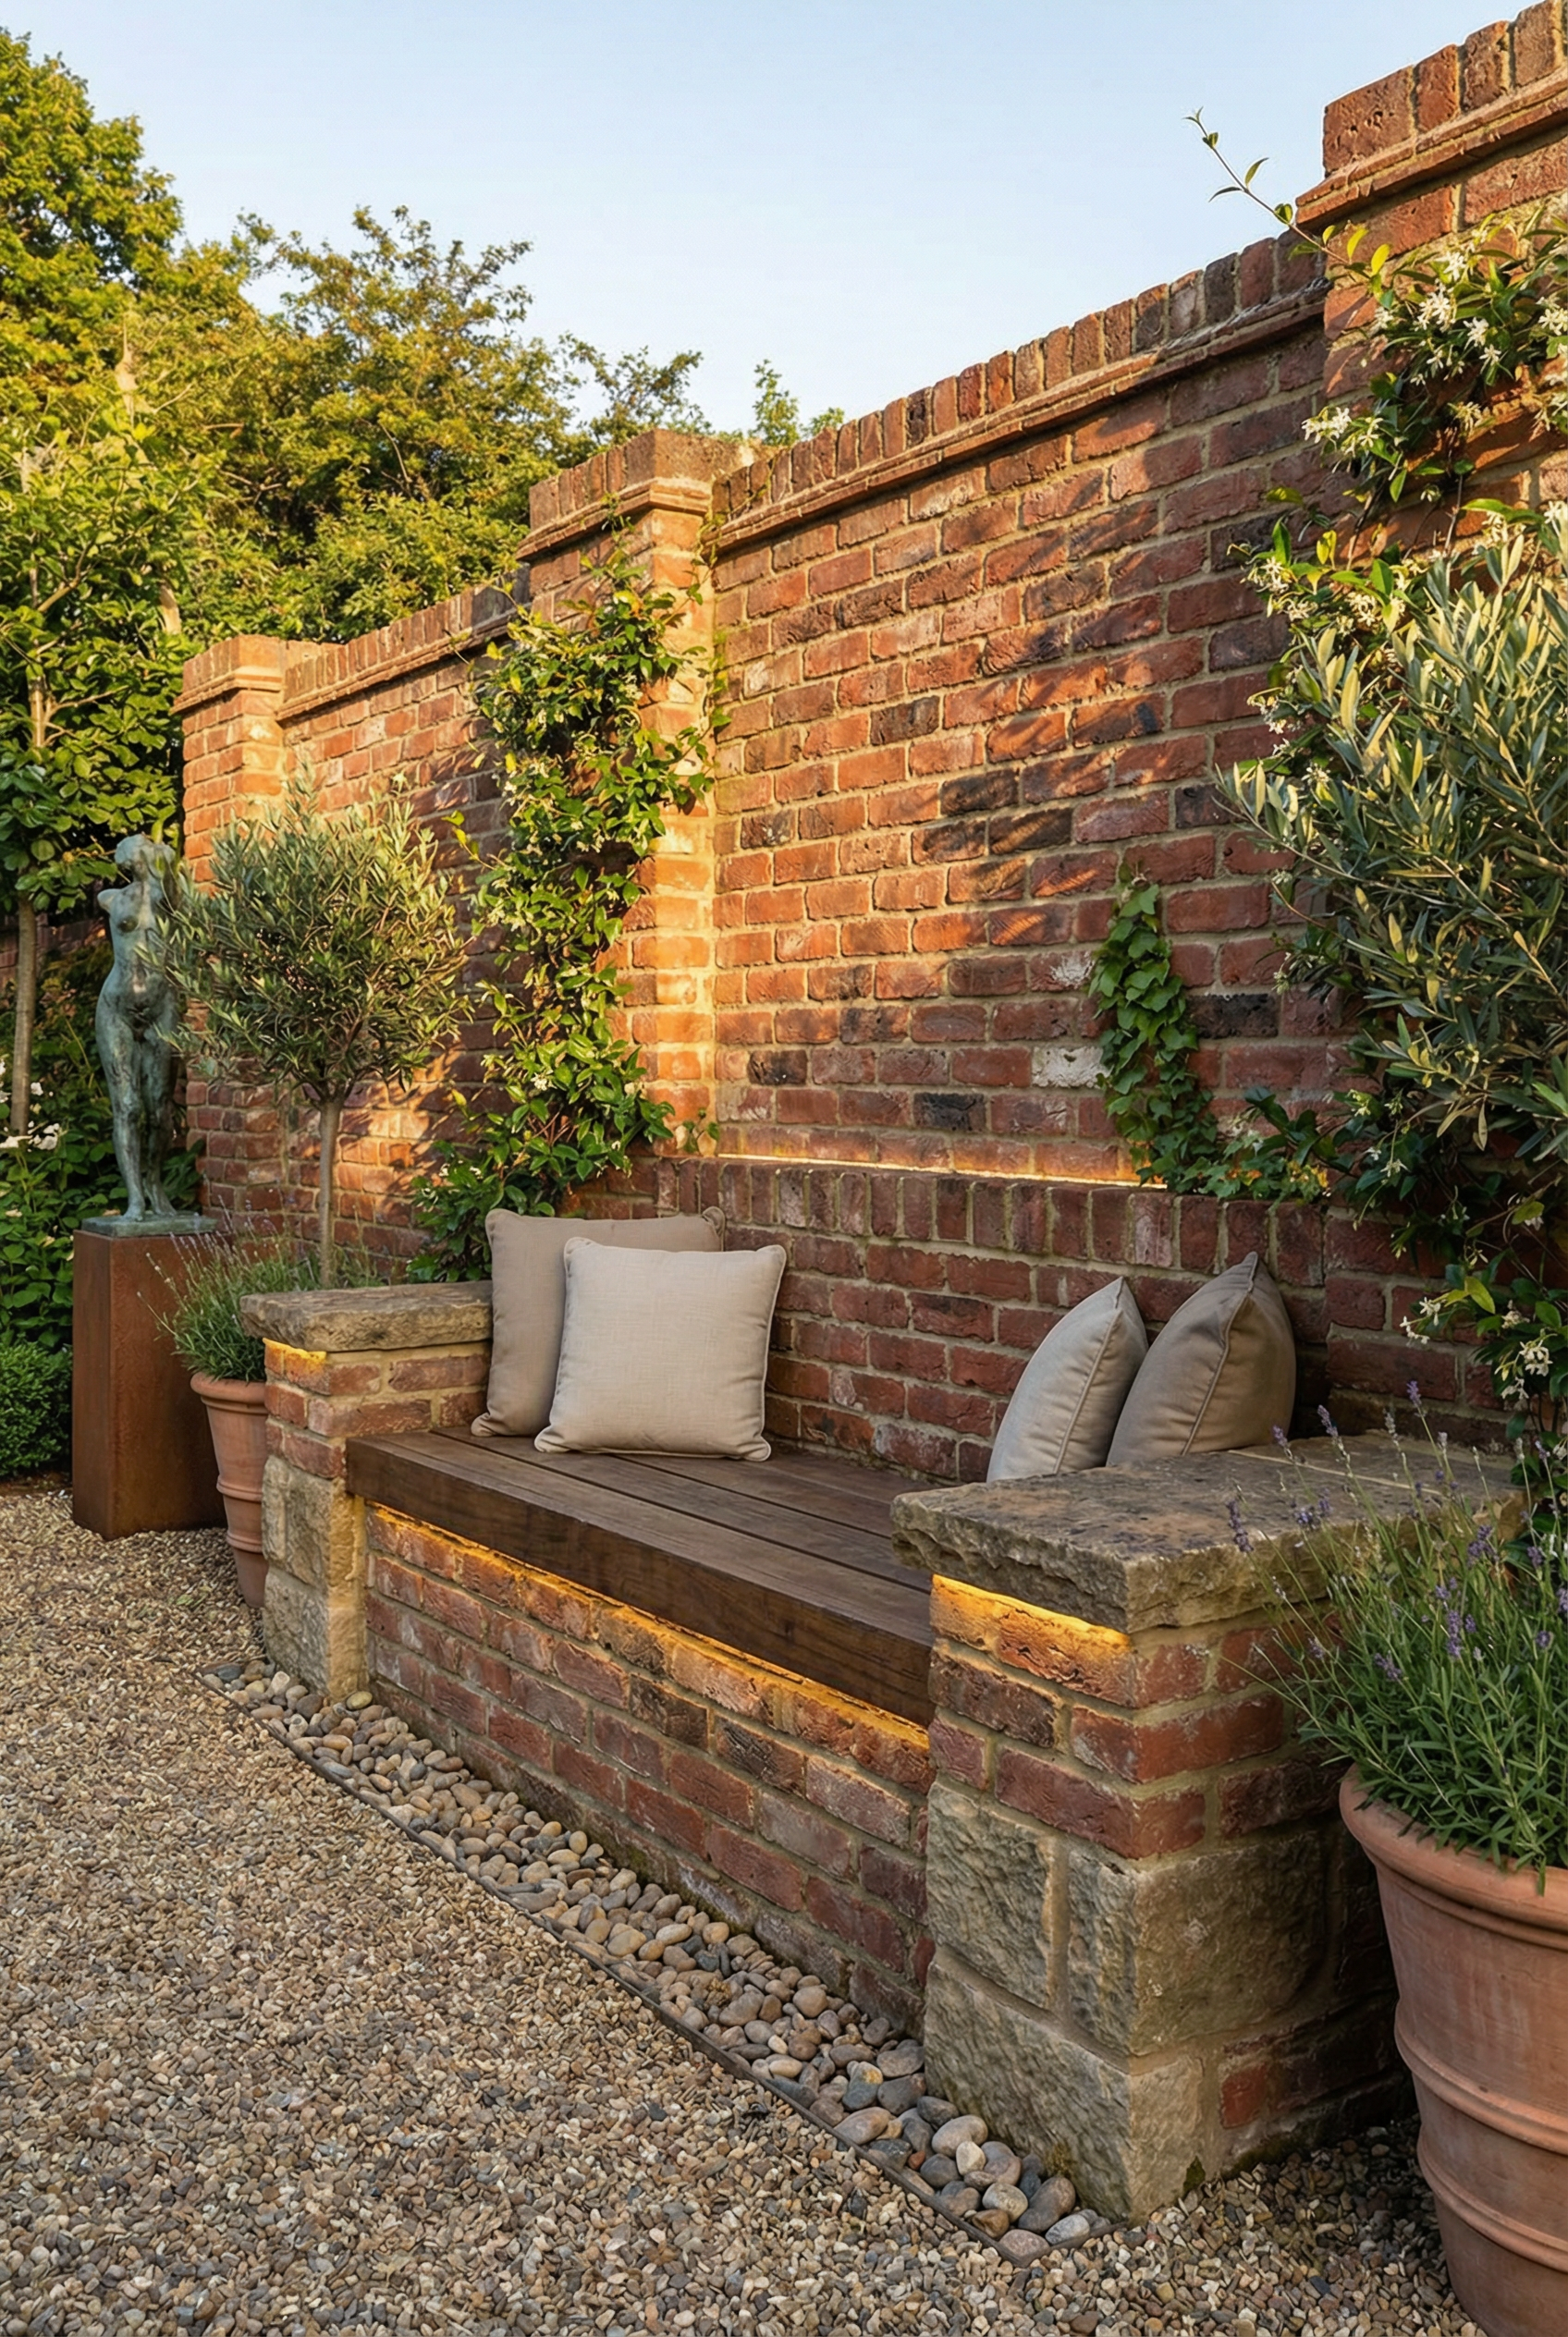
Built-in seating nooks made with appropriate building materials offer excellent weather resistance, but they are heavy because they use substantial construction rather than a lightweight structure. Their mounting method is integrated construction, so avoid installing them where drainage is poor or walls are prone to moisture. In the US, they are priced by project and typically cost more than decor.
Wall Water Feature
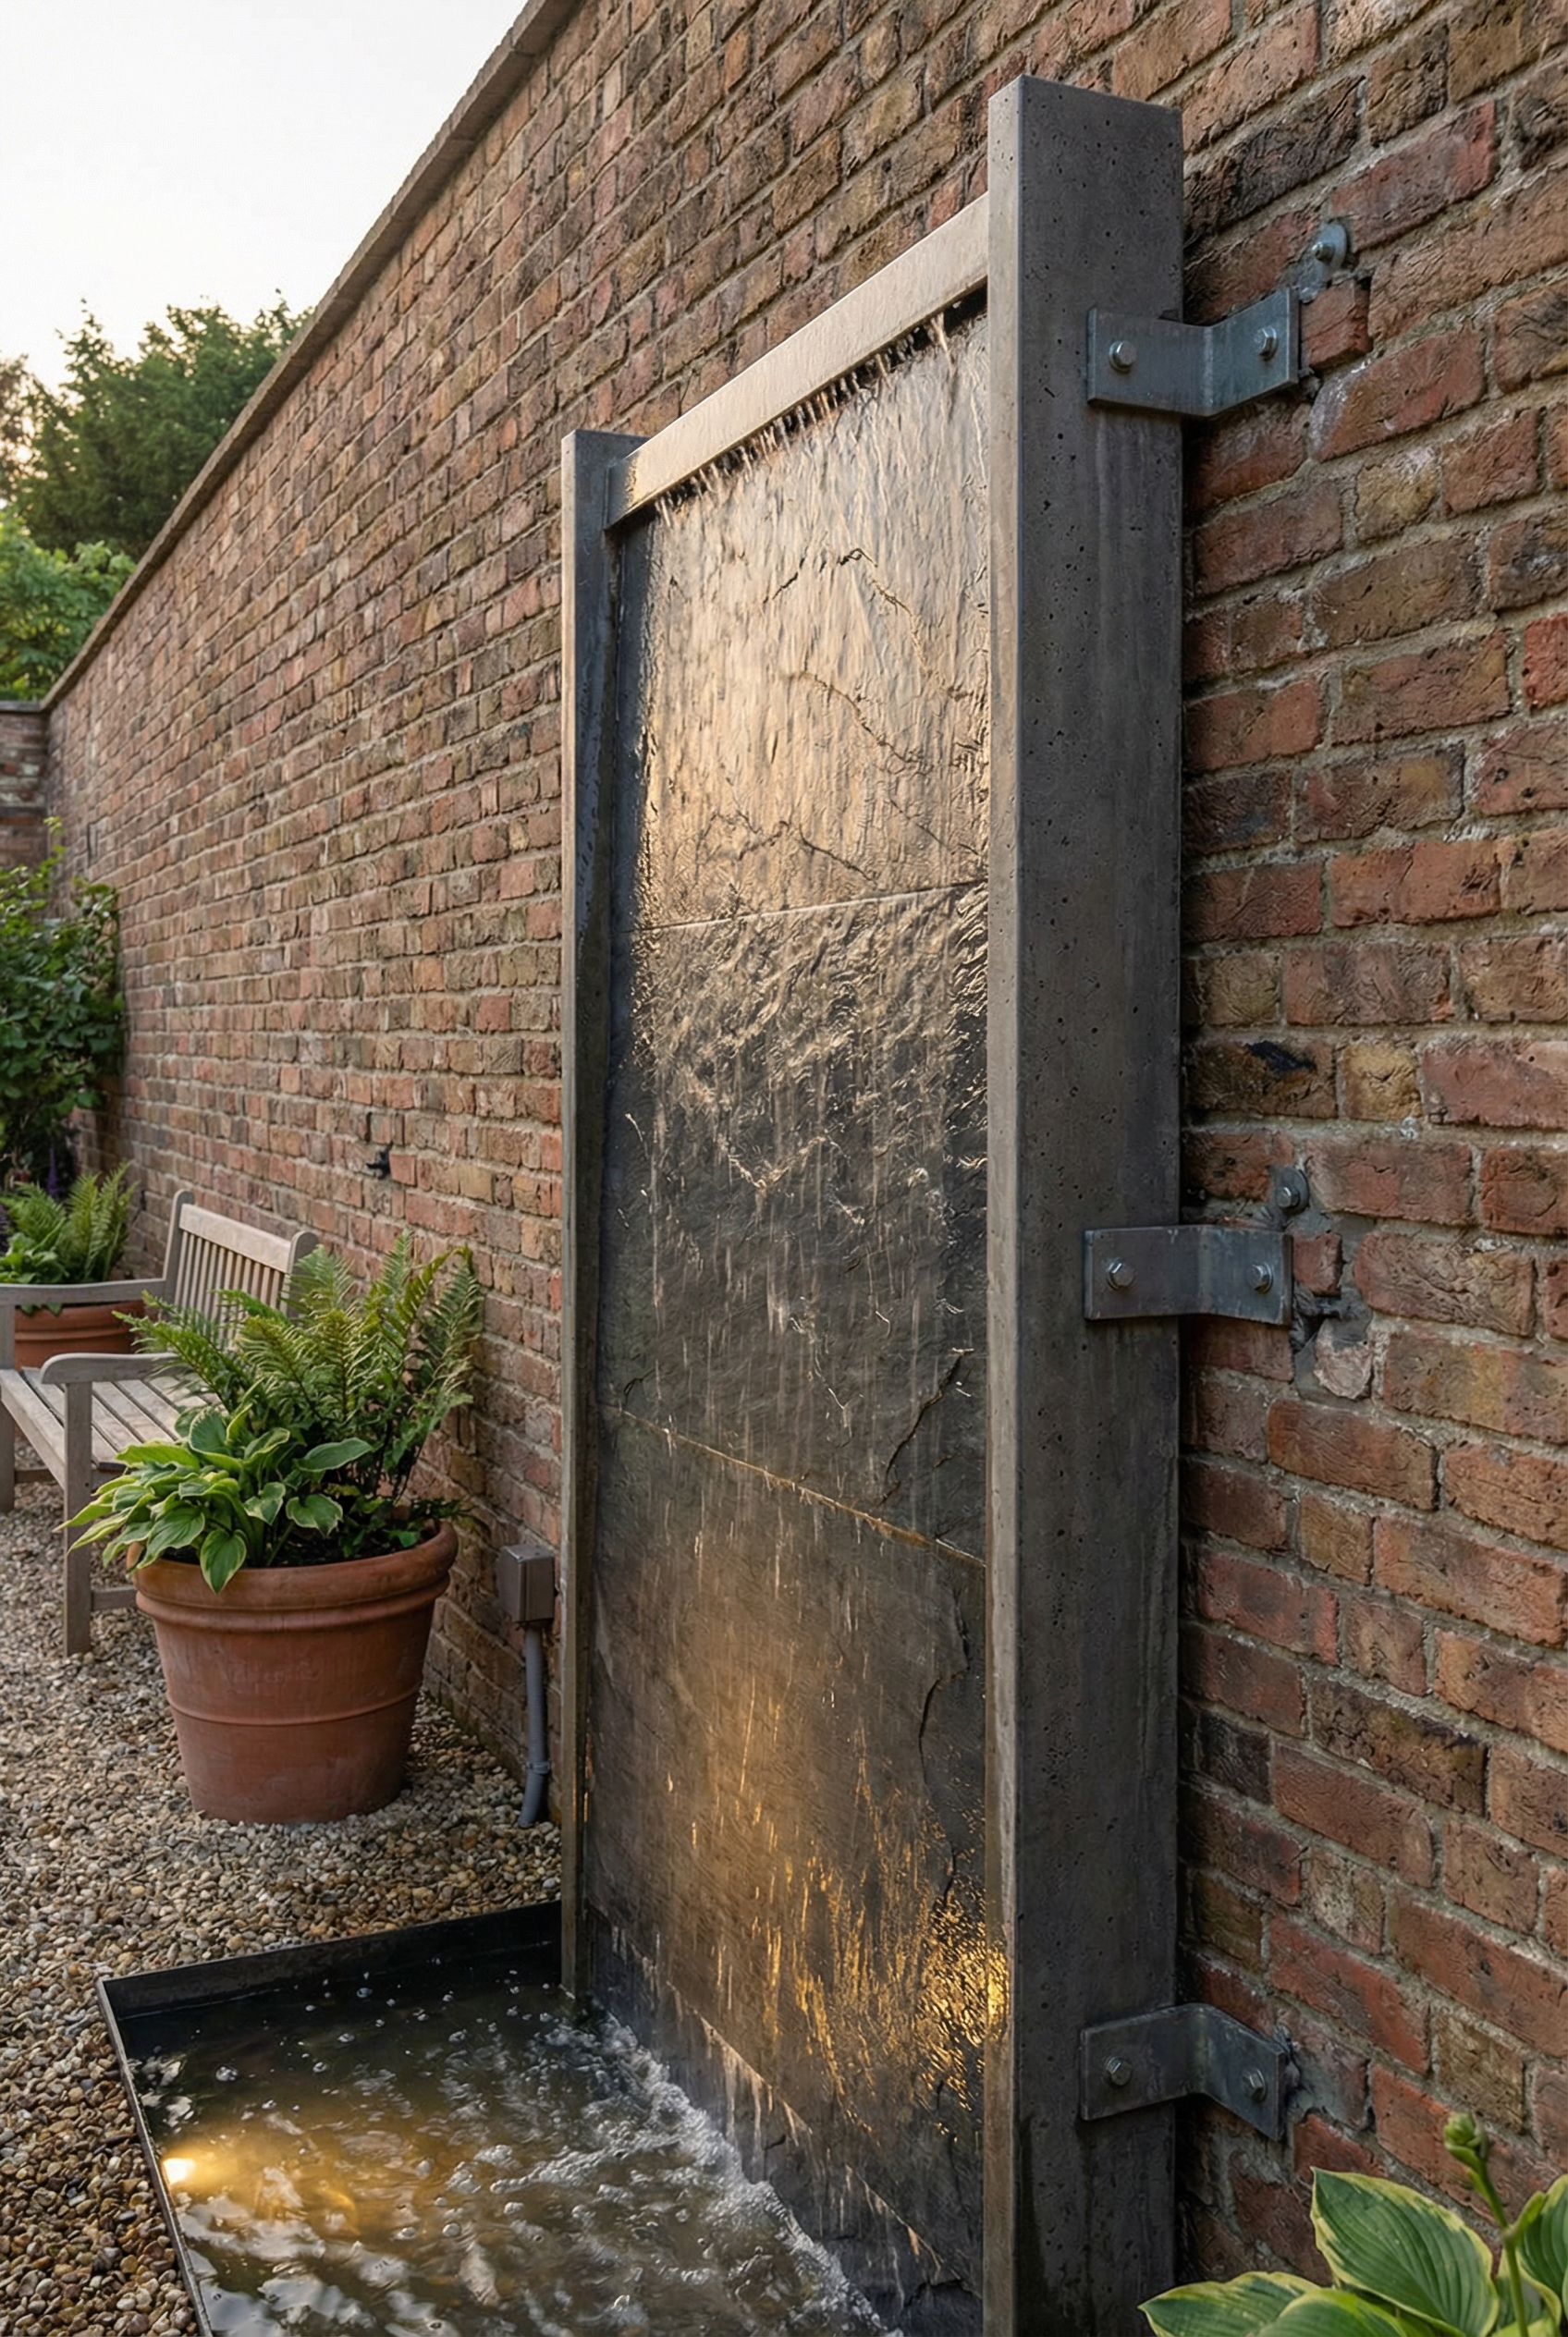
For outdoor use, this wall water feature offers good weather resistance, but it is heavy, and the water adds to its total weight. Mount it with secure brackets anchored into the mortar. It may be unsuitable when there is no access to power, no winterizing plan, or concern about moisture. In the US, it usually costs $150 to $600, while premium models can cost $800+.
Brick and Wood Water Feature
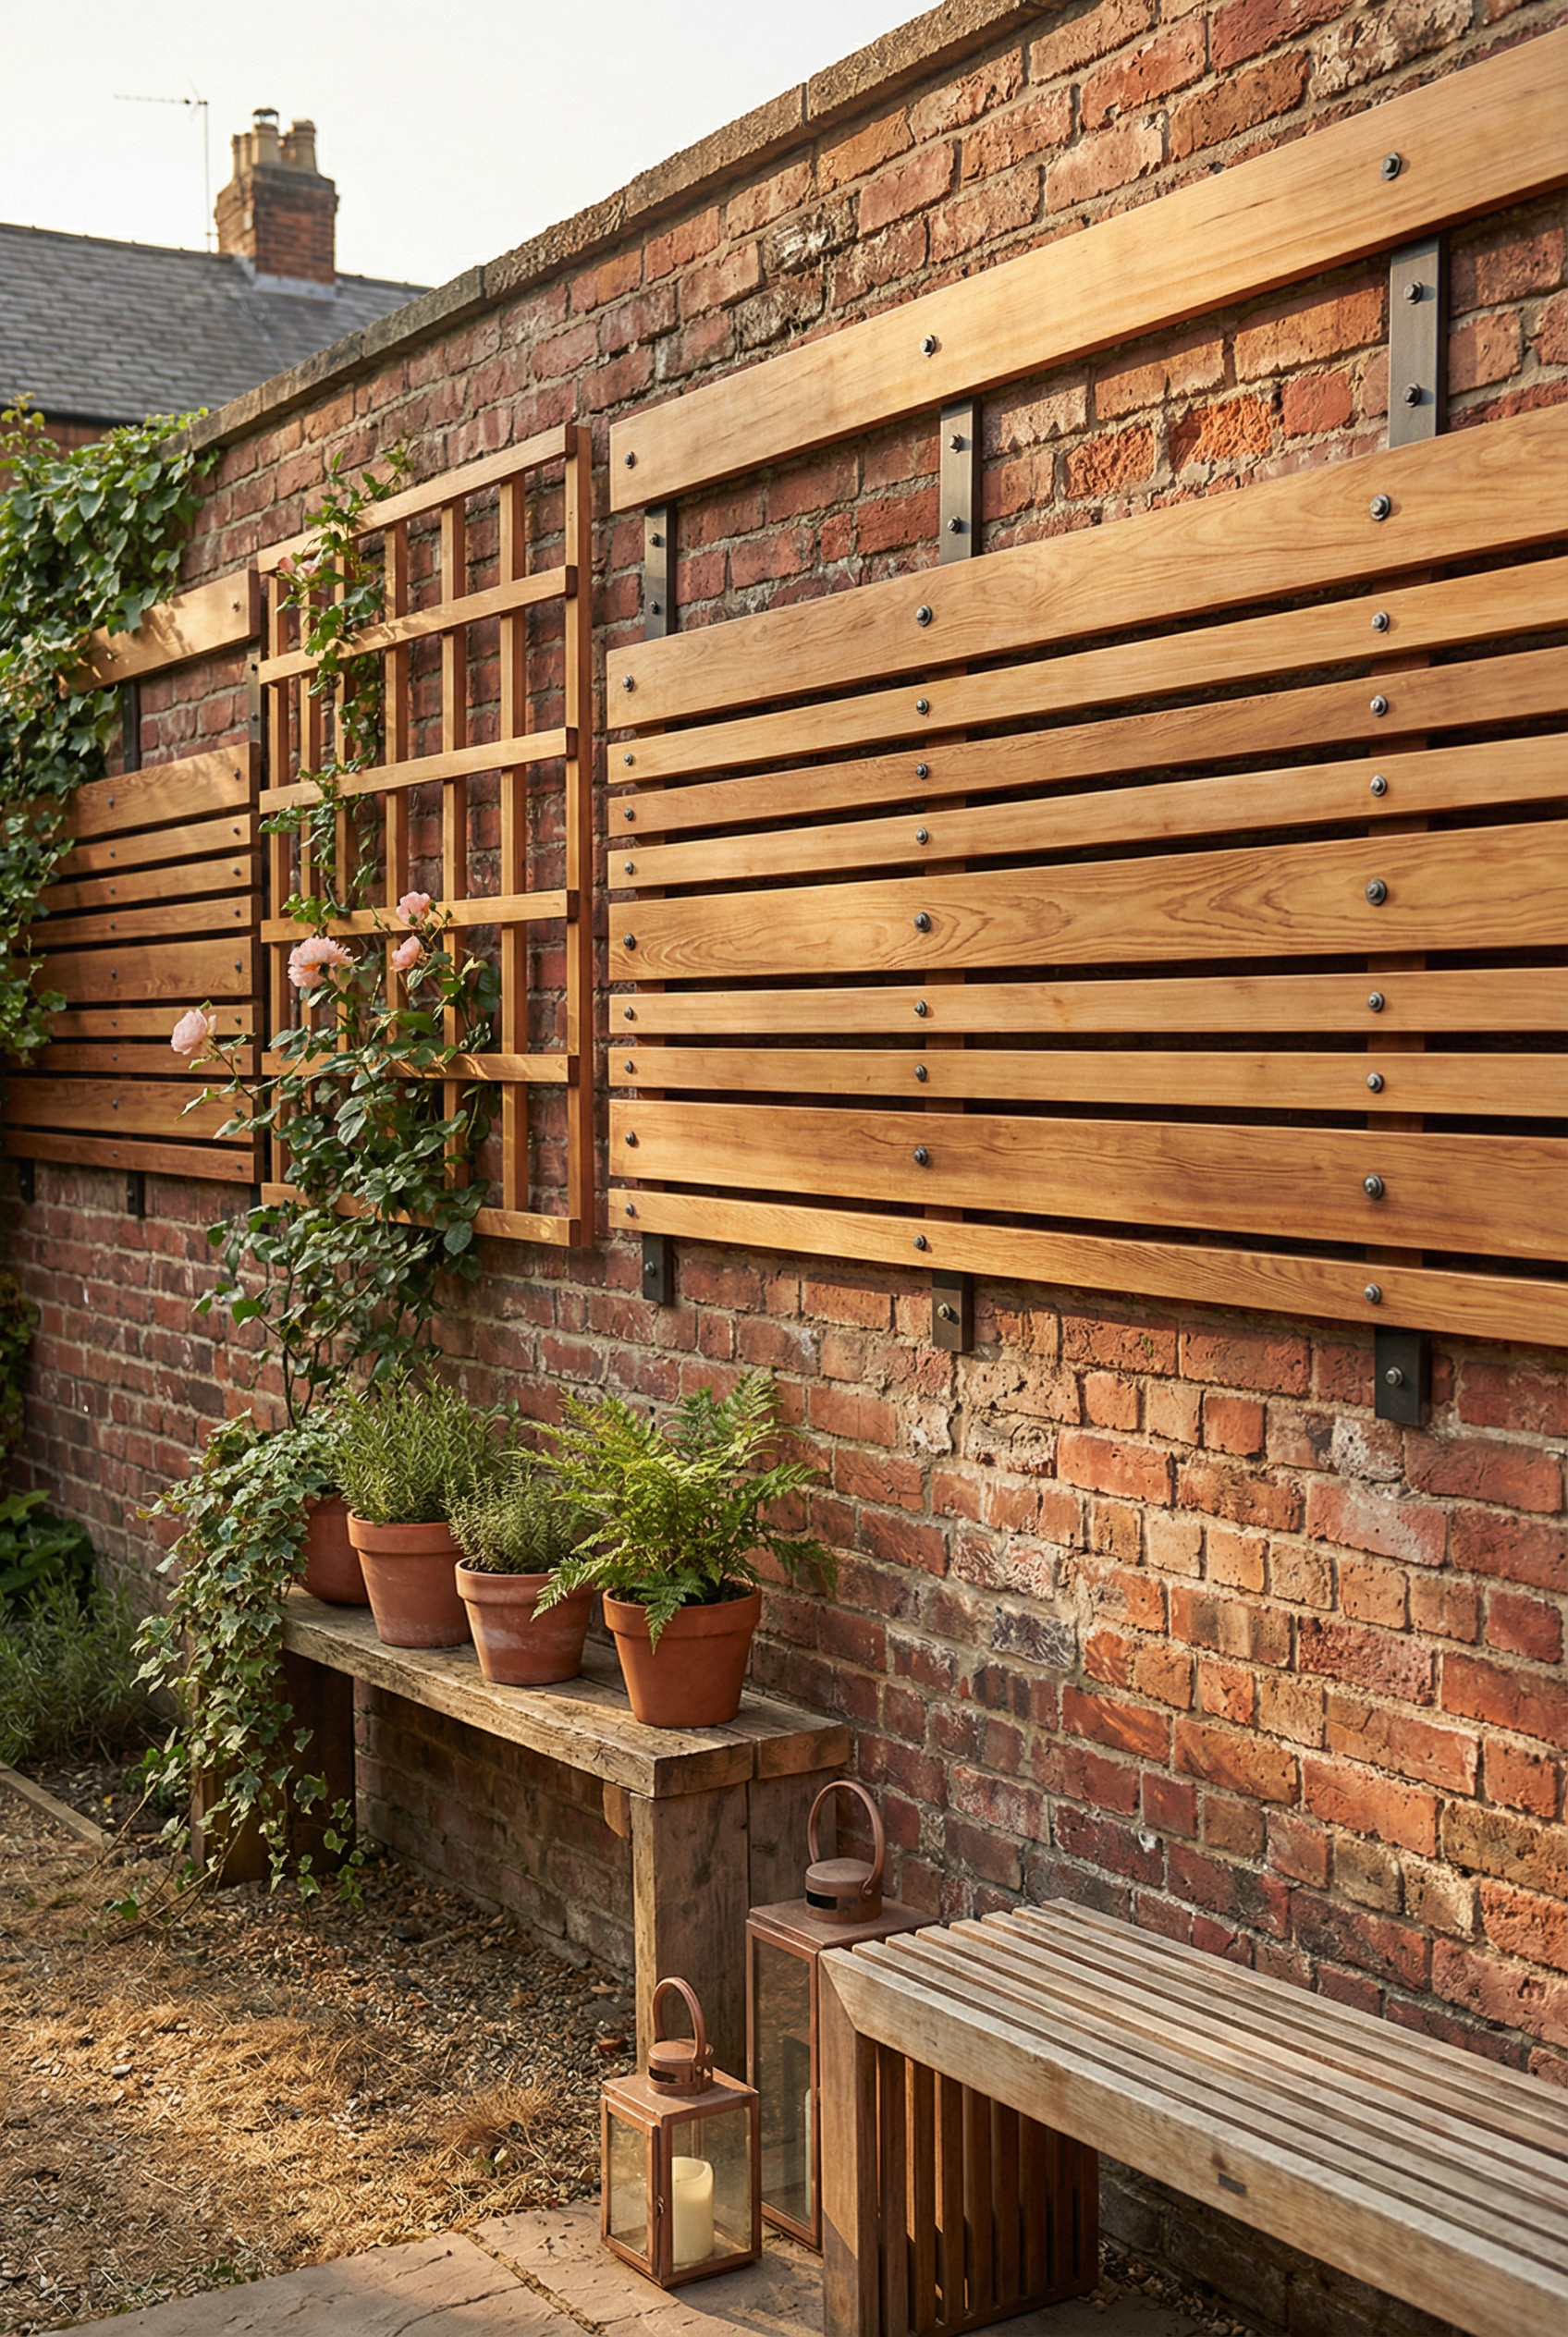
Sealed and maintained brick and wood provide good weather resistance, and combining them creates a unified outdoor water feature. Because it has a medium weight, the feature needs support between that required for lighter and heavier installations. Mount it with screws anchored into the mortar. It may be unsuitable for a constantly wet area unless it can be resealed regularly. In the US, the water feature itself typically costs $40 to $200, in addition to the brick and wood.
Brick and Stone Water Feature

The brick-and-stone combination offers excellent weather resistance, but the water feature is heavy and needs suitable support for installation. Install it using a mortar-based method; professional help may sometimes be needed. Use this option only on a sound, dry area, and avoid it where moisture is present or the structure has concerns. In the US, pricing is project-based, so the cost depends on the project.
Brick and Metal Water Feature
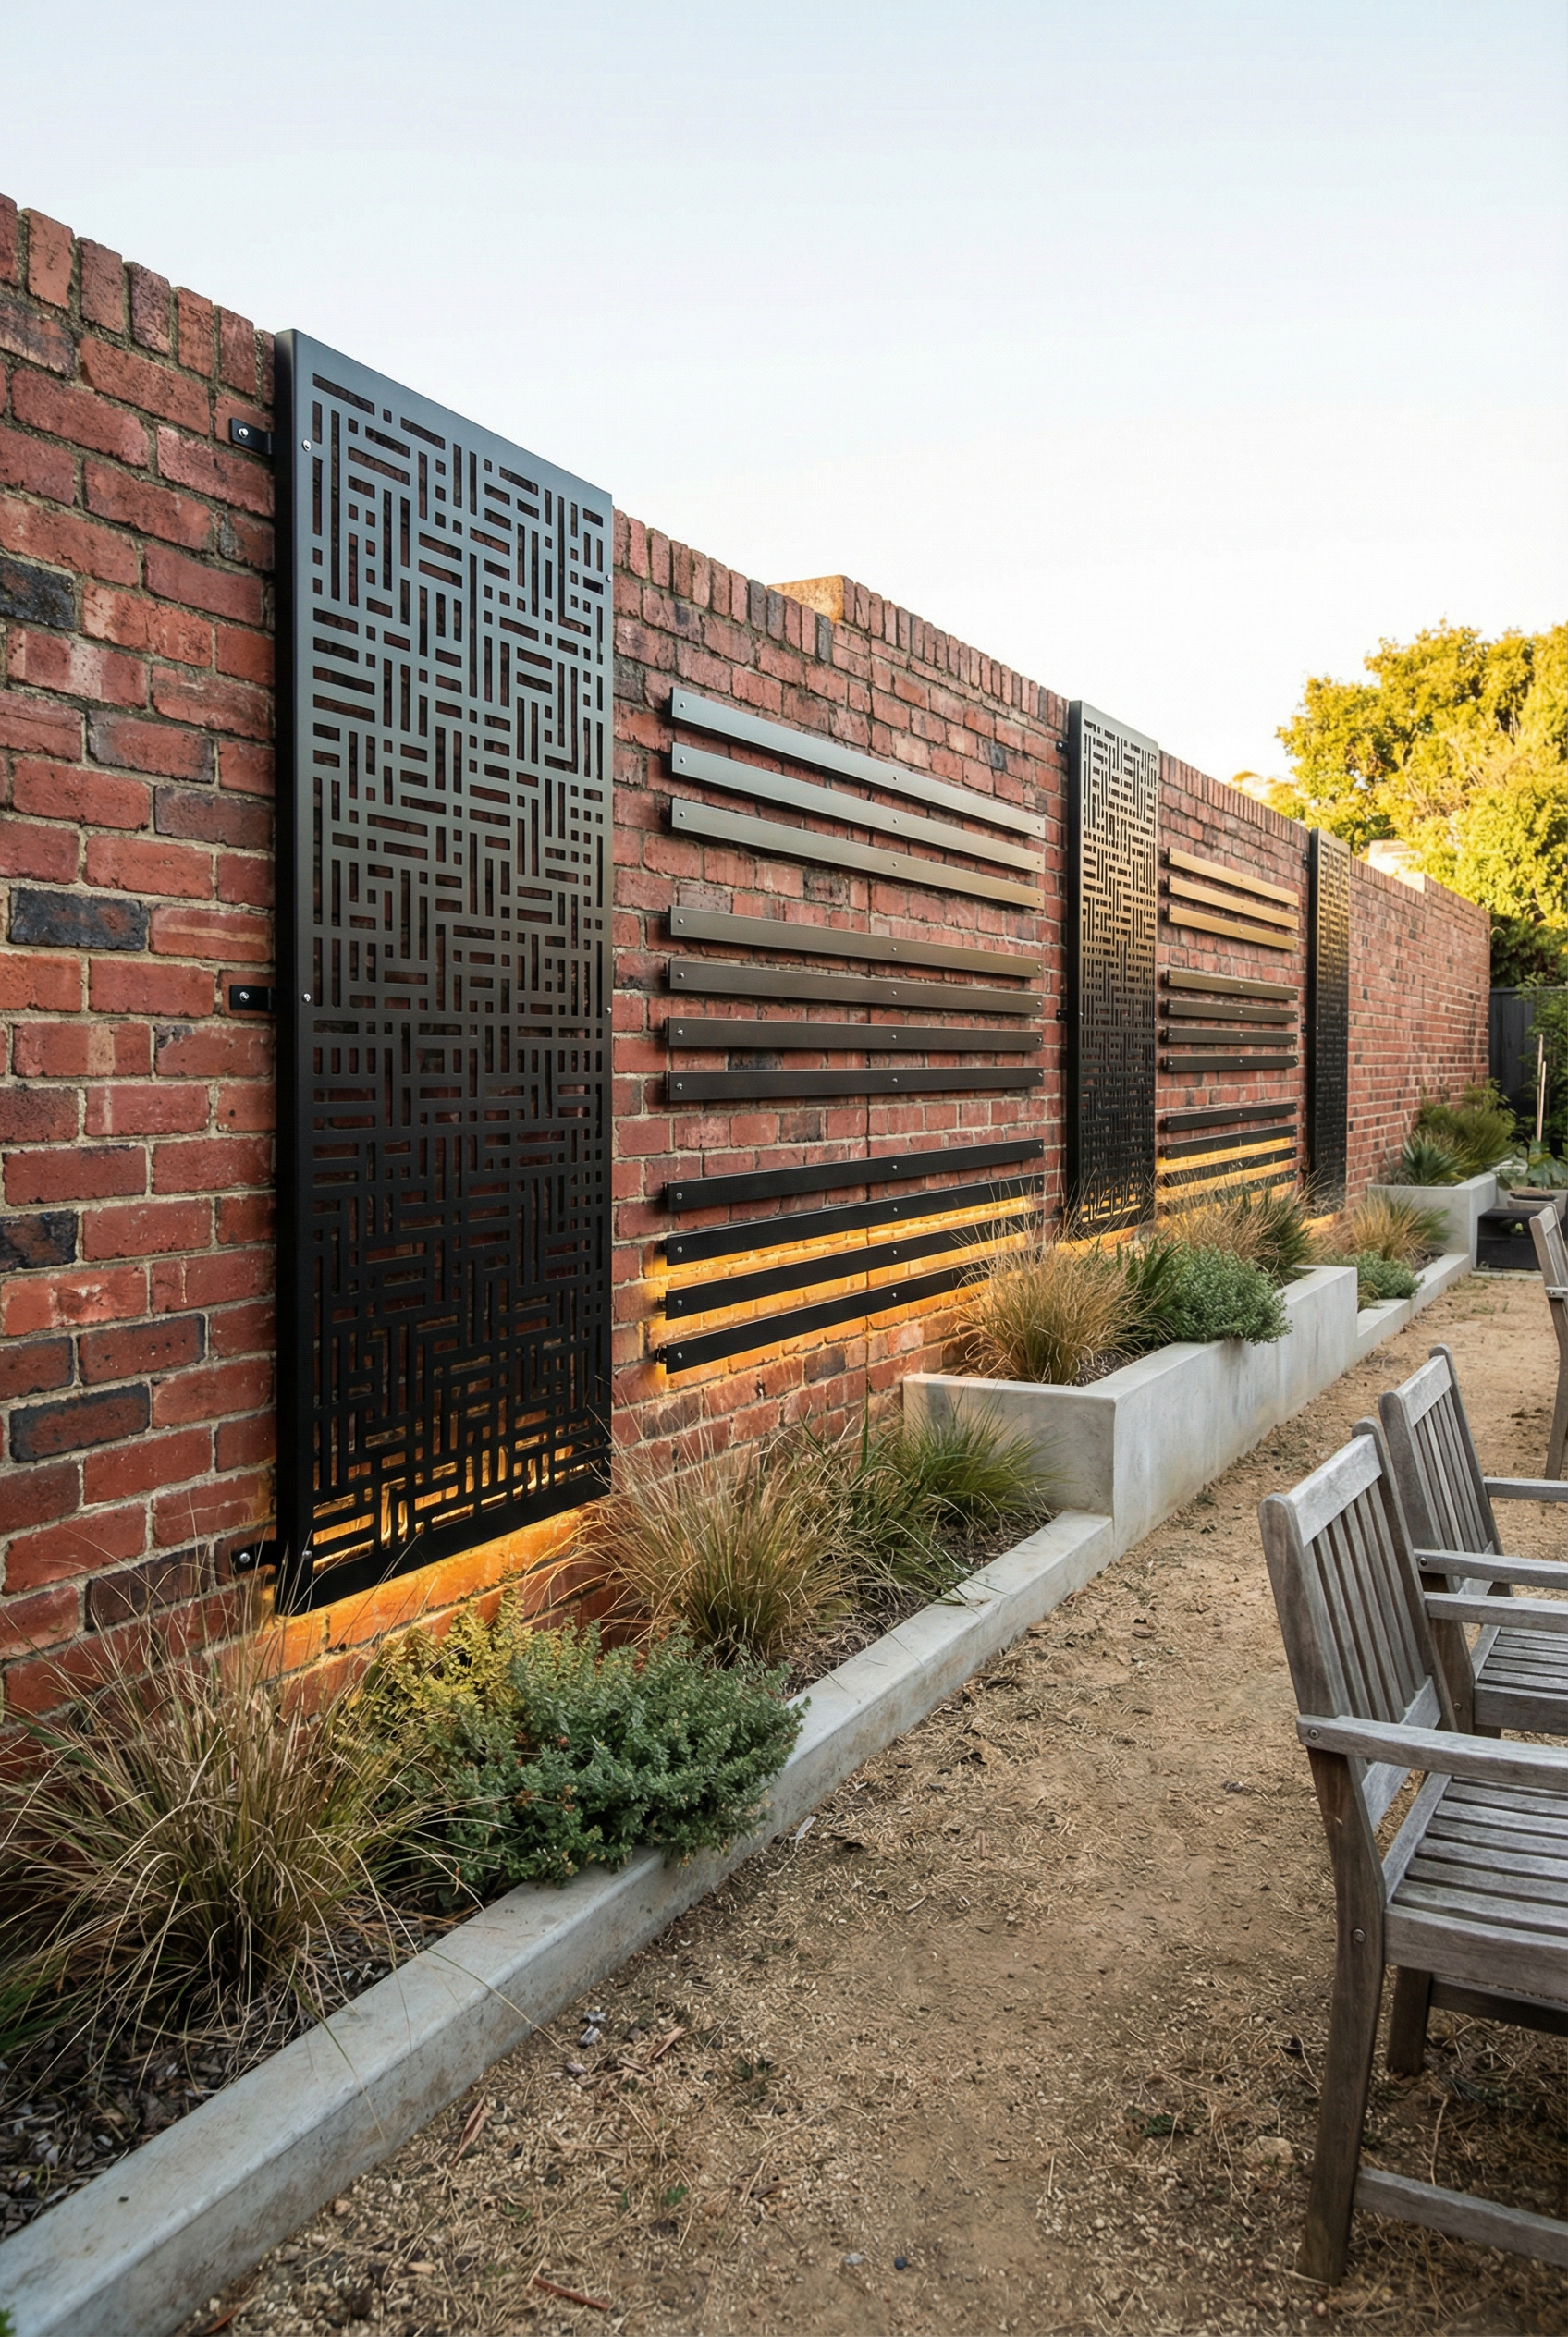
An outdoor-rated metal component gives this brick-and-metal water feature good weather resistance, and its medium weight makes it neither especially light nor heavy. Mount it with screws and anchors, securing the installation in the mortar. It may be unsuitable for salty coastal air unless it has a suitable finish. In the US, it costs $40 to $200, while premium versions can reach $250 and beyond.
Brick Mounting Reality Check
- A light item under 2 lb may sometimes be mounted with outdoor-rated adhesive on smoother brick, but adhesive is not suitable for every brick surface.
- A medium item weighing 2 to 10 lb can be mounted with compatible brick clips or with a screw anchored in the mortar joints.
- For an item weighing 10+ lb, use masonry anchors or masonry screws anchored in the mortar. Consider professional help for this heavier installation.
- If the mortar crumbles when scraped, repair it before anchoring because crumbled mortar reduces anchor reliability.
Simple Safe Brick Mounting
- Determine the item’s weight by weighing it or looking it up online.
- Decide whether the mounting will be temporary or permanent.
- For an item under 2 lb, use outdoor adhesive only if the brick is smooth, clean, and dry.
- Clean the surface and wait until it is completely dry before applying the adhesive.
- For an item weighing 2 to 10 lb, use compatible brick clips or screw the item into the mortar joints.
- Items weighing 10+ lb require masonry anchors or masonry screws secured in the mortar joints.
- Avoid drilling into the brick face unless it is justified and you have the correct equipment.
- Before relying on the mounting, perform a gentle tug test to make sure it holds.
- Use extra caution when mounting items above seating because secure mounting is especially important in that location.
Wind gusts can dislodge outdoor decor, so secure it against the wind.
Texture-Enhancing Paint Treatments
Because brick can feel permanent, painting it may seem like a risky, lasting change. Peeling is one potential drawback of a paint treatment and can create maintenance concerns over time. Match the treatment to your risk tolerance, since treatments vary in softness and durability and can range from temporary to permanent.
Limewash Finish
Limewash gives brick a chalky, old-world look with visible texture and a soft appearance. Outdoors, it holds up well when applied correctly. Applying it requires moderate care, though it is not the most advanced treatment. The finish is semi-reversible, but removing it is not simple, and it typically costs $40 to $70 per gallon.
Whitewash Treatment
Whitewash leaves variation visible, making the brick look lighter rather than fully uniform. It offers medium outdoor durability and low-to-medium difficulty, making it fairly manageable to apply, but it has low reversibility, so returning the brick to its previous state may be difficult. Across the brick surface, whitewash typically costs $30 to $60 per gallon. Test it first because too much opacity can cover more of the brick than intended.
Paint for exterior masonry
On brick, exterior masonry paint creates a smoother overall appearance and a solid color, with high outdoor durability when applied correctly. It requires a moderate amount of preparation and application work, has low reversibility once applied, and typically costs $30 to $60 per gallon.
Start samples in the morning, then check them around 7:10 pm as the light changes. Evening light may increase your confidence in the color.
Start painting in the morning, when wet paint is less likely to come into contact with mosquitoes or the dog, and protect the wet surface for 15m.
Stenciled Wall Patterns
Stenciled patterns turn brick into a patterned surface and can be either tone-on-tone or bold. With the right paint and seal, they offer medium-high outdoor durability, although the materials and finish affect how well the pattern holds up. The design requires careful placement across the brick, making this a medium-difficulty project; the stencil adds to the work, and the paint typically costs $30 to $60 per gallon. Paint can cover the pattern if you want to reverse it, but its reversibility remains low-medium.
Advanced Textured Coatings
Textured coatings hide imperfections and create a uniform texture across brick. For exterior surfaces, they offer high outdoor durability and are made to hold up well outside. Applying them is a demanding project because they are difficult to work with, and they have low reversibility once applied. They typically cost $70 to $120 per gallon.
The textured surface can collect pollen and dust, so the coating may require frequent rinsing, more often than preferred.
Brick Wall Decor Problems
- Outside, avoid indoor adhesives because they are not designed for exterior conditions.
- When mounting decor, use the mortar joints rather than drilling into the brick face whenever possible.
- Behind planters, make sure the drainage works properly because it can affect the wall and the surrounding area.
- Heavy items place more demand on the wall than smaller pieces. Use anchors when hanging them so they have proper support.
- Avoid mixing too many styles without a clear reason, as this can make the wall feel overdecorated.
Garden Wall Plan
Start your garden wall plan with one manageable change rather than trying to transform the entire wall at once. Choose one main feature, such as vertical greenery, a water feature, or one large art piece. After sunset, lighting can give the wall a different appearance, so add lighting to showcase it once the natural light is gone. Smaller accents can come later, after the main feature is in place and feels right.
A wall can serve as a soft backdrop, a dramatic night wall, or a functional zone. Defining its purpose first simplifies the design choices. For a long-term solution, drilling may be necessary when a secure installation requires it.
Homeowner Brick Wall Decor FAQs
Improving a Garden Brick Wall
A garden brick wall looks less flat when you add greenery to soften the brick and lighting to reveal its texture at night. One strong focal point usually does more than many small items.
Styles for Brick Wall Decor
Metal art, mirrors, trellises, and layered planters can interrupt the brick grid, while curved forms add contrast to the wall’s straight lines.
Budget Brick Wall Improvements
Start with two uplights and one large piece of wall art. If you want a slower transformation, add a simple trellis and a young vine later.
Hanging Objects on an Outdoor Brick Wall
The brick’s textured, tough surface is not always easy to work with, and easy hooks usually have low reliability. For medium or heavy loads, mount them in the mortar joints with masonry screws or masonry anchors.
No-Drill Outdoor Brick Hanging
A freestanding grid panel can lean against the wall instead of being fixed to it, with hanging pots attached to the panel. If the brick shape allows, try brick clips, while solar lights offer a nonpermanent way to style the setup.
Command Strips on Outdoor Brick
On outdoor brick, command strips usually perform poorly because the porous, uneven surface makes adhesion unreliable. Sticky products may be worth testing only for very light, temporary items.
Adhesives for Outdoor Brick
Exterior-rated masonry adhesives may work on smoother brick for very light items, but they are not a universal solution. Mechanical fastening has a higher safety margin, so consider it for personally valued items.
Brick Clips for Outdoor Brick
Brick clips sometimes work, but their grip depends on the brick profile. Check compatibility before buying, since the brick needs a suitable lip.
Anchors for Brick Walls
For many homeowner projects, masonry screws are suitable for medium loads when installed in the mortar joints, while masonry anchors can handle heavy loads. For heavy items, especially anything over seating, consider professional help.
Product Notes for Brick Mounting
Start by checking the compatibility notes. Brick clips work only with certain brick shapes and edges. Removable adhesive strips are generally intended for nonporous surfaces, so most outdoor brick is unsuitable because it is porous and textured. Temperature swings and moisture can also affect how the strips perform outdoors, so test them first and keep the load light. Masonry joints provide places to mount items, while masonry-rated screws and anchors can secure medium to heavy items. For items in that weight range, mechanical fastening into the mortar is generally safer than relying on adhesives.
Choose one small move, such as two uplights, and give the wall one clear purpose. Starting with a single light source can make later decisions easier.