

You want a master bathroom layout that holds up to real mornings, everyday mess, and actual people. The right placement for the shower, tub, vanity, and toilet can make the whole room feel calmer instead of chaotic. Pretty inspiration is nice, but a bathroom still has to work.
You want to know where the toilet actually belongs, whether an oversized shower earns its space, and whether removing the tub could quietly hurt resale. Compare real master bathroom layouts with “best for” notes, along with their pros and cons, and pay attention to where each option works especially well. Use the spacing rules and clearances that matter for your plan instead of relying on vibes, then choose a direction without endlessly debating every possibility. Sketch the space one decision at a time; even a junk mail envelope can hold the beginning of a bathroom plan.
Choose a Layout in 60 Seconds
Use the room’s size and your priorities to narrow the options quickly. You should be able to identify a likely layout in about one minute.
Bathroom Size Buckets

- In a bathroom under 80 sq ft, prioritize storage. Consider a hotel corridor layout, a walk-in shower, or storage integrated into the layout.
- For a bathroom measuring 80 to 120 sq ft, consider a split plan, a double-vanity wall with a separate shower and tub, an L-shaped primary bath, or a double vanity with a private toilet room.
- For a bathroom measuring 120+ sq ft, consider a roomy floor plan, a U-shaped luxury arrangement, a spa-style wet room, or separate vanities for each person.
Bathroom Planning Must Haves
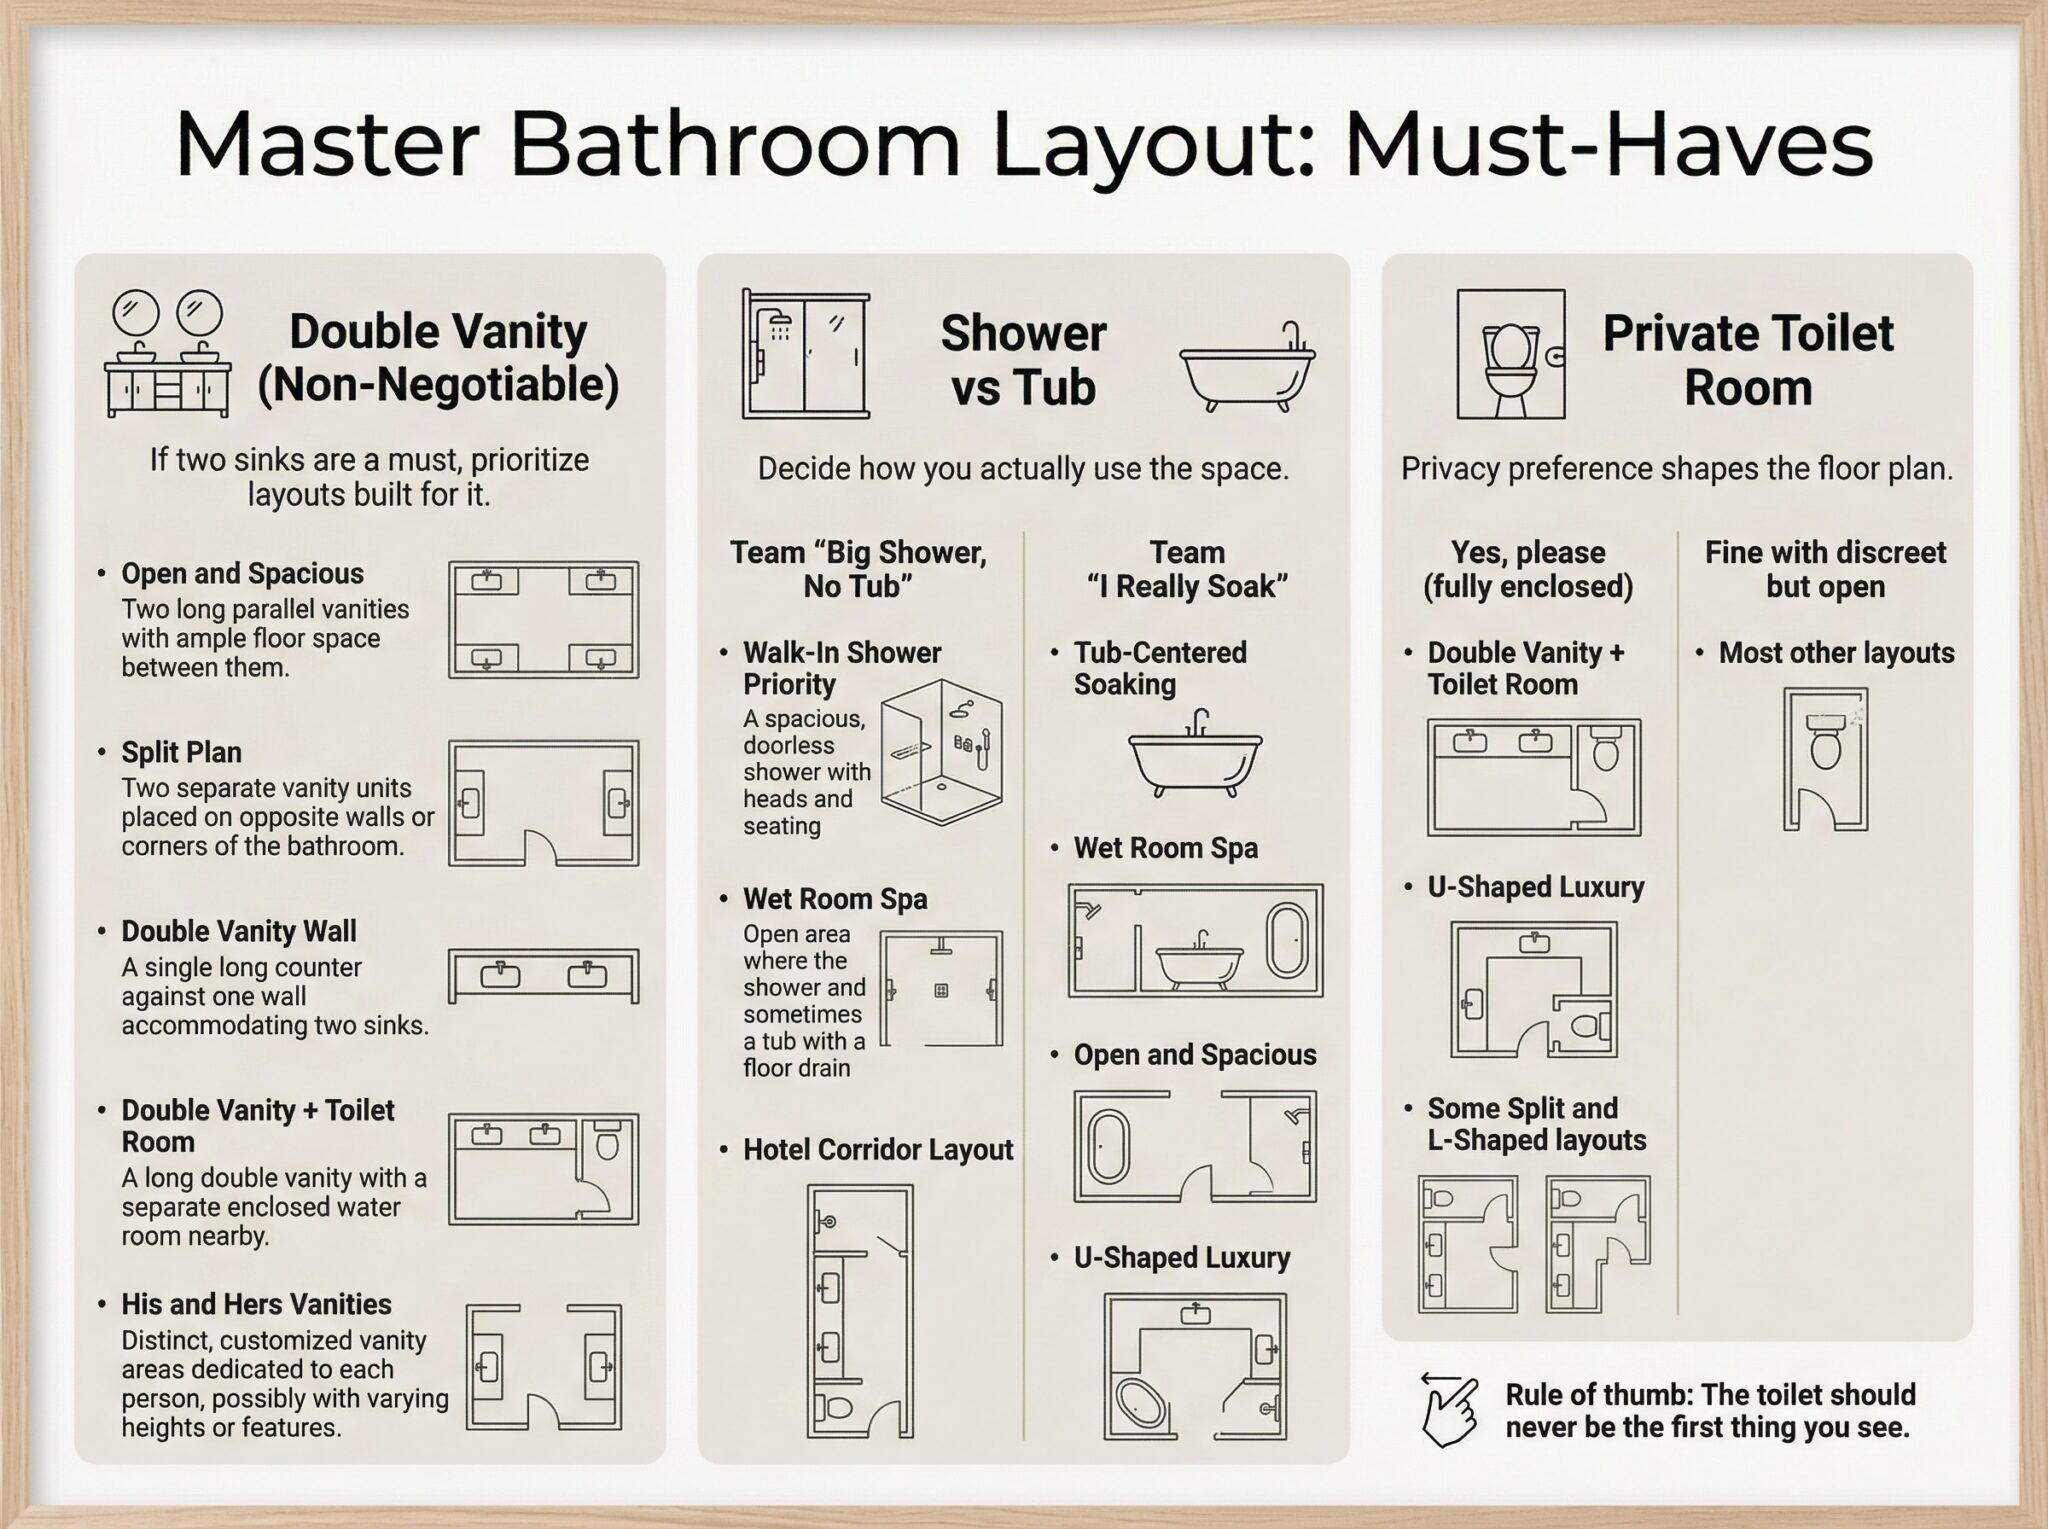
A double vanity is non-negotiable. When one is required, consider an open and spacious layout, a split plan, a double vanity wall, a double vanity with a toilet room, or separate vanities for each person. If you do not want a tub, make room for a large shower with a walk-in shower priority layout, wet room spa, or hotel corridor layout. If soaking is the priority, center the layout on the tub and consider a wet room spa, an open and spacious plan, or a U-shaped luxury layout.
Select the size bucket and then choose the must-haves. That leaves a short list, while the remaining layouts are nonessential.
Assess Primary Bathroom Needs
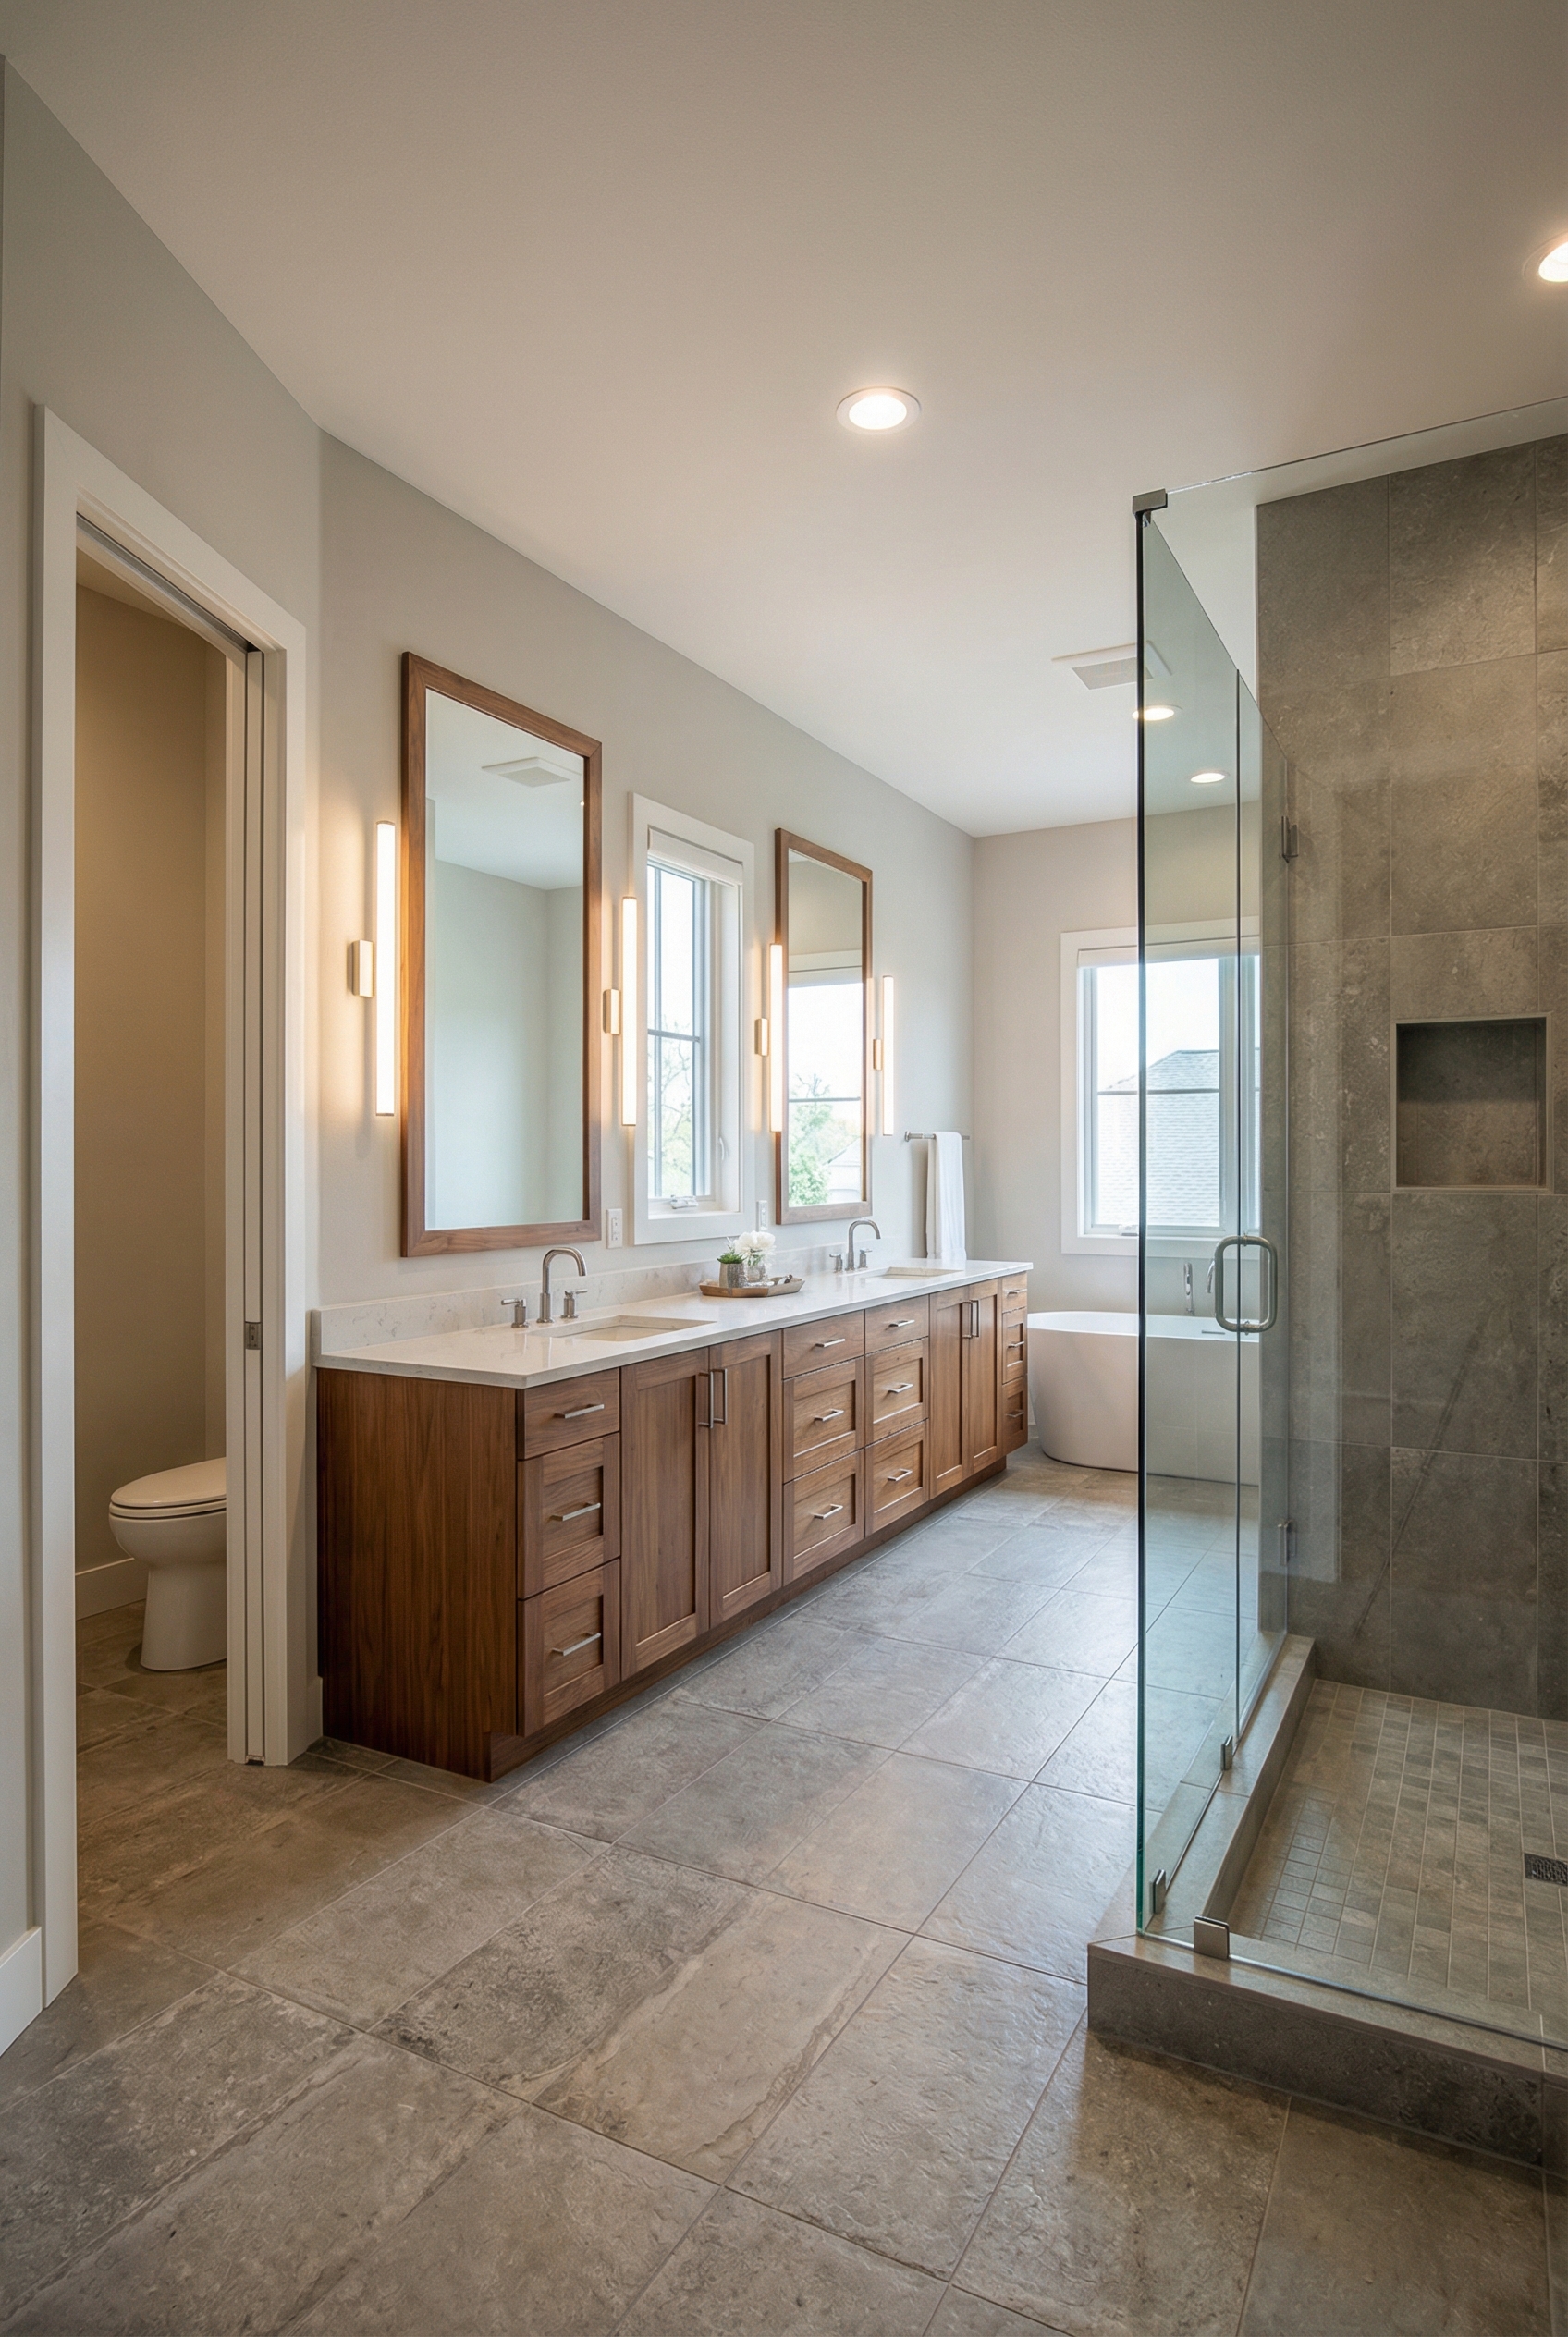
Picture a normal weekday morning instead of a spa-retreat fantasy; the ordinary routine is the more useful test for a bathroom layout. Bathroom planning depends on the room’s size, its must-haves, and the plumbing reality. Considering those factors early helps prevent repeated reconsideration and unnecessary layout changes.
Begin with the available area. Measure the room roughly and identify its size bucket; the estimate is enough to place the bathroom in the right range.
- In a compact primary bath under 80 sq ft, every inch matters, so use the available space carefully.
- A bathroom around 80 to 120 sq ft is normal for many homes. It can usually hold double sinks and a comfortable shower, with room possibly left for a tub.
- A larger floor plan of 120+ sq ft can support separate zones, a bigger shower, a seated vanity, and extra storage.
Next, identify the bathroom’s must-haves and tie them to how the room needs to work. Include the less obvious decisions and separate true non-negotiables from features that would simply be nice to have.
- At the vanity, decide between double sinks and one sink; the sink count is a basic planning choice.
- For bathing fixtures, choose between a shower only and a shower plus tub. That decision affects how the bathroom is arranged.
- The toilet can sit in a private toilet room or remain open to the space. Choose its placement with the rest of the bathroom in mind.
- Linen storage may go inside the bathroom or nearby. Decide where those linens will be kept before finalizing the layout.
- Decide whether the shower needs a bench. A bench can provide a place to sit or support daily routines, but it also takes up space.
- Decide whether you want a luxury primary bath or simply a room that feels calm and functional during a 6 a.m. routine.
Fixture locations depend on the plumbing behind them, so evaluate those constraints before choosing the final layout. Moving plumbing can increase costs, while keeping fixtures in the same wall area is cheaper than an entire-room flip, although relocation can still be worthwhile.
- During renovation, decide between a full gut and working from the current fixture wall. The scope of the work affects the layout choices.
- Exterior walls can affect windows and niches, and making a window or niche work there may be tricky.
- The bathroom above or below can affect the location of drains and vent stacks. Check those connections before moving fixtures.
Sample Bathroom Floor Plans
Use real dimensions when working through bathroom floor plans. An 8×10 room provides about 80 sq ft to plan around.
An approximately 80 sq ft 10 × 10 space
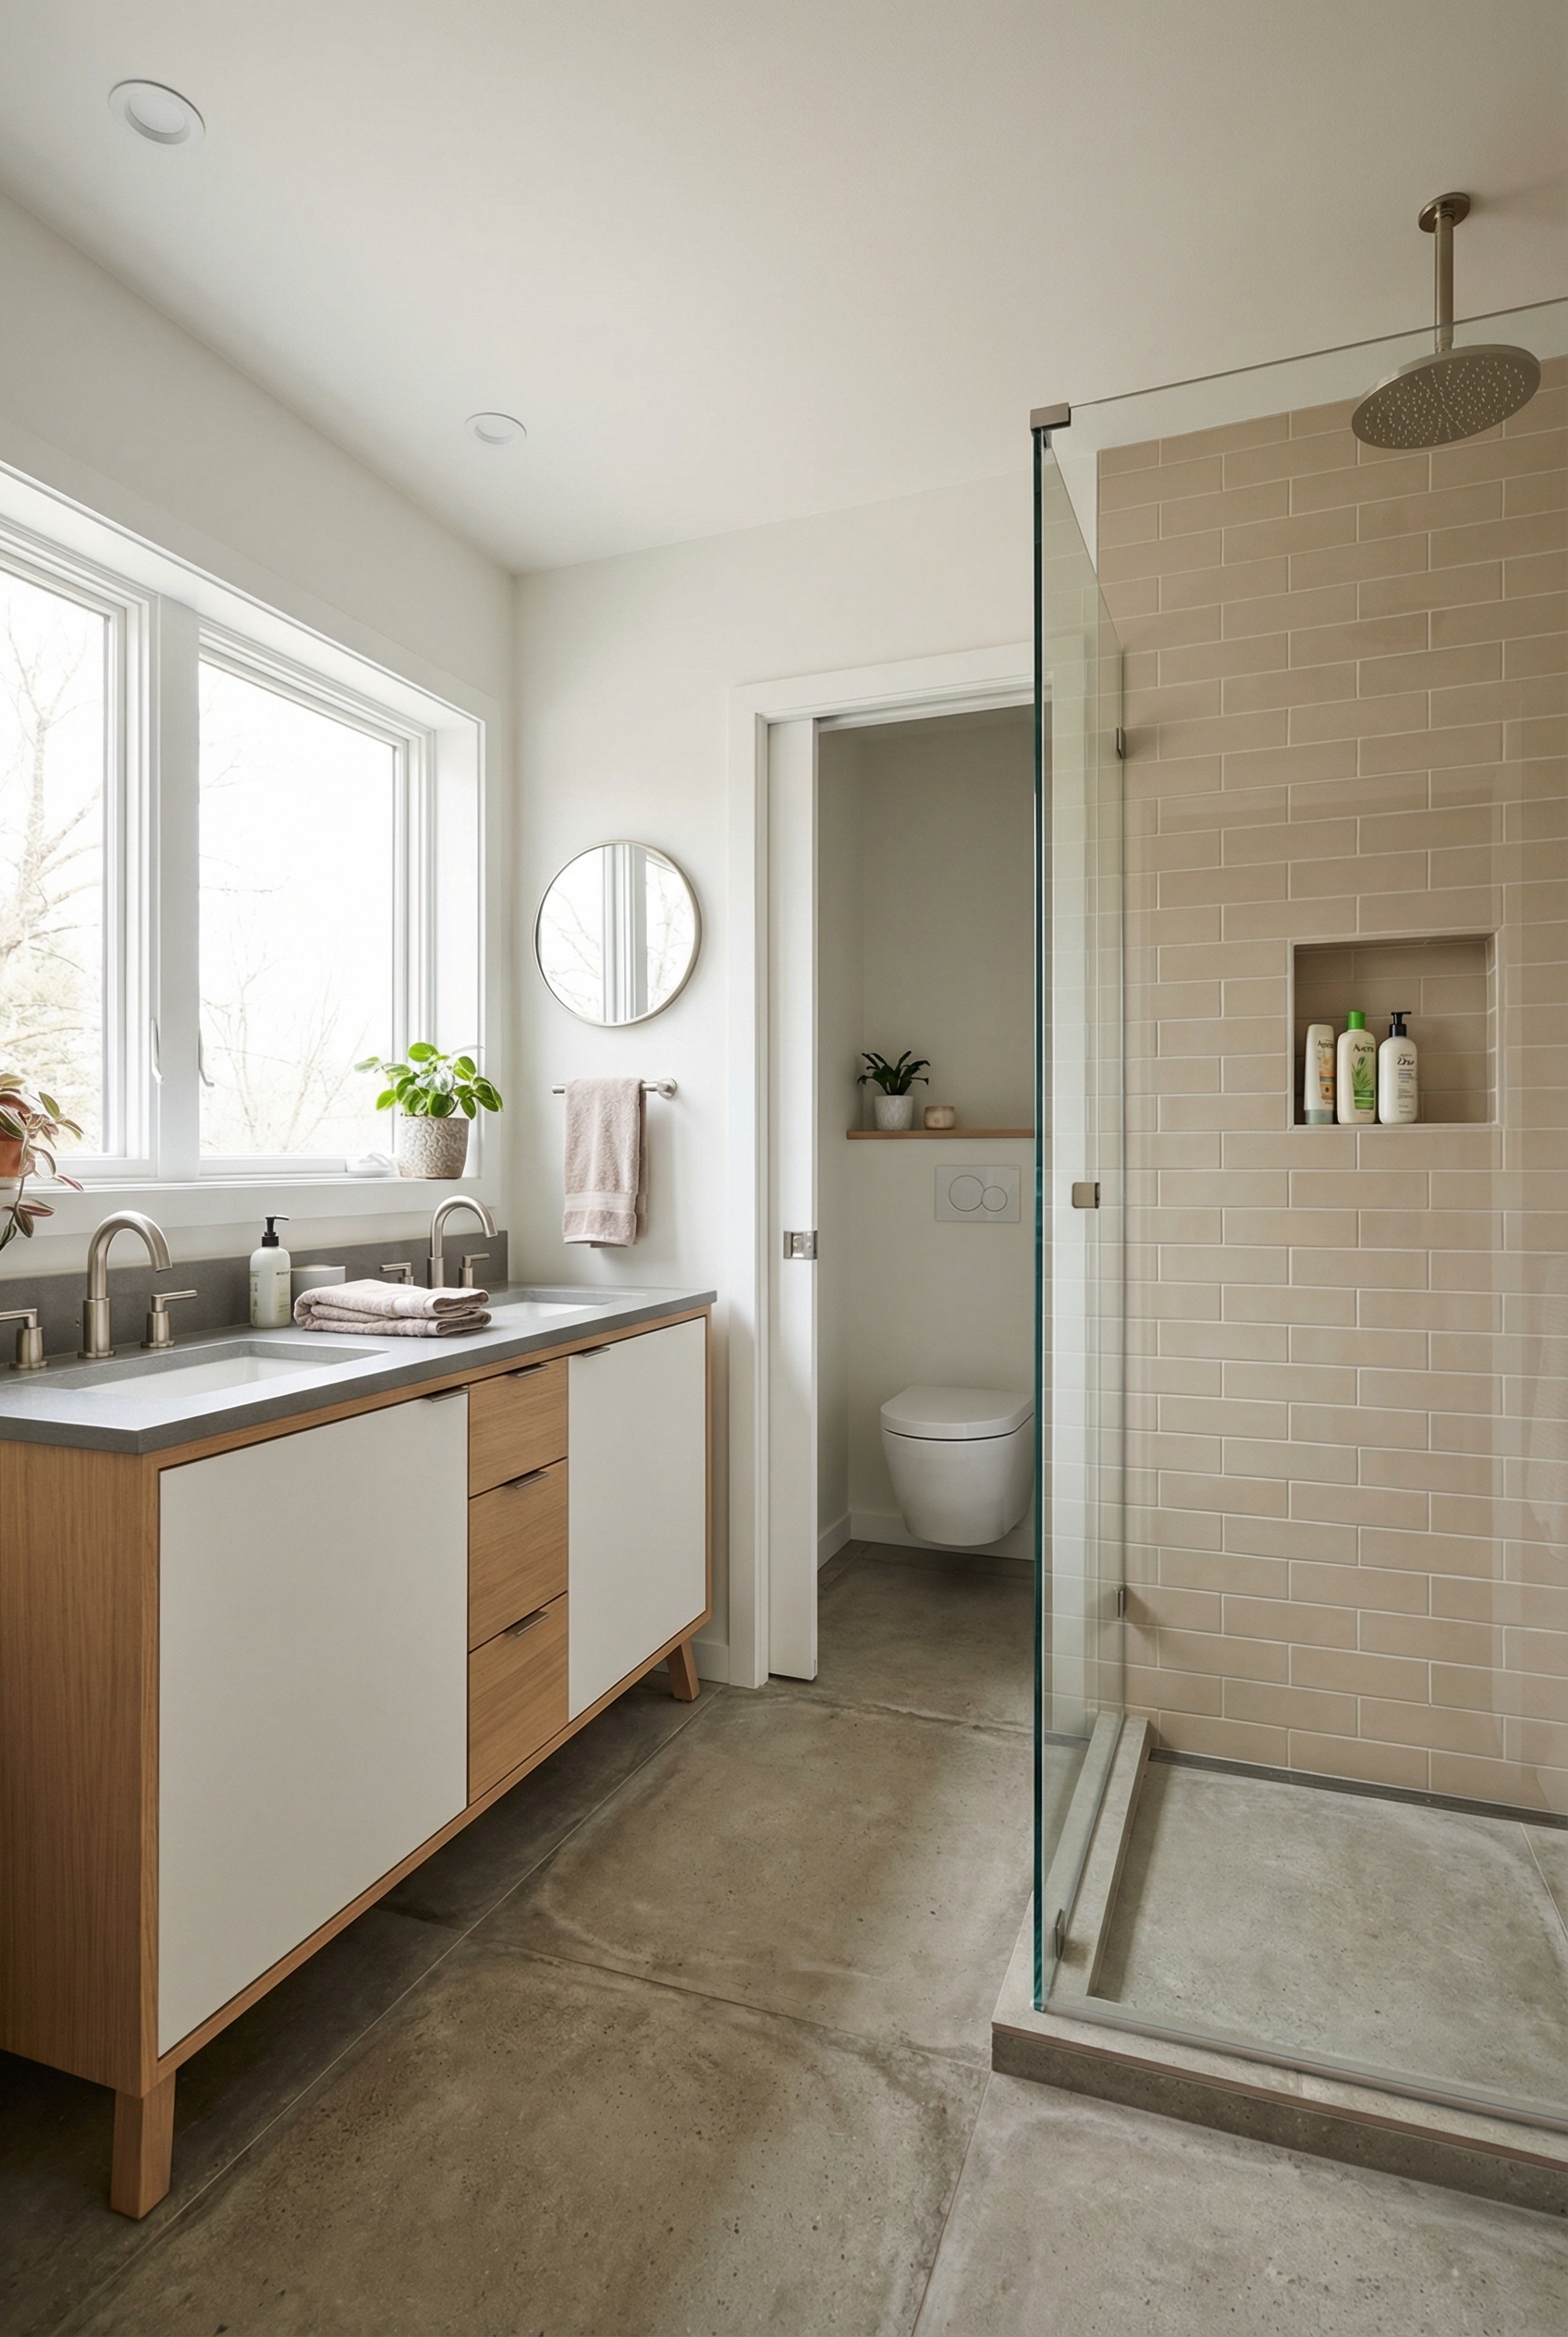
- In about 80 sq ft, the bathroom can fit a single vanity or a compact double vanity, along with a shower and toilet zone. A compact double vanity may measure 48 to 60 inches, the shower may range from 36×48 to 36×60 inches, and the toilet zone is about 30 inches wide.
- At about 80 sq ft, use one functional bathing space rather than trying to fit both a tub and a generous shower. Choose the tub or the generous shower.
10 × 10-Foot Bathroom: 100 Square Feet
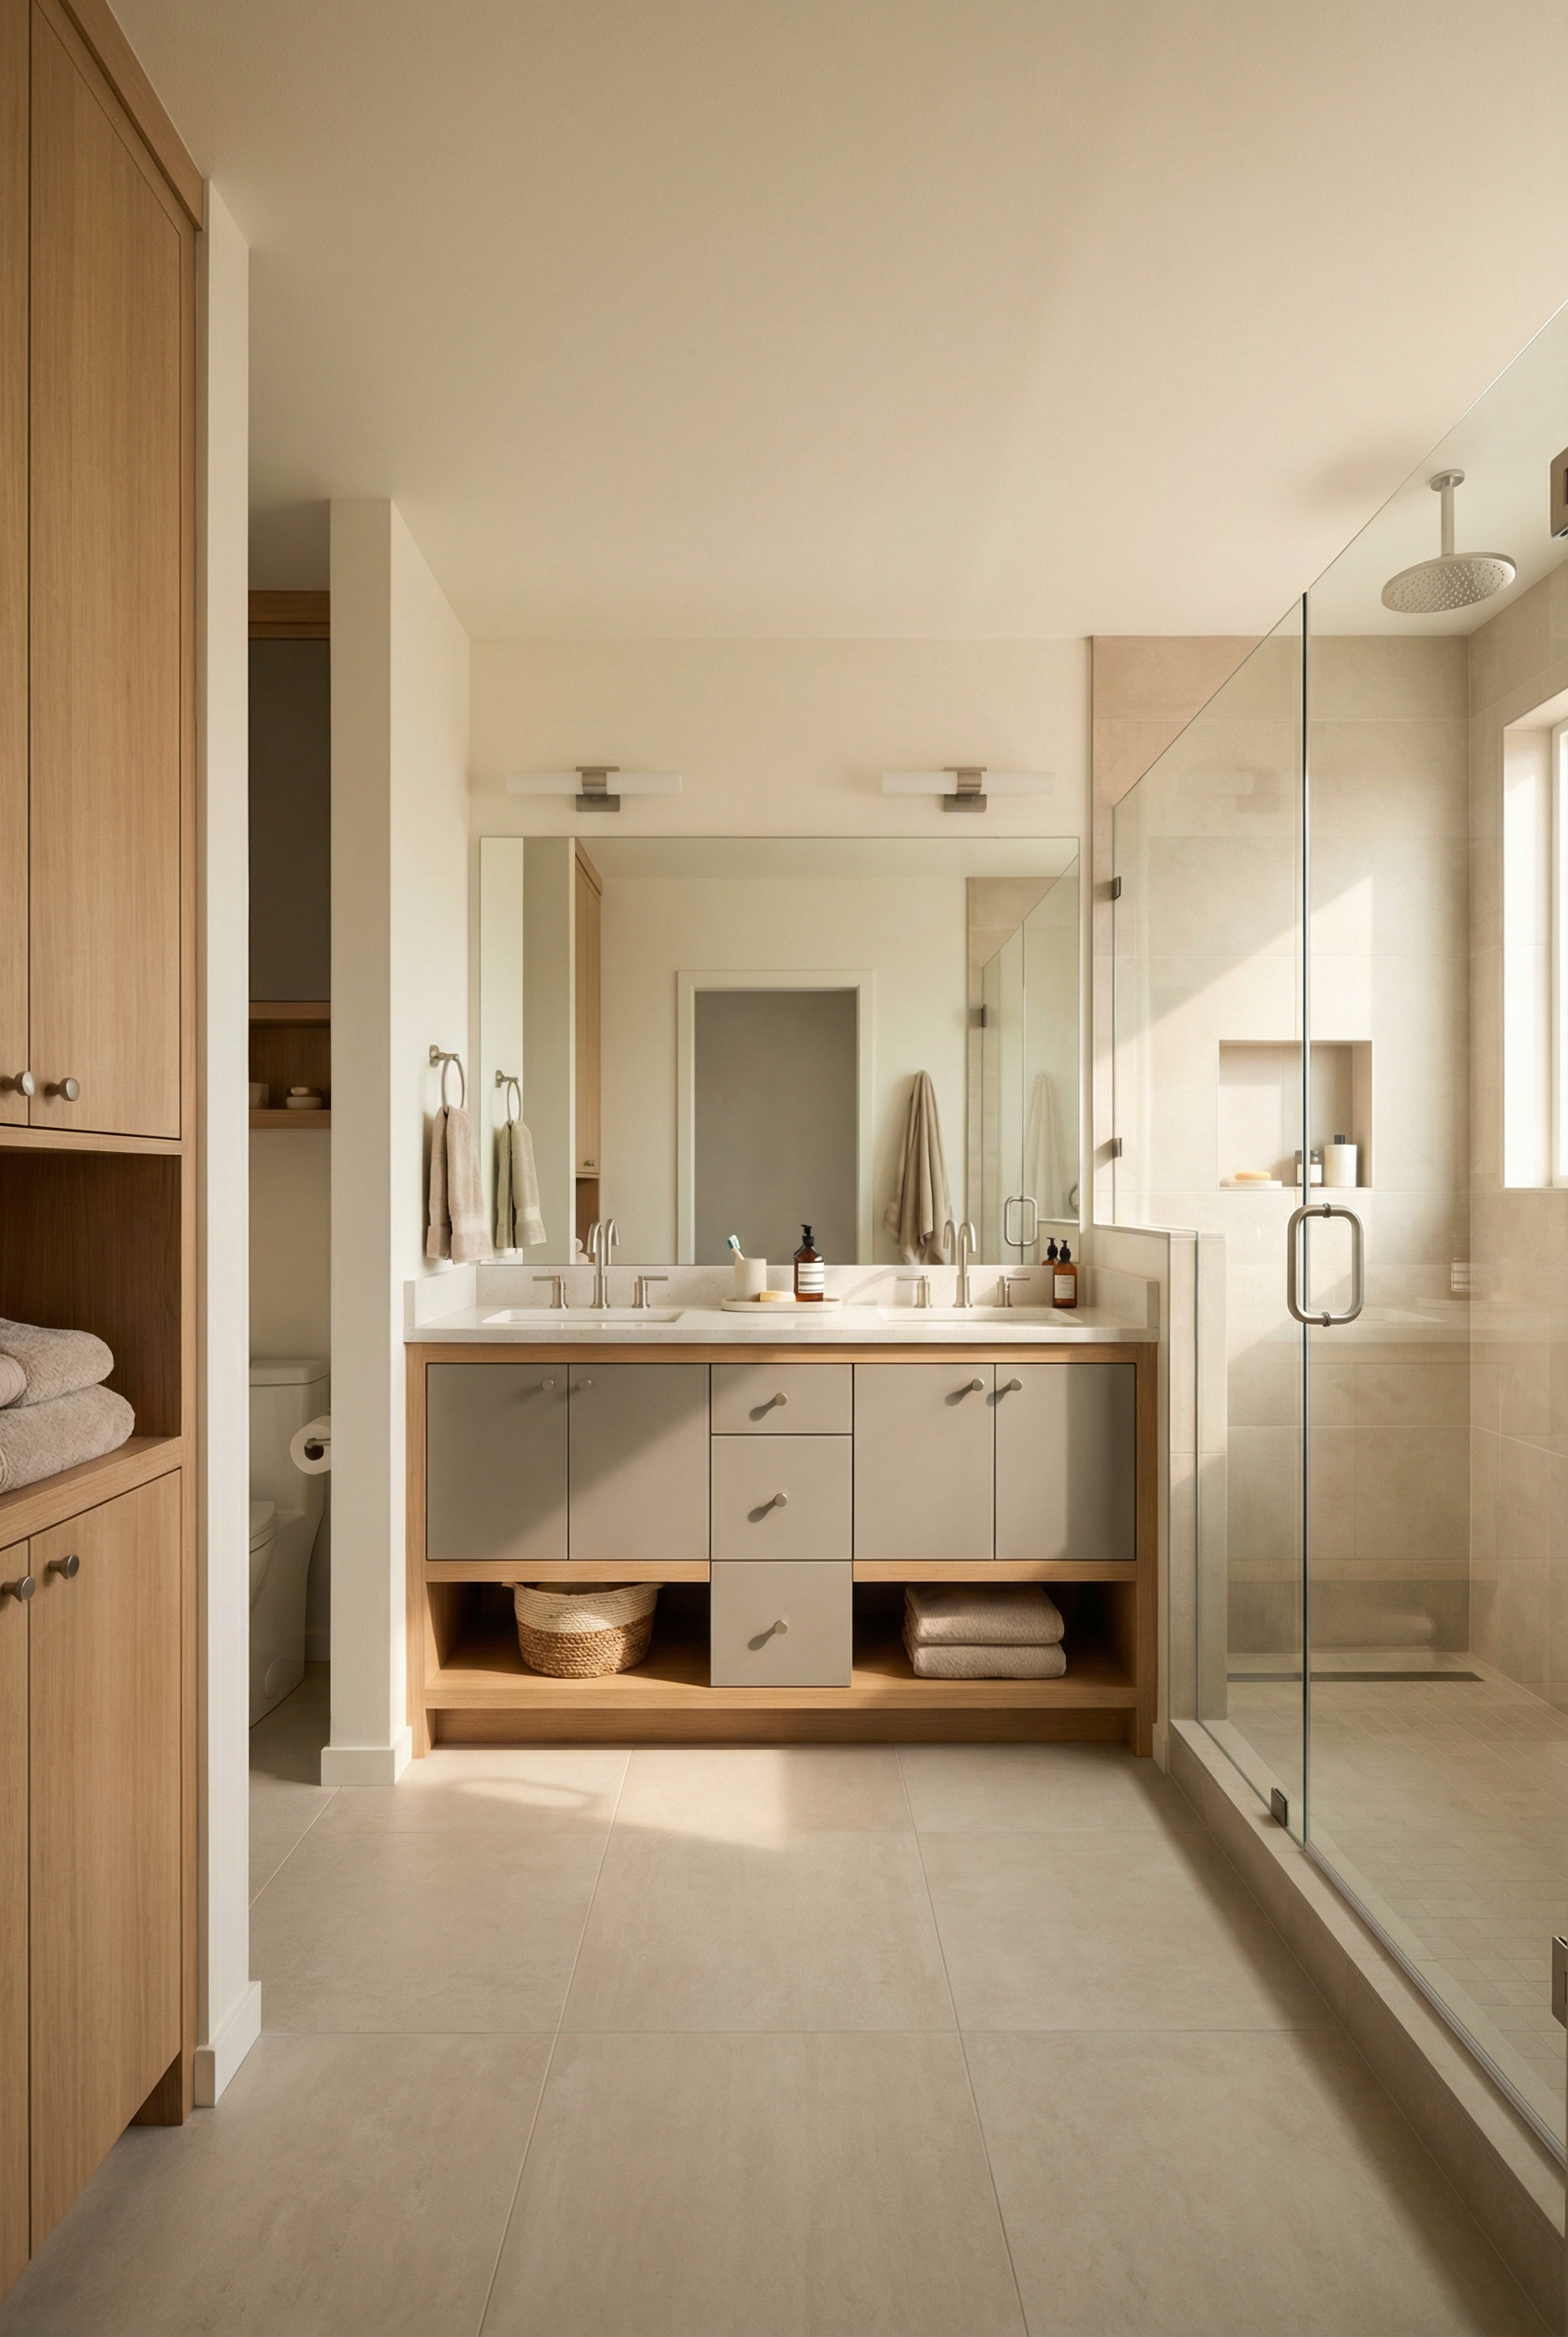
In a 10×10 bathroom, a comfortable double vanity measuring 60 to 72 in usually fits alongside a separate 42×60 in shower. A compact tub can fit too, or that space can be used for a storage tower. Use a 10×10 bathroom as a primary bathroom when you want support for two-person mornings and separate zones. It can be practical and organized, but it is not a full spa.
Bathroom Area 10×12 ft 120 sq ft
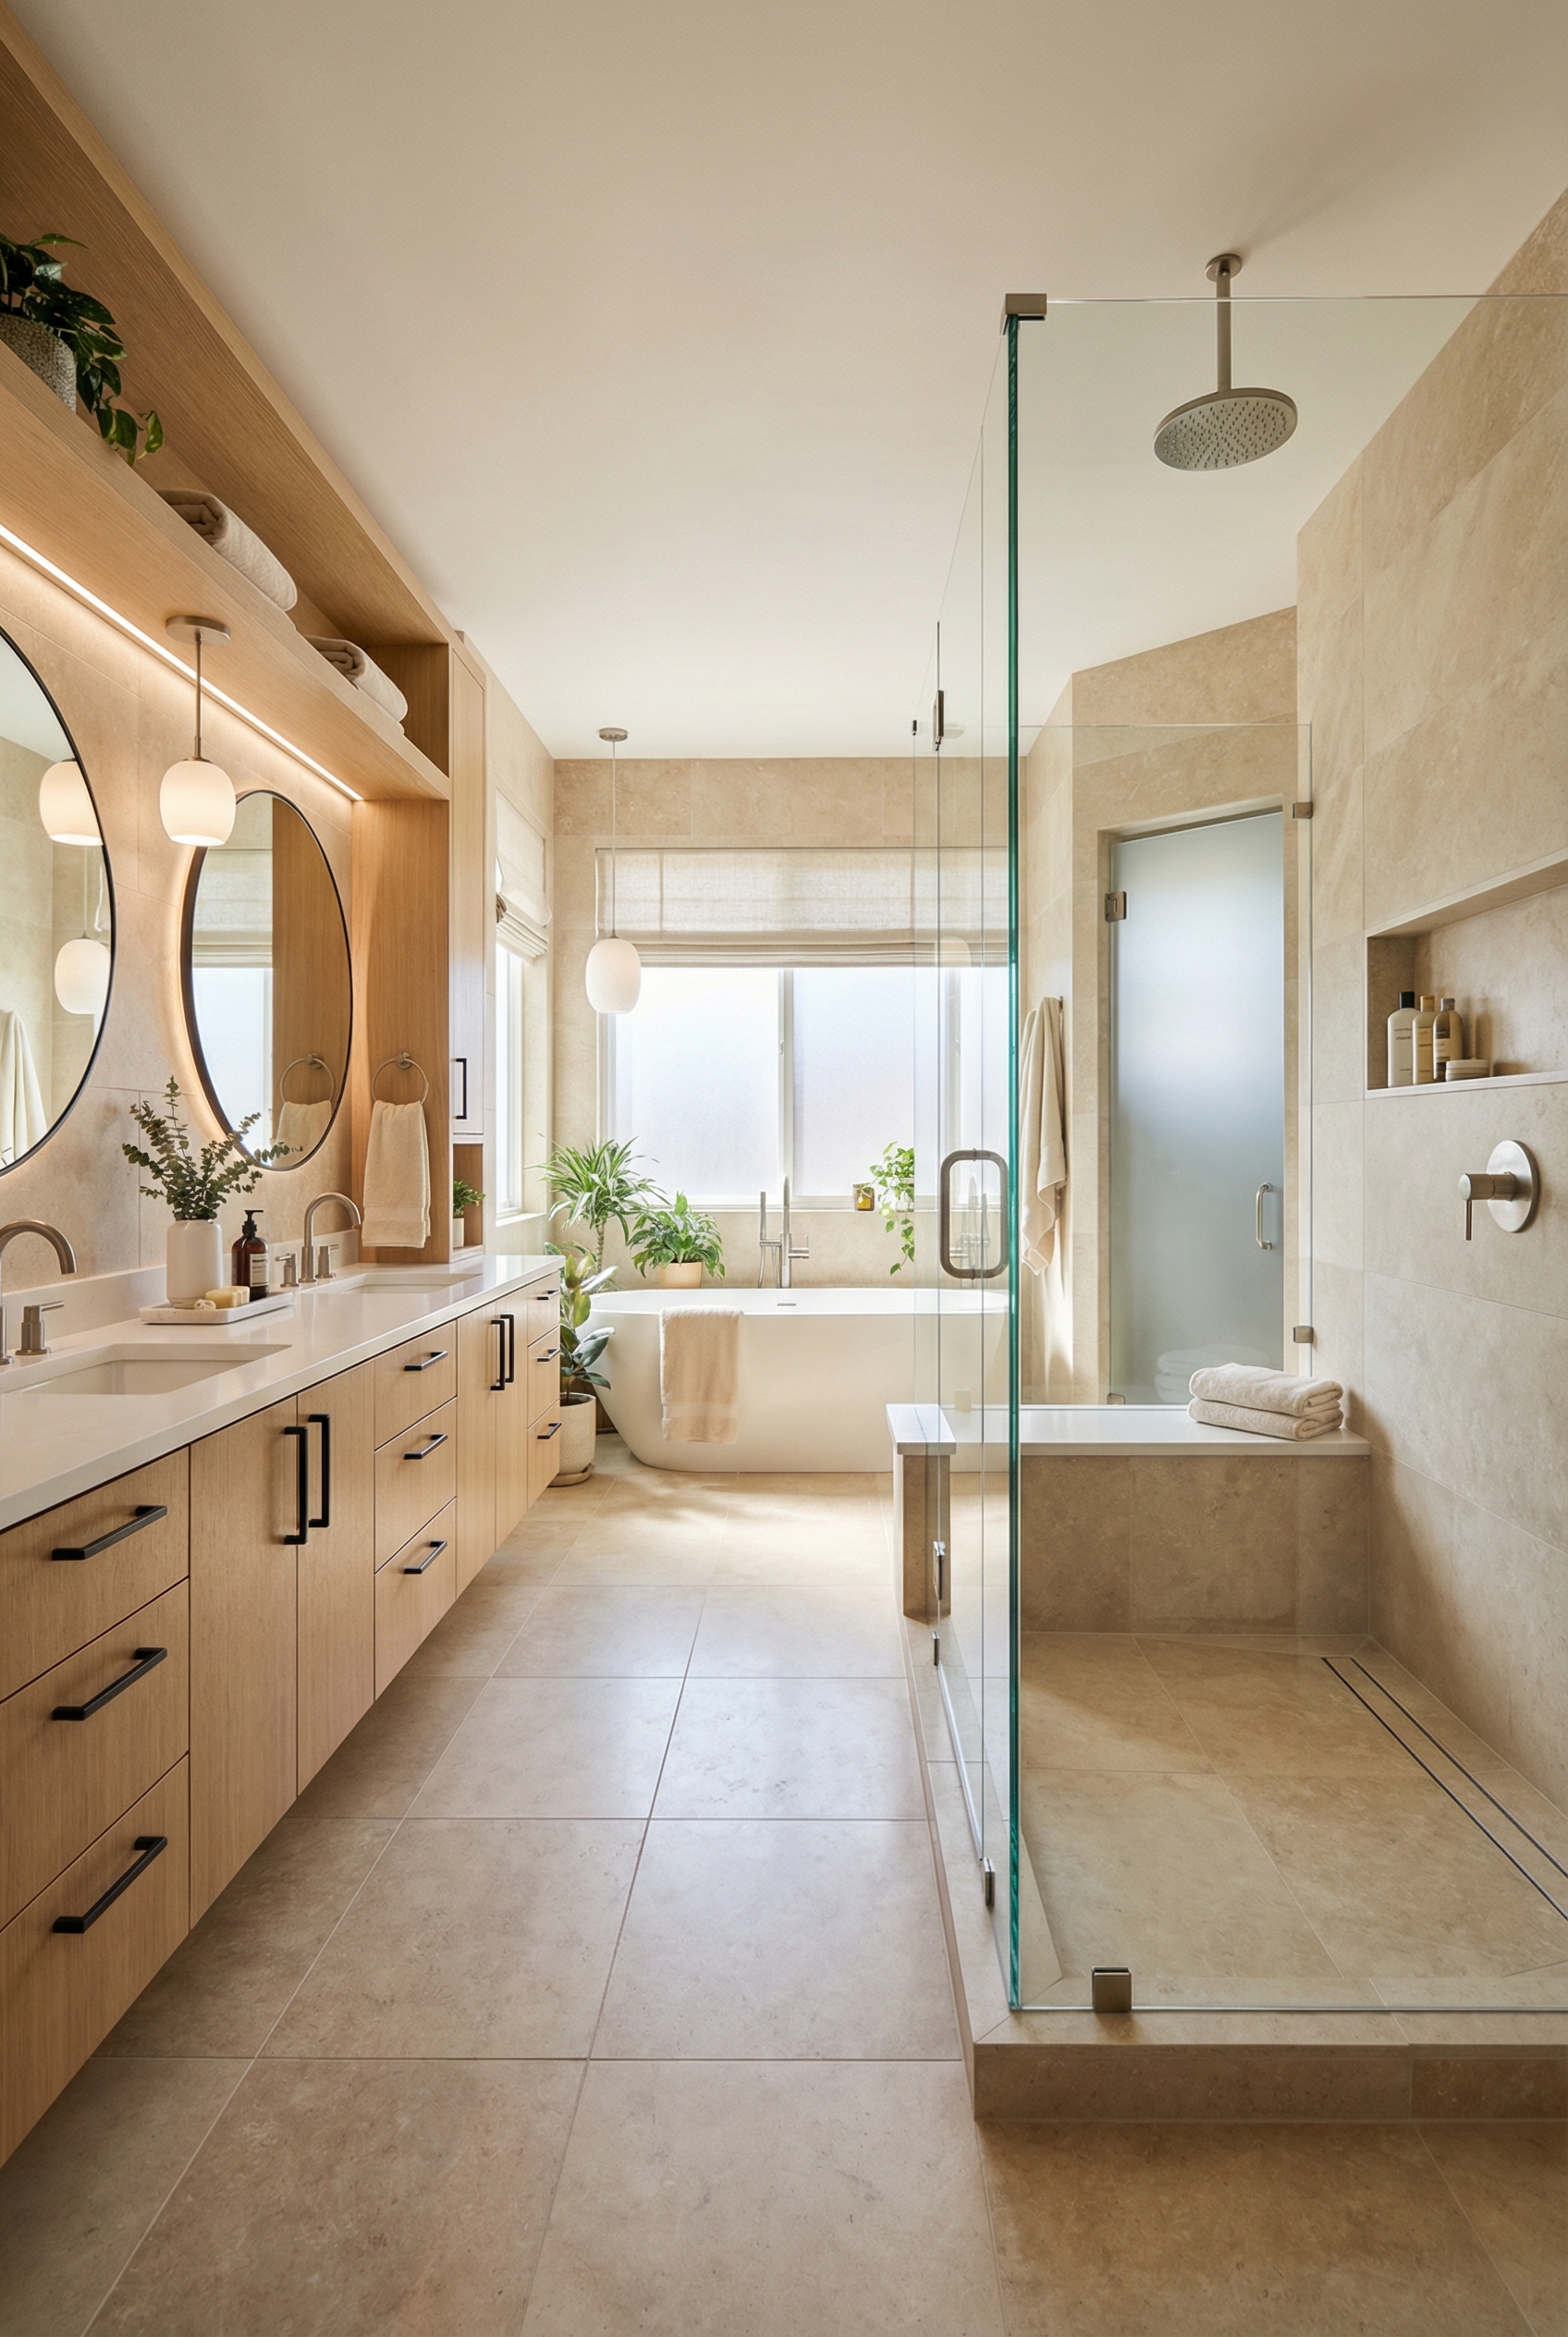
- A 10×12 bathroom usually fits a 72 in or larger double vanity, a large walk-in shower, a soaking tub, and a toilet area. The toilet area can be designed as a toilet nook or a water closet.
- In a 10×12 bathroom, a wet room or an L-shaped or U-shaped layout can keep the fixtures from feeling crowded. Consider this size for a retreat bathroom with an uncongested layout.
Bathroom Spacing Rules
Treat these spacing rules as planning guidance, not as a substitute for checking local building codes. Proper clearances support comfort and safety.
A spacing guide covers the clearances needed around bathroom fixtures.
| Area or fixture is the measurement category. | Comfortable target means the preferred clearance. | Typical minimum means a common planning minimum that is often used. |
|---|---|---|
| The sink clearance is measured in front of the sink. | In front of the sink, the comfortable target is 30 in or more. | For the sink, the typical minimum is 21 to 24 in in front. |
| The toilet clearance is also located in front of the toilet. | In front of the toilet, plan for a comfortable target of 30 in or more. | The toilet can have a typical minimum clearance of 21 to 24 in in front. |
| Tub clearance refers to the space in front of the tub. | In front of the tub, the comfortable target is 30 in or more. | The tub’s typical minimum clearance is 21 to 24 in in front. |
| At the shower entry, the shower entry clearance is the space needed to move through the opening. | A comfortable target at the shower entry is 30 in or more. | The typical minimum shower entry clearance is 24 in. |
| The toilet centerline is measured in relation to the side wall. | From the side wall, the recommended toilet centerline is 18 in. | The minimum toilet centerline distance from the side wall is 15 in. |
| A separate toilet room has its own size to account for. | The recommended size for the separate toilet room is 36×66 in. | The minimum separate toilet room size is 30×60 in. |
Before using these measurements, check local building codes and consult the local inspector. The listed dimensions are planning standards only and are not legal advice.
In front of each major fixture, sketch a 30-inch clearance bubble. If the bubbles overlap extensively, the layout will feel tight, and the sketch helps assess how spacious it may feel in real life.
Primary Bathroom Layout Types
Floor plans show how a bathroom layout functions, including how the available space is used.
Open Primary Bathroom Floor Plan
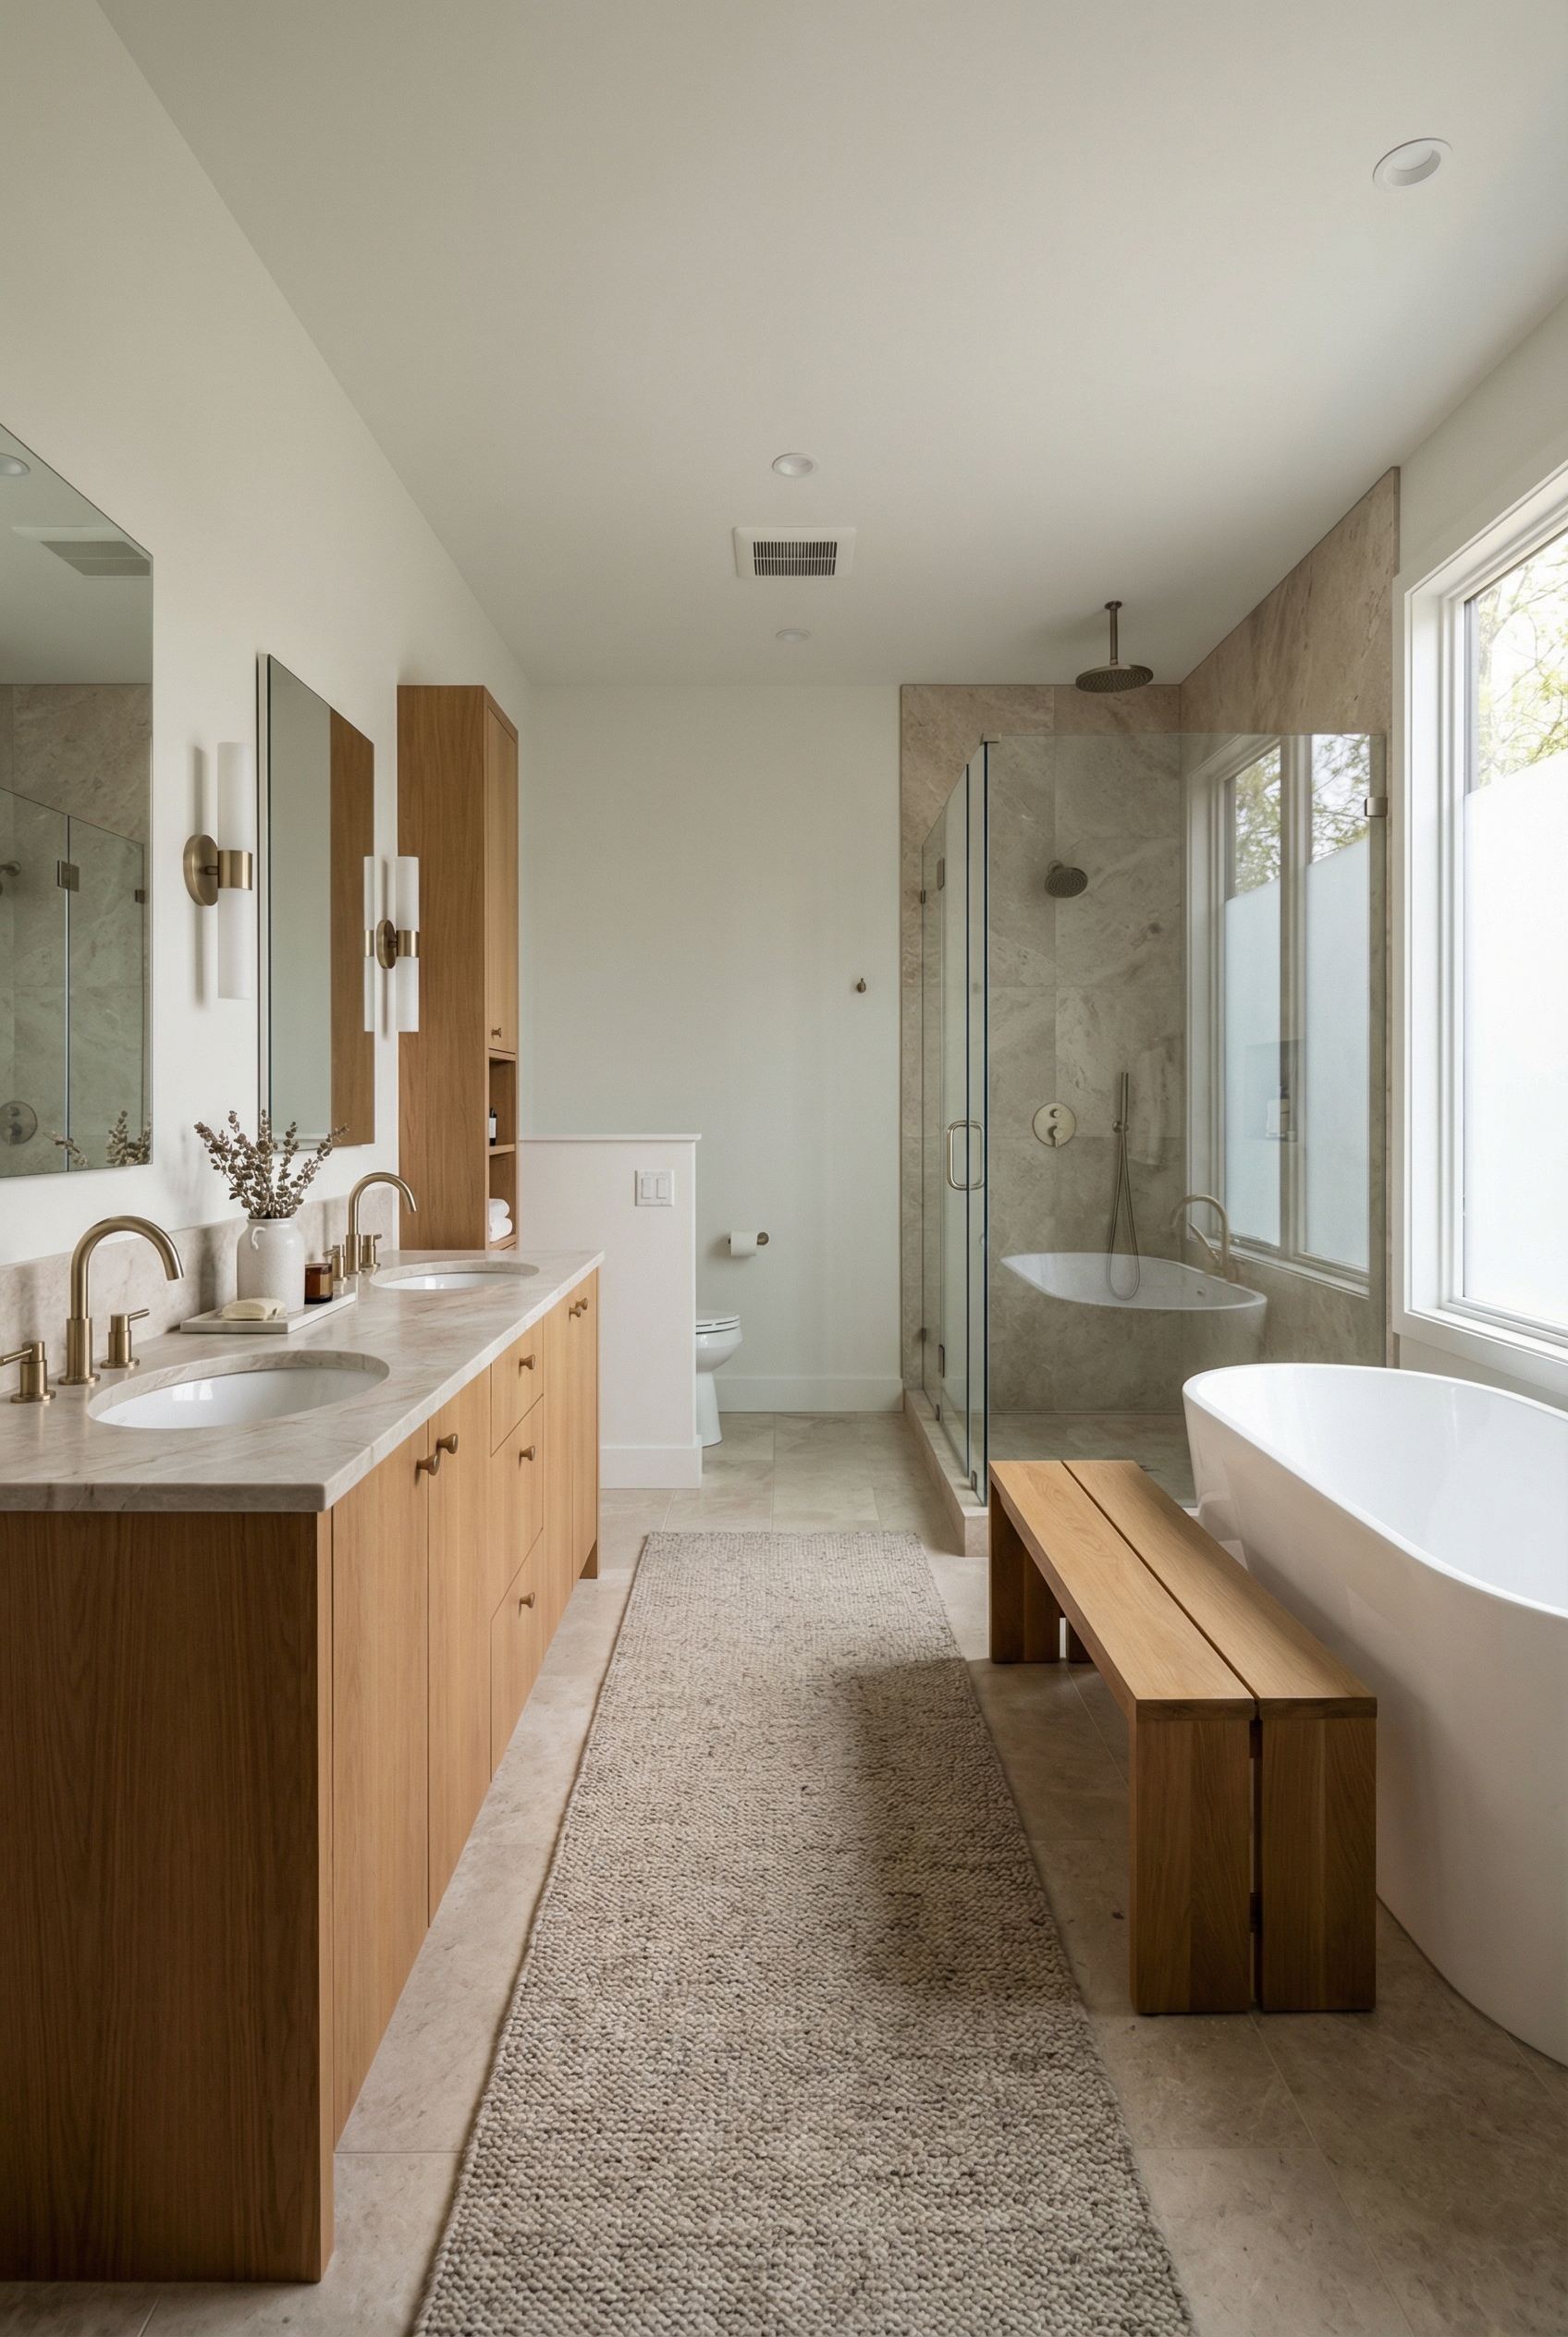
In a larger rectangular room measuring 100 to 140 sq ft, an open floor plan can support a calm atmosphere and a hotel-like style.
A shower and tub can occupy the opposite wall, while the toilet fits at one end with a half wall nearby to screen it. A pocket door can be used instead of the half wall, helping preserve an open view from the entry, and a double vanity can run along one long wall.
An open floor plan provides simple circulation and a generous feeling, which can reduce morning chaos.
If the fixtures are too far apart, the room can feel empty. Add a storage tower, bench, or runner to connect the zones.
In-floor heat can add comfort. A large window with privacy film can bring in light while preserving privacy, helping the room feel more like a boutique hotel.
Split Bathroom Plan
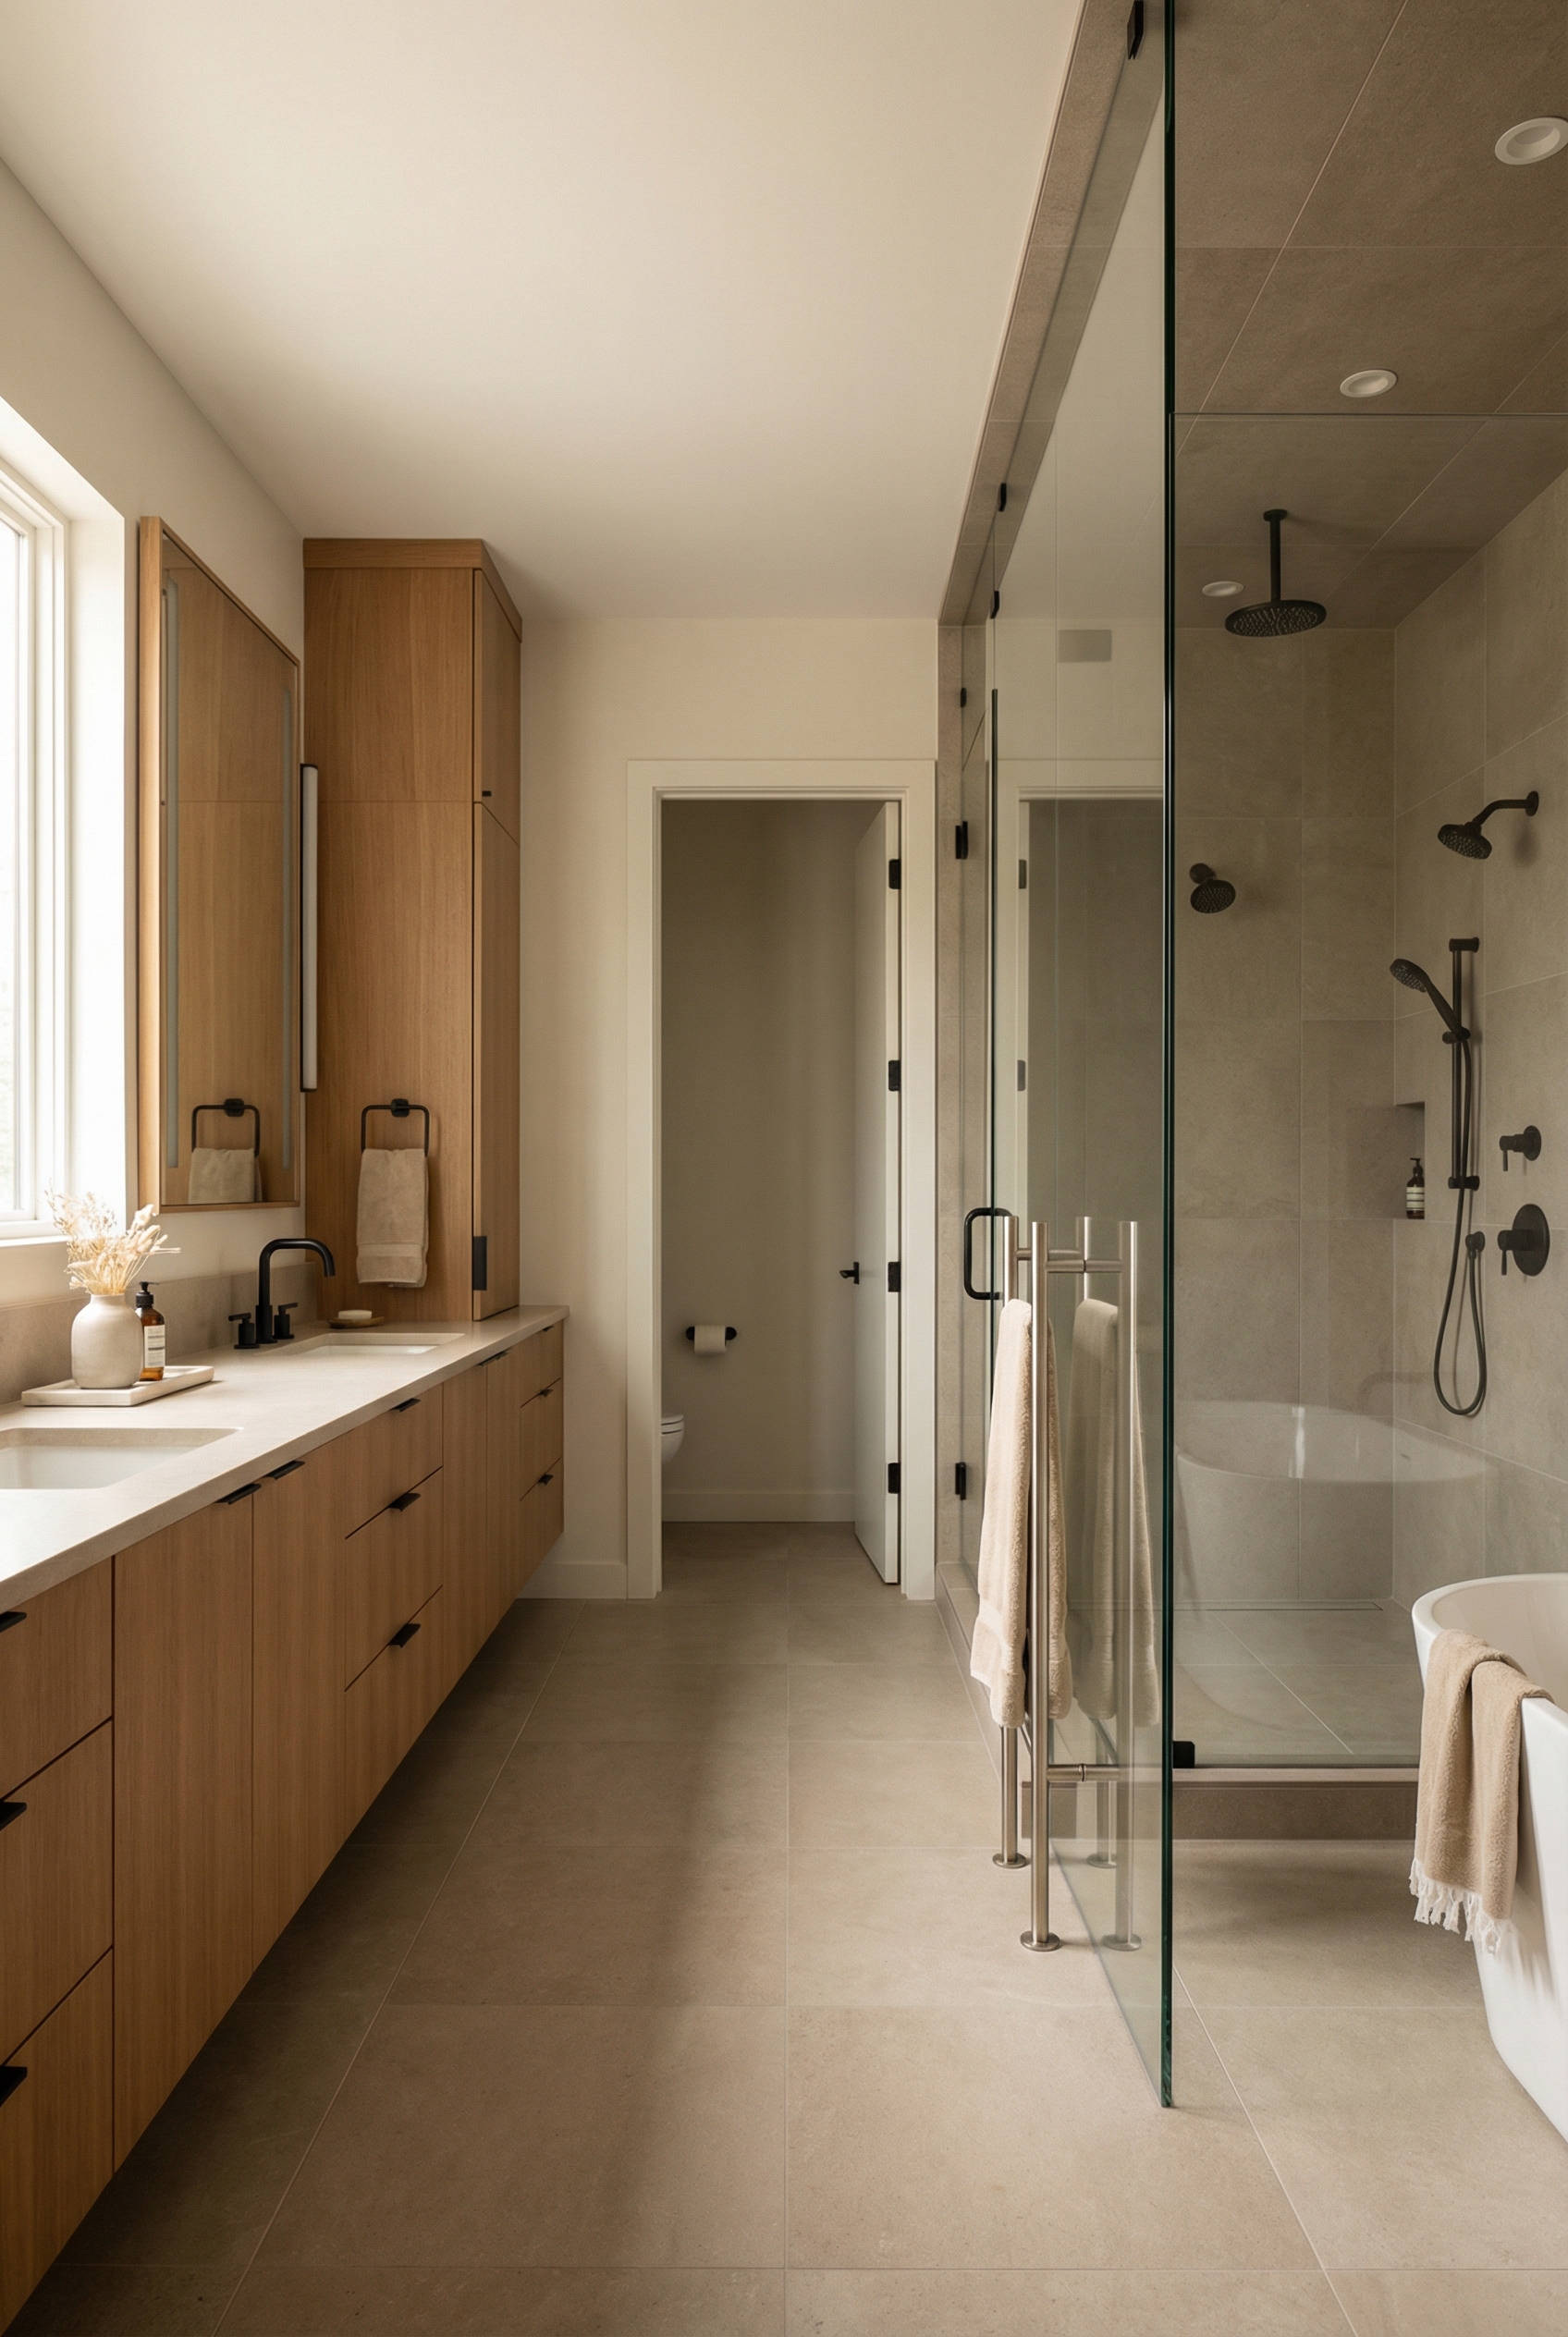
For rooms measuring 80 to 120 sq ft, a split plan can work well, especially for couples sharing a bathroom. At the entry, the dry zone contains the vanity and storage, while the wet zone contains the shower and tub. A partial wall separates the zones, with a glass partition as an alternative; the toilet can sit in the wet zone or in a water closet.
The split plan allows one person to prepare while another showers and limits the spread of steam and splashes. If the dry zone is too narrow, reduce the wet-zone space so the wider dry zone gives the vanity more room for movement.
A split plan can include a heated towel rack near the wet-zone threshold. Add either a door or a full glass wall to help control noise and moisture.
Corridor Bathroom Plan
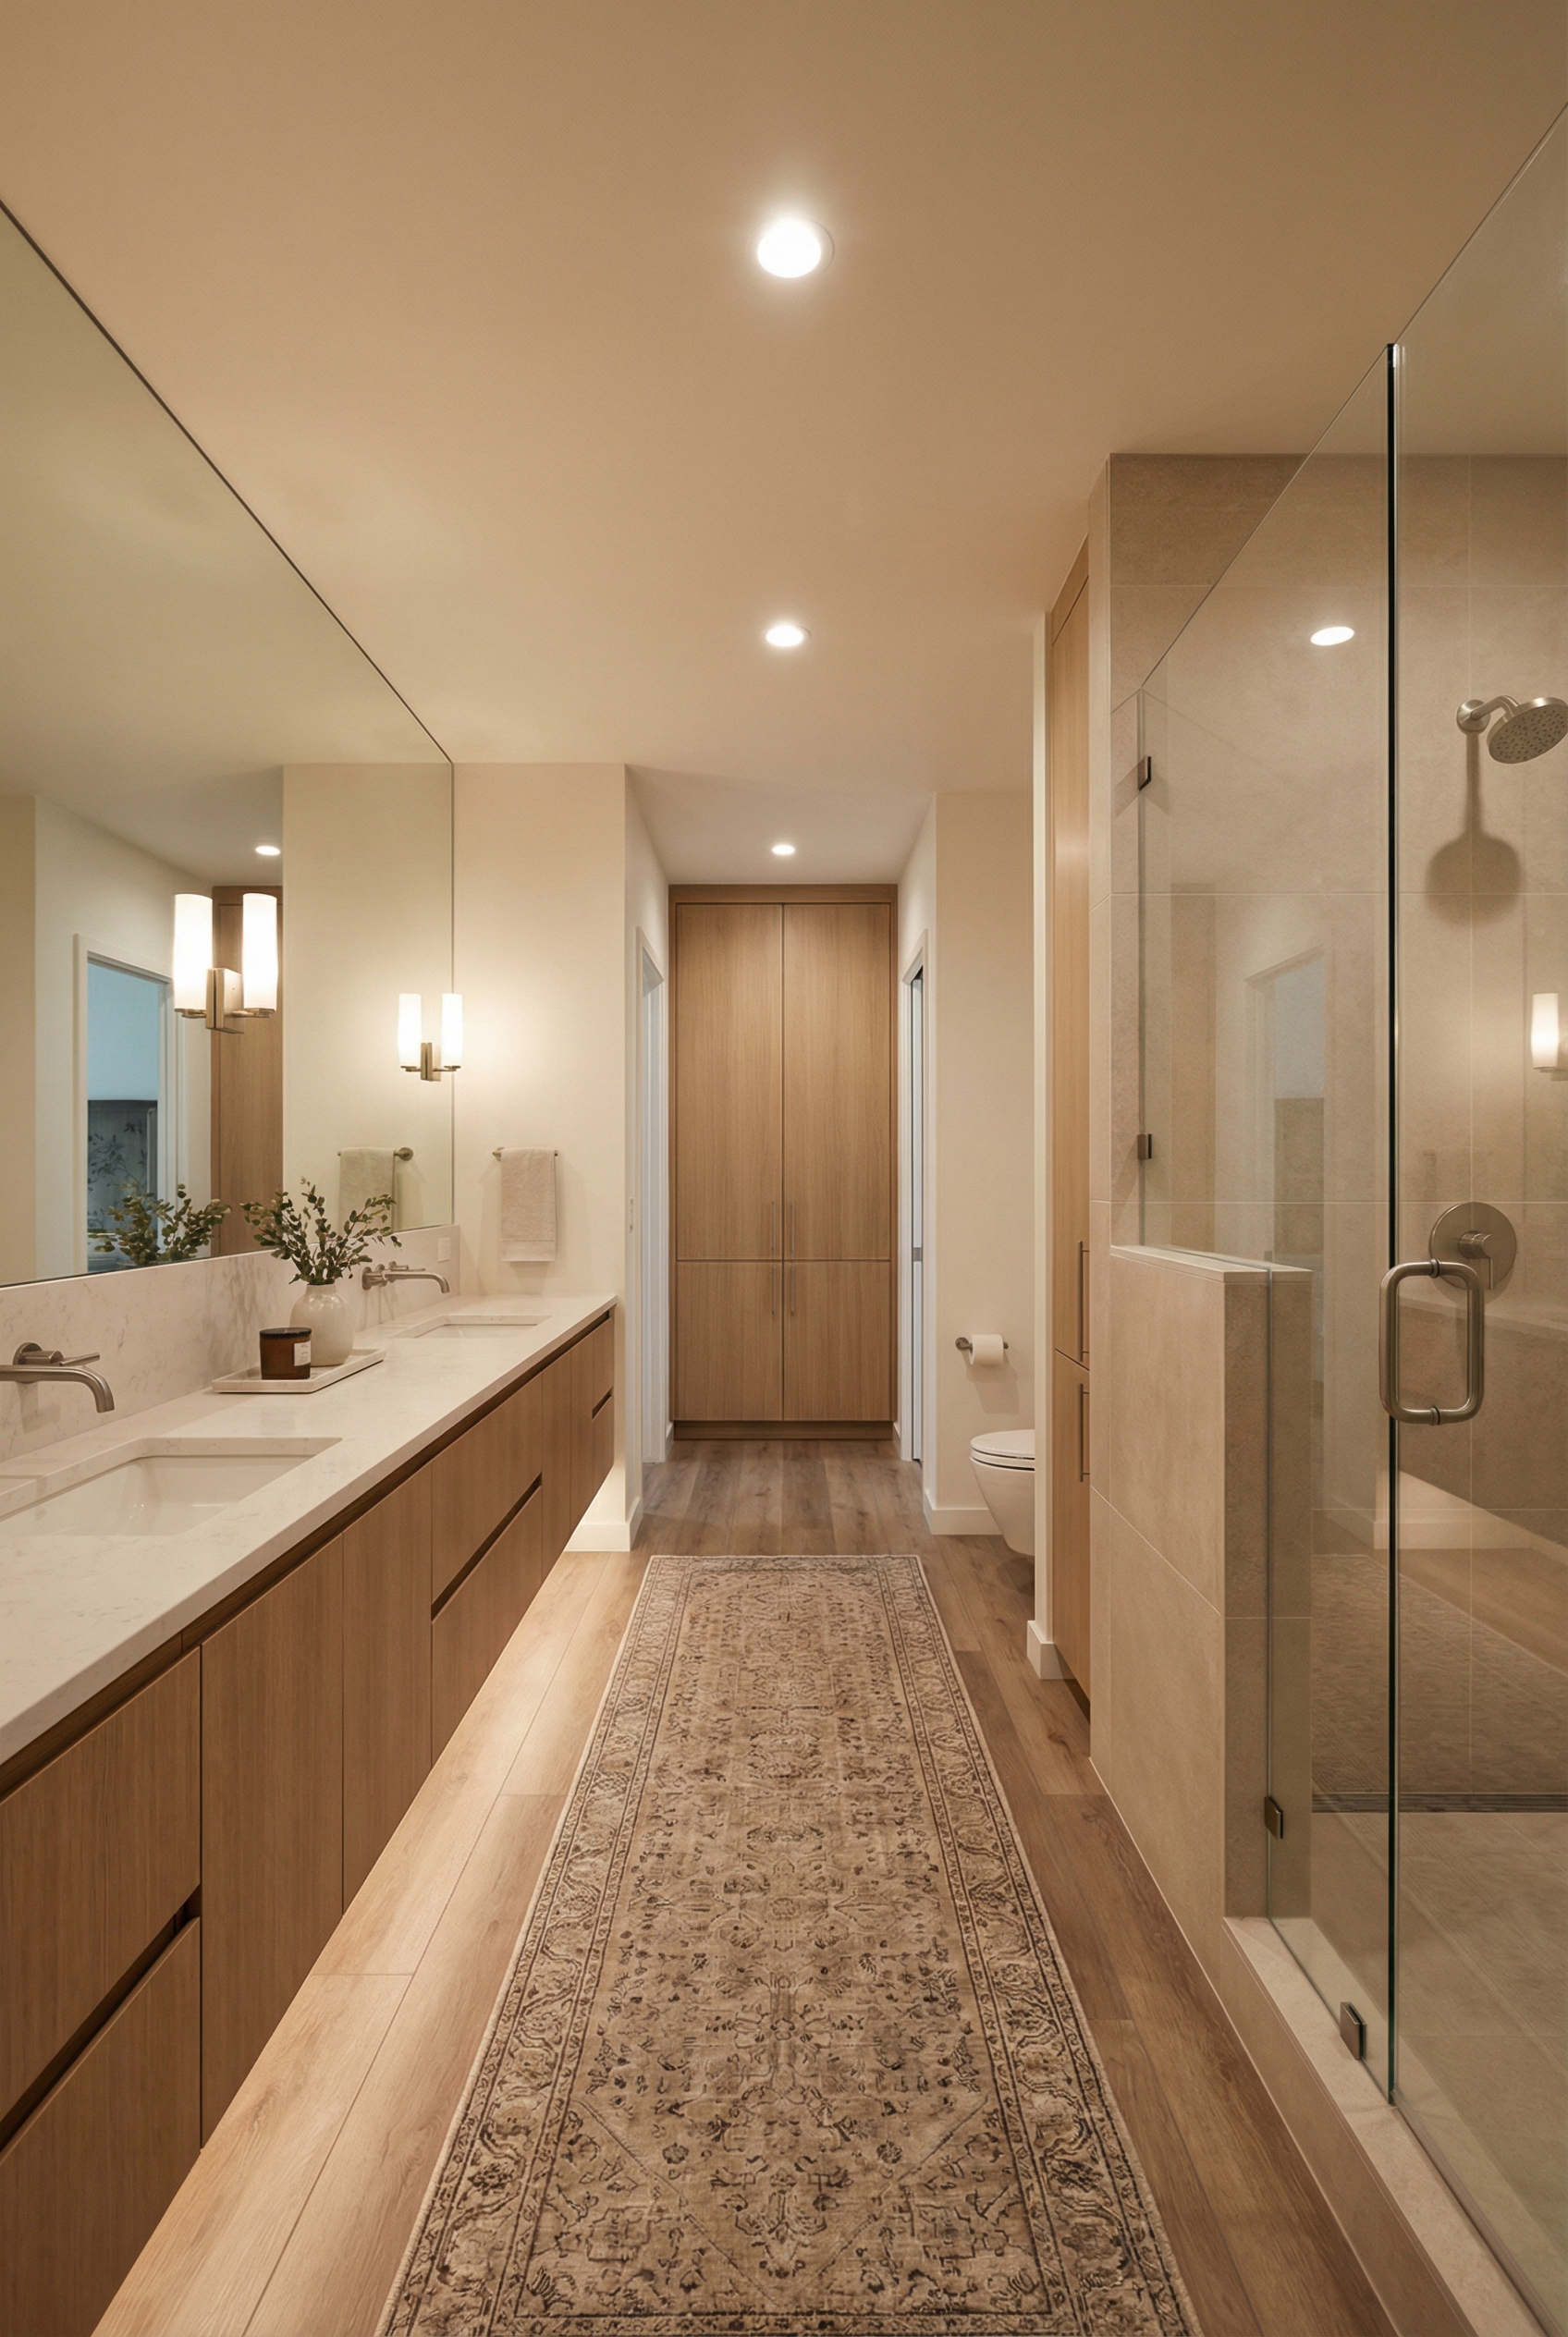
At 5 to 6 feet wide, the bathroom has a long, narrow shape. It usually measures about 10 to 14 feet in length.
The vanity sits on one side, while the toilet and shower line up on the opposite side. If the room is long enough, a half wall or a step-back in the wall can screen the toilet.
With fixtures kept within reach, the bathroom layout leaves a clear walkway. It also supports better use of tricky footprints.
To keep the doorway center clear, place the toilet farther along the wall. Another option is to screen it with a short partition or conceal it beside a tall cabinet.
At one end, full-height storage uses the available wall space, while a long runner stretches along the floor. Above the vanity, a wall-to-wall mirror can help bounce light around the room.
Primary Bath with an L-Shaped Layout
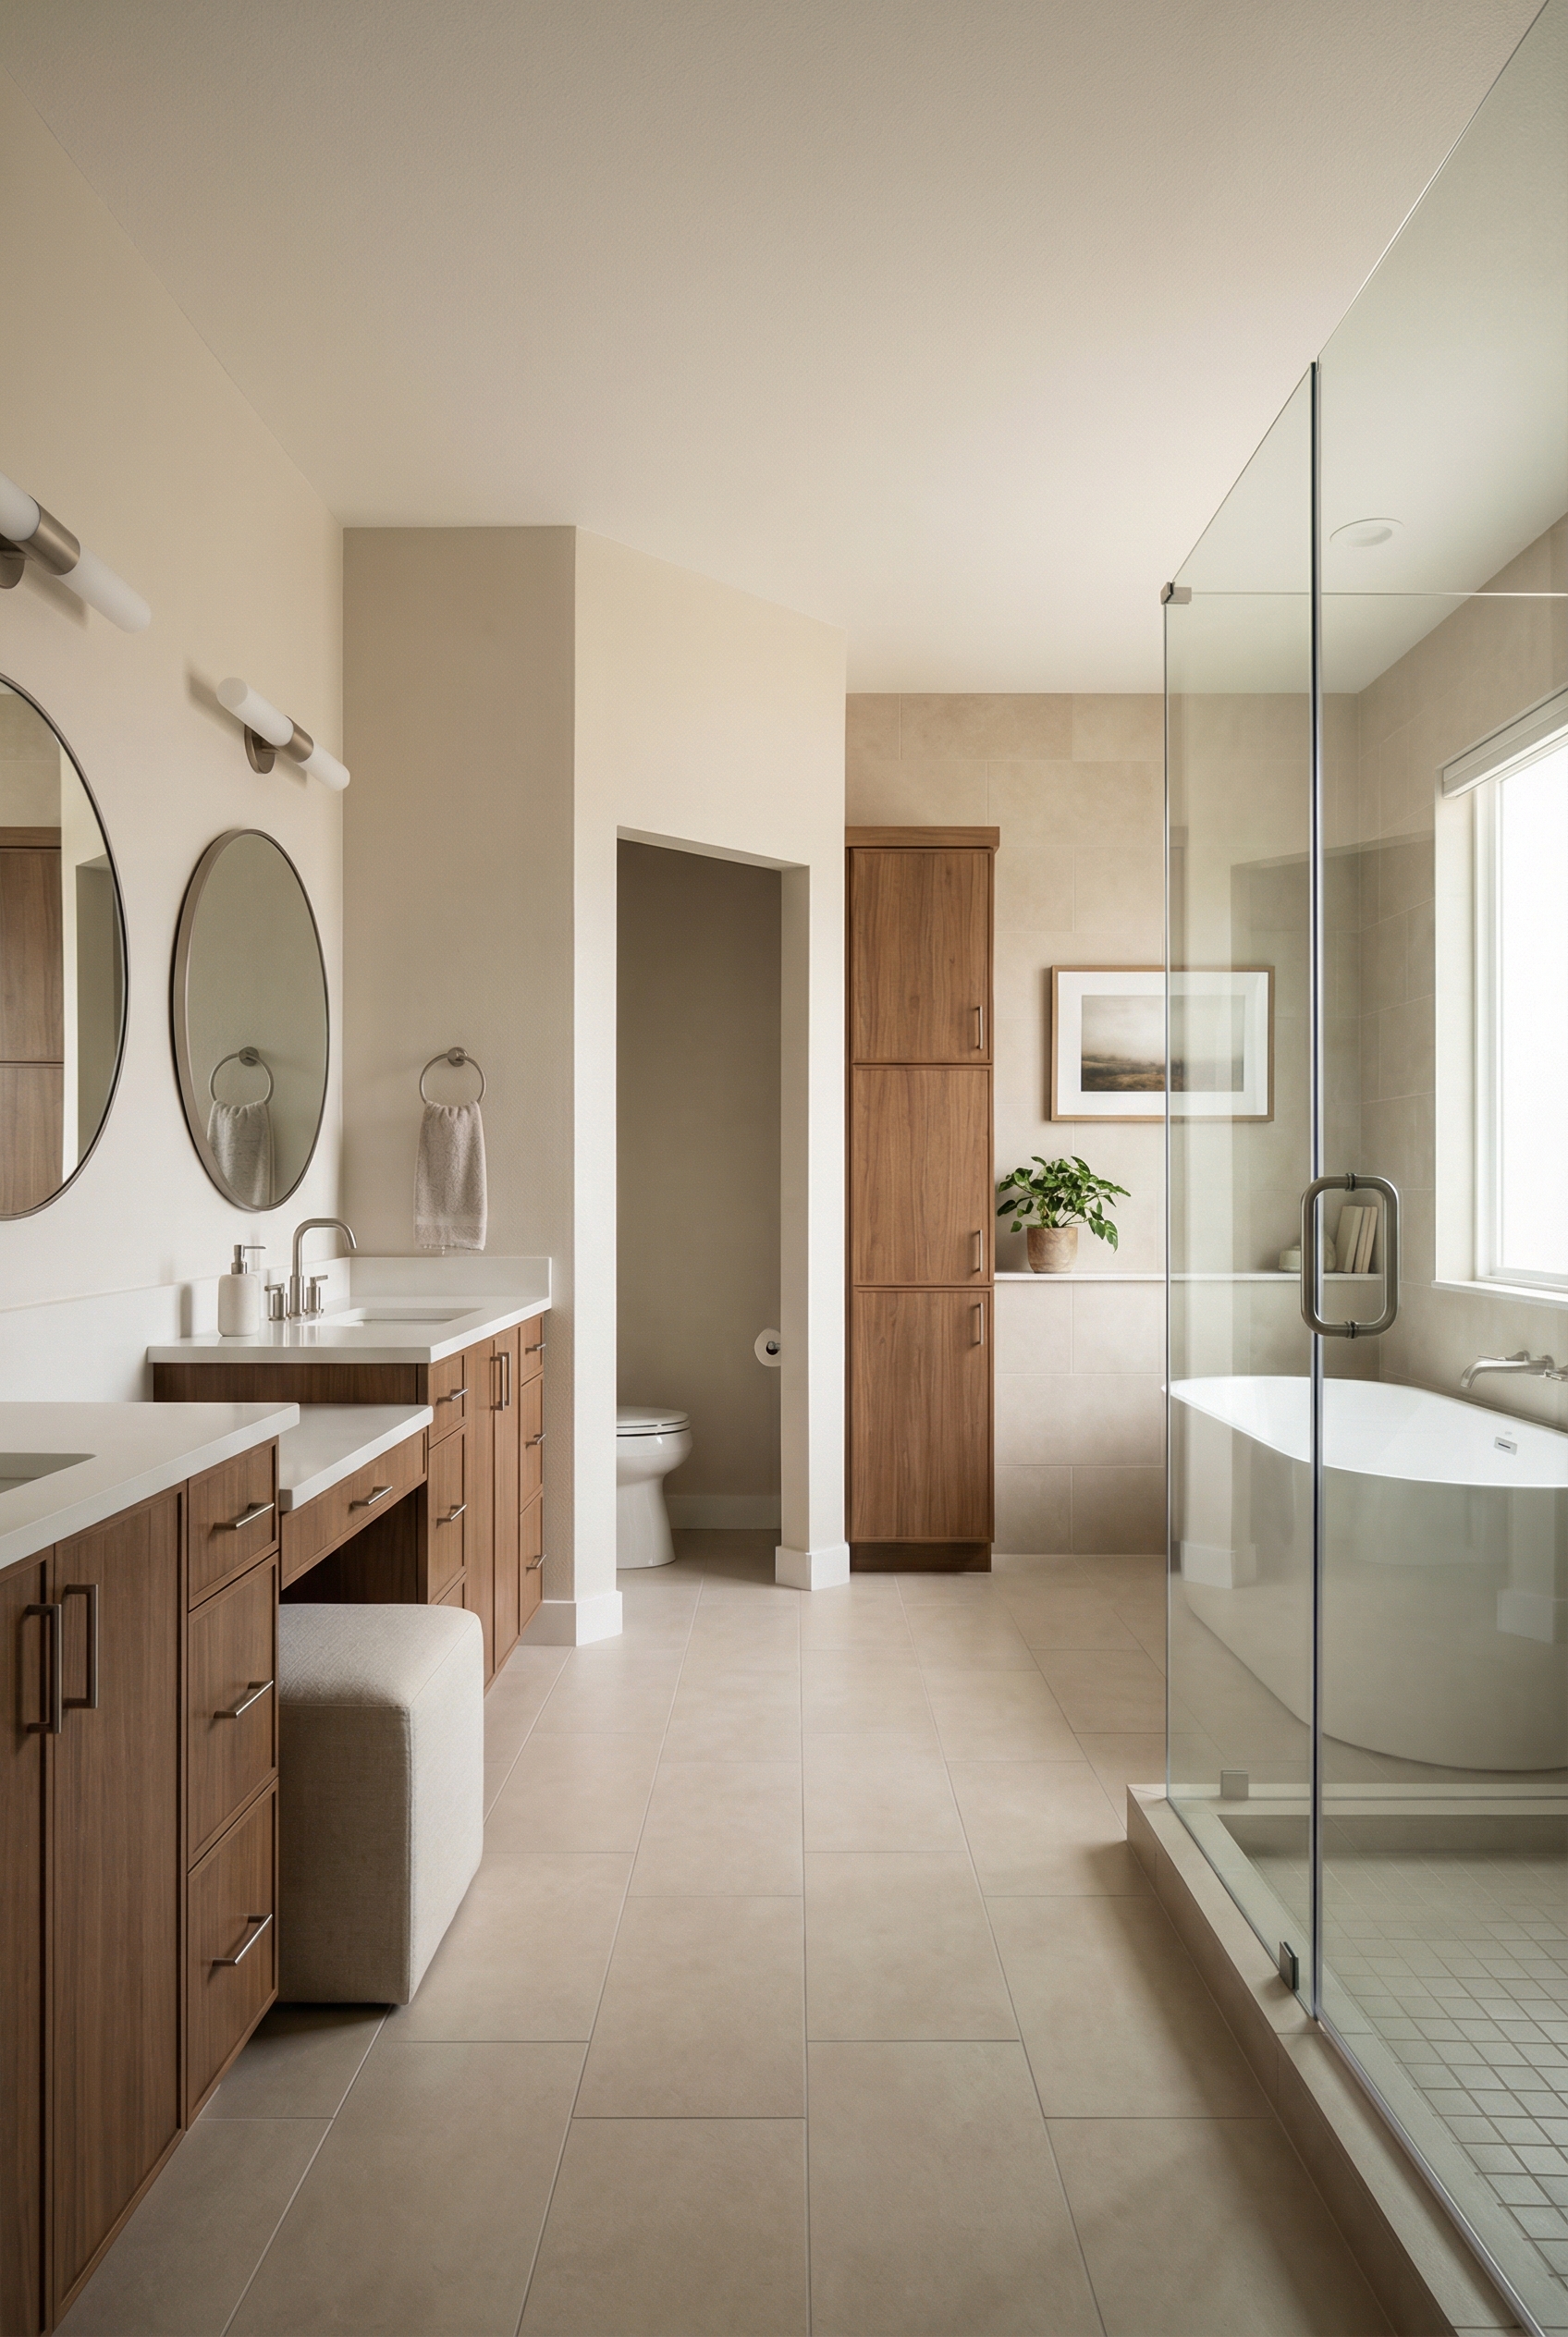
A closet jog or a window jog can give the room an L-shaped form. This layout works well for rooms with unequal depths.
Near the door, the short leg can hold the vanity. The long leg can fit the shower, with an optional tub, while the toilet sits near the elbow behind the shower for more privacy.
The L-shaped layout creates natural zones without adding extra walls.
A dark corner needs intentional treatment rather than being left as a dumping ground. Add lighting there, or consider art or a tall cabinet for the space.
A seated vanity can fit along the short leg. At the L turn, add a small shelf and, optionally, a plant.
Luxury Bathroom with a U-Shaped Layout
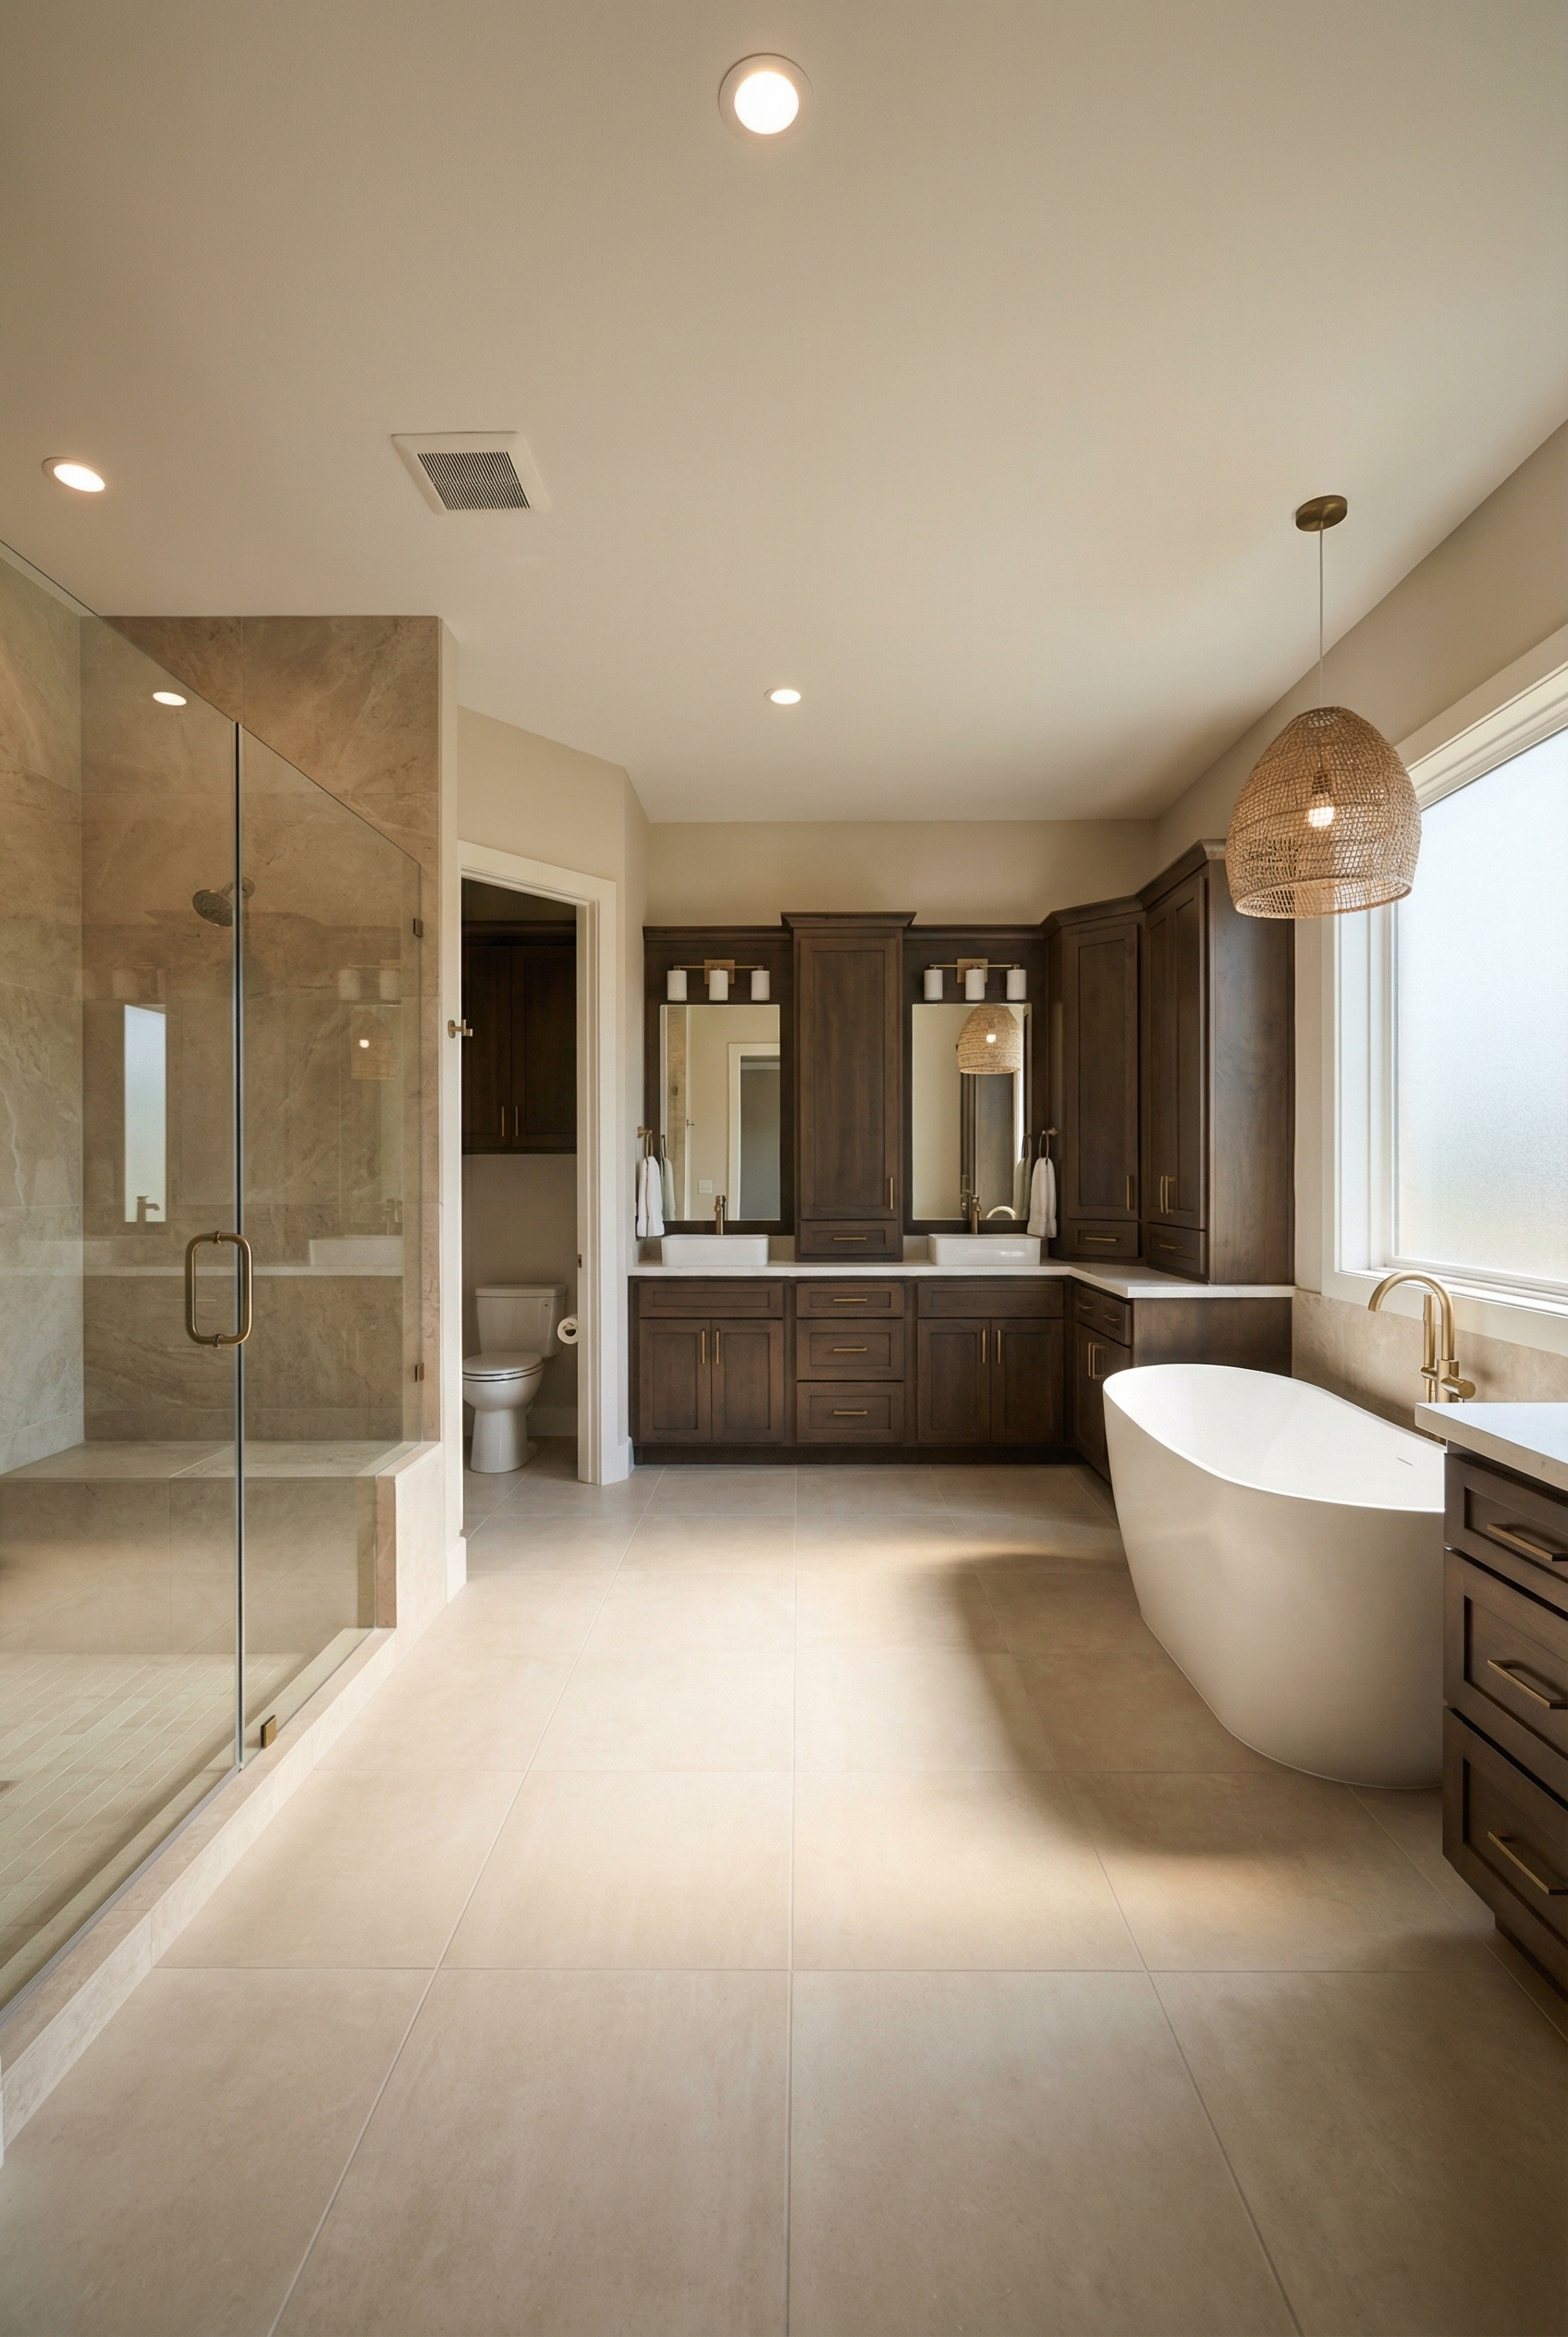
In a large bathroom measuring 120 square feet or more, this layout is most common in new builds and full gut renovations. The room has enough space for the three-sided arrangement.
The vanity sits at the base of the U, with the shower on one arm and the tub on the other. A toilet can occupy a nook as a water closet, while the center stays open for floor space.
A U-shaped layout provides clear zones and gives the room multiple focal points.
With the walls or floor partly open, a couple of hero features can stand out. Avoid overfilling every wall.
Center the tub under a window when possible, use radiant heating for a warmer floor, and add a statement light only where local code permits it.
Bathroom with Vanity Wall and Split Bathing Area

A rectangular bathroom measuring 90 to 120 square feet can support a substantial vanity along with a good-sized shower. A large mirror belongs above the vanity, which can run 60 to 72inches or more along the long wall and include two sinks. The toilet can sit on one side, while a compact tub or storage and the shower use the opposite or adjacent wall.
Group the water fixtures to simplify plumbing and ventilation while keeping the room tidier. Two tiny sinks can leave too little counter space for daily use, so shrink the sink bowls if necessary to preserve more counter space.
A recessed medicine cabinet keeps storage tucked into the wall. Pair it with a furniture-style vanity and decorative bathroom hardware.
Two Separate Vanity Stations
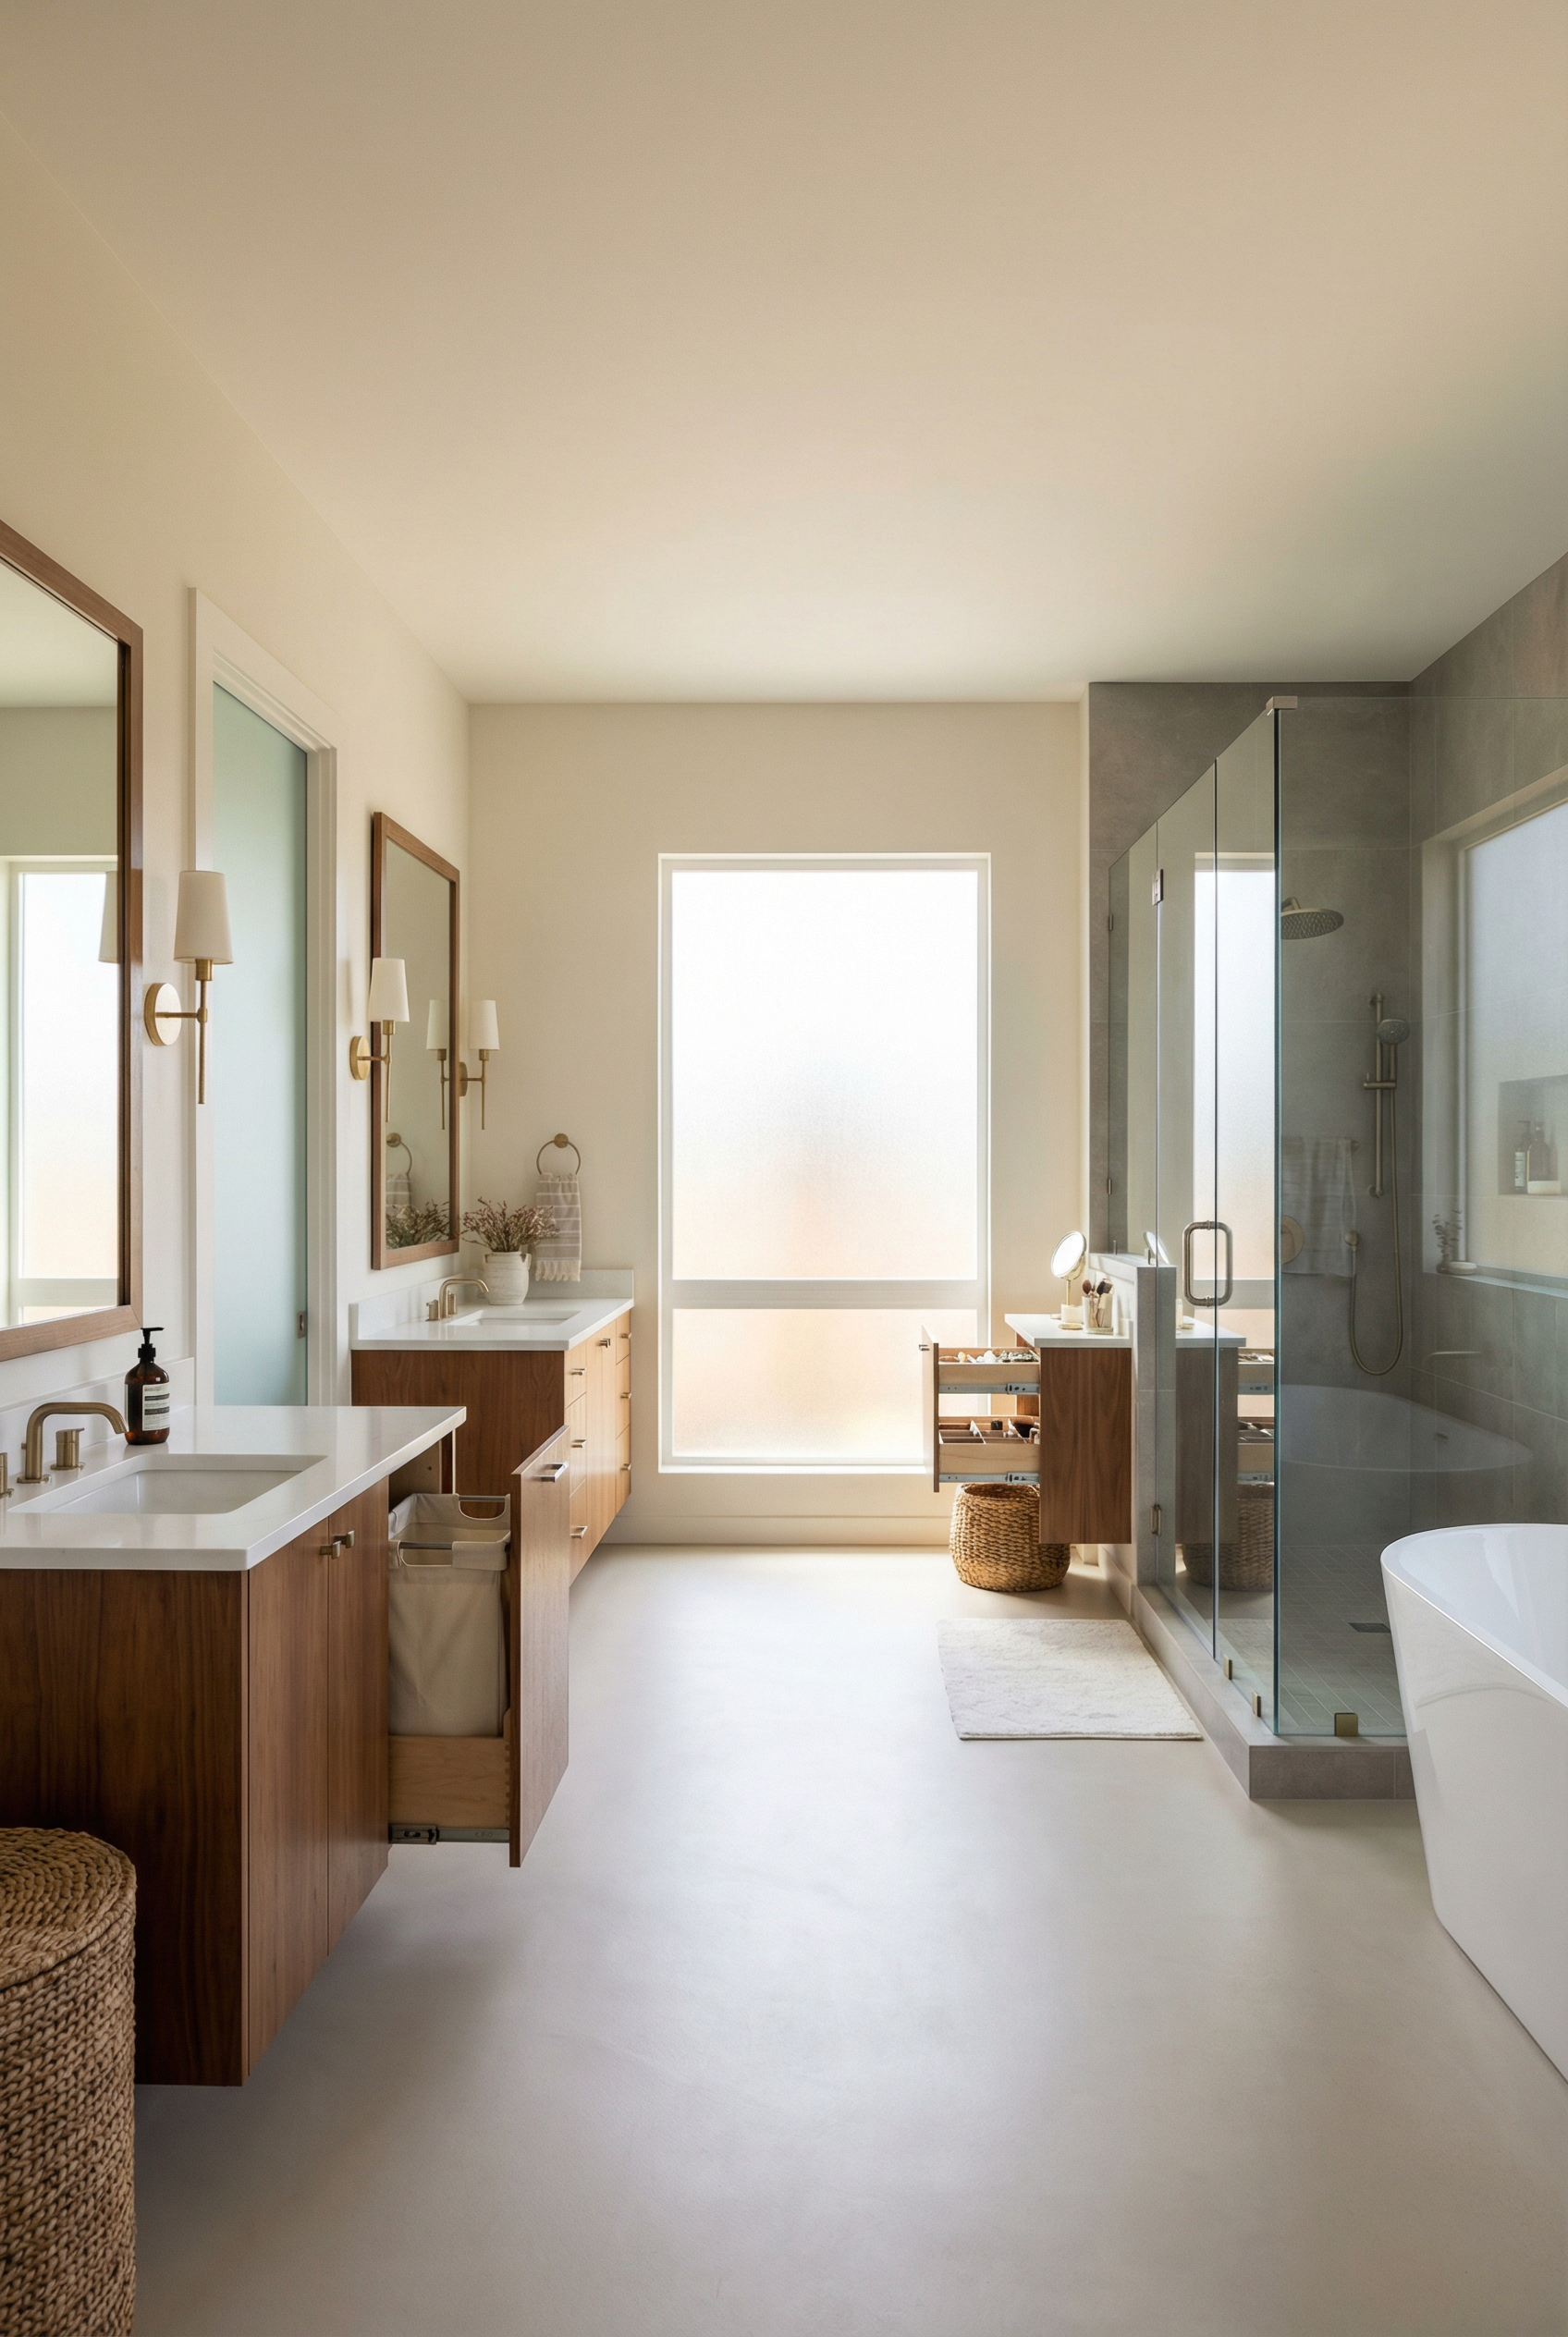
At 100 square feet or more, the bathroom can suit couples who need room for shared mornings. The extra area allows the layout to separate each person’s space.
Place the toilet where it is most private, such as away from the main activity or behind a partial visual barrier. Individual vanities can sit on opposite walls or flank a center window or door, while the shower and tub use another wall.
Individual vanities provide a personal landing zone, mirror, and outlets for each person. Separate outlets also reduce cord chaos.
Unequal vanities can create resentment, so balance the vanity size, storage, and lighting.
At one vanity, a pull-out hamper handles laundry, while the other gets a dedicated makeup drawer. The sconces do not need to be identical, but they should remain coordinated.
Bathroom with Two Vanity Sinks and a Private Toilet Room
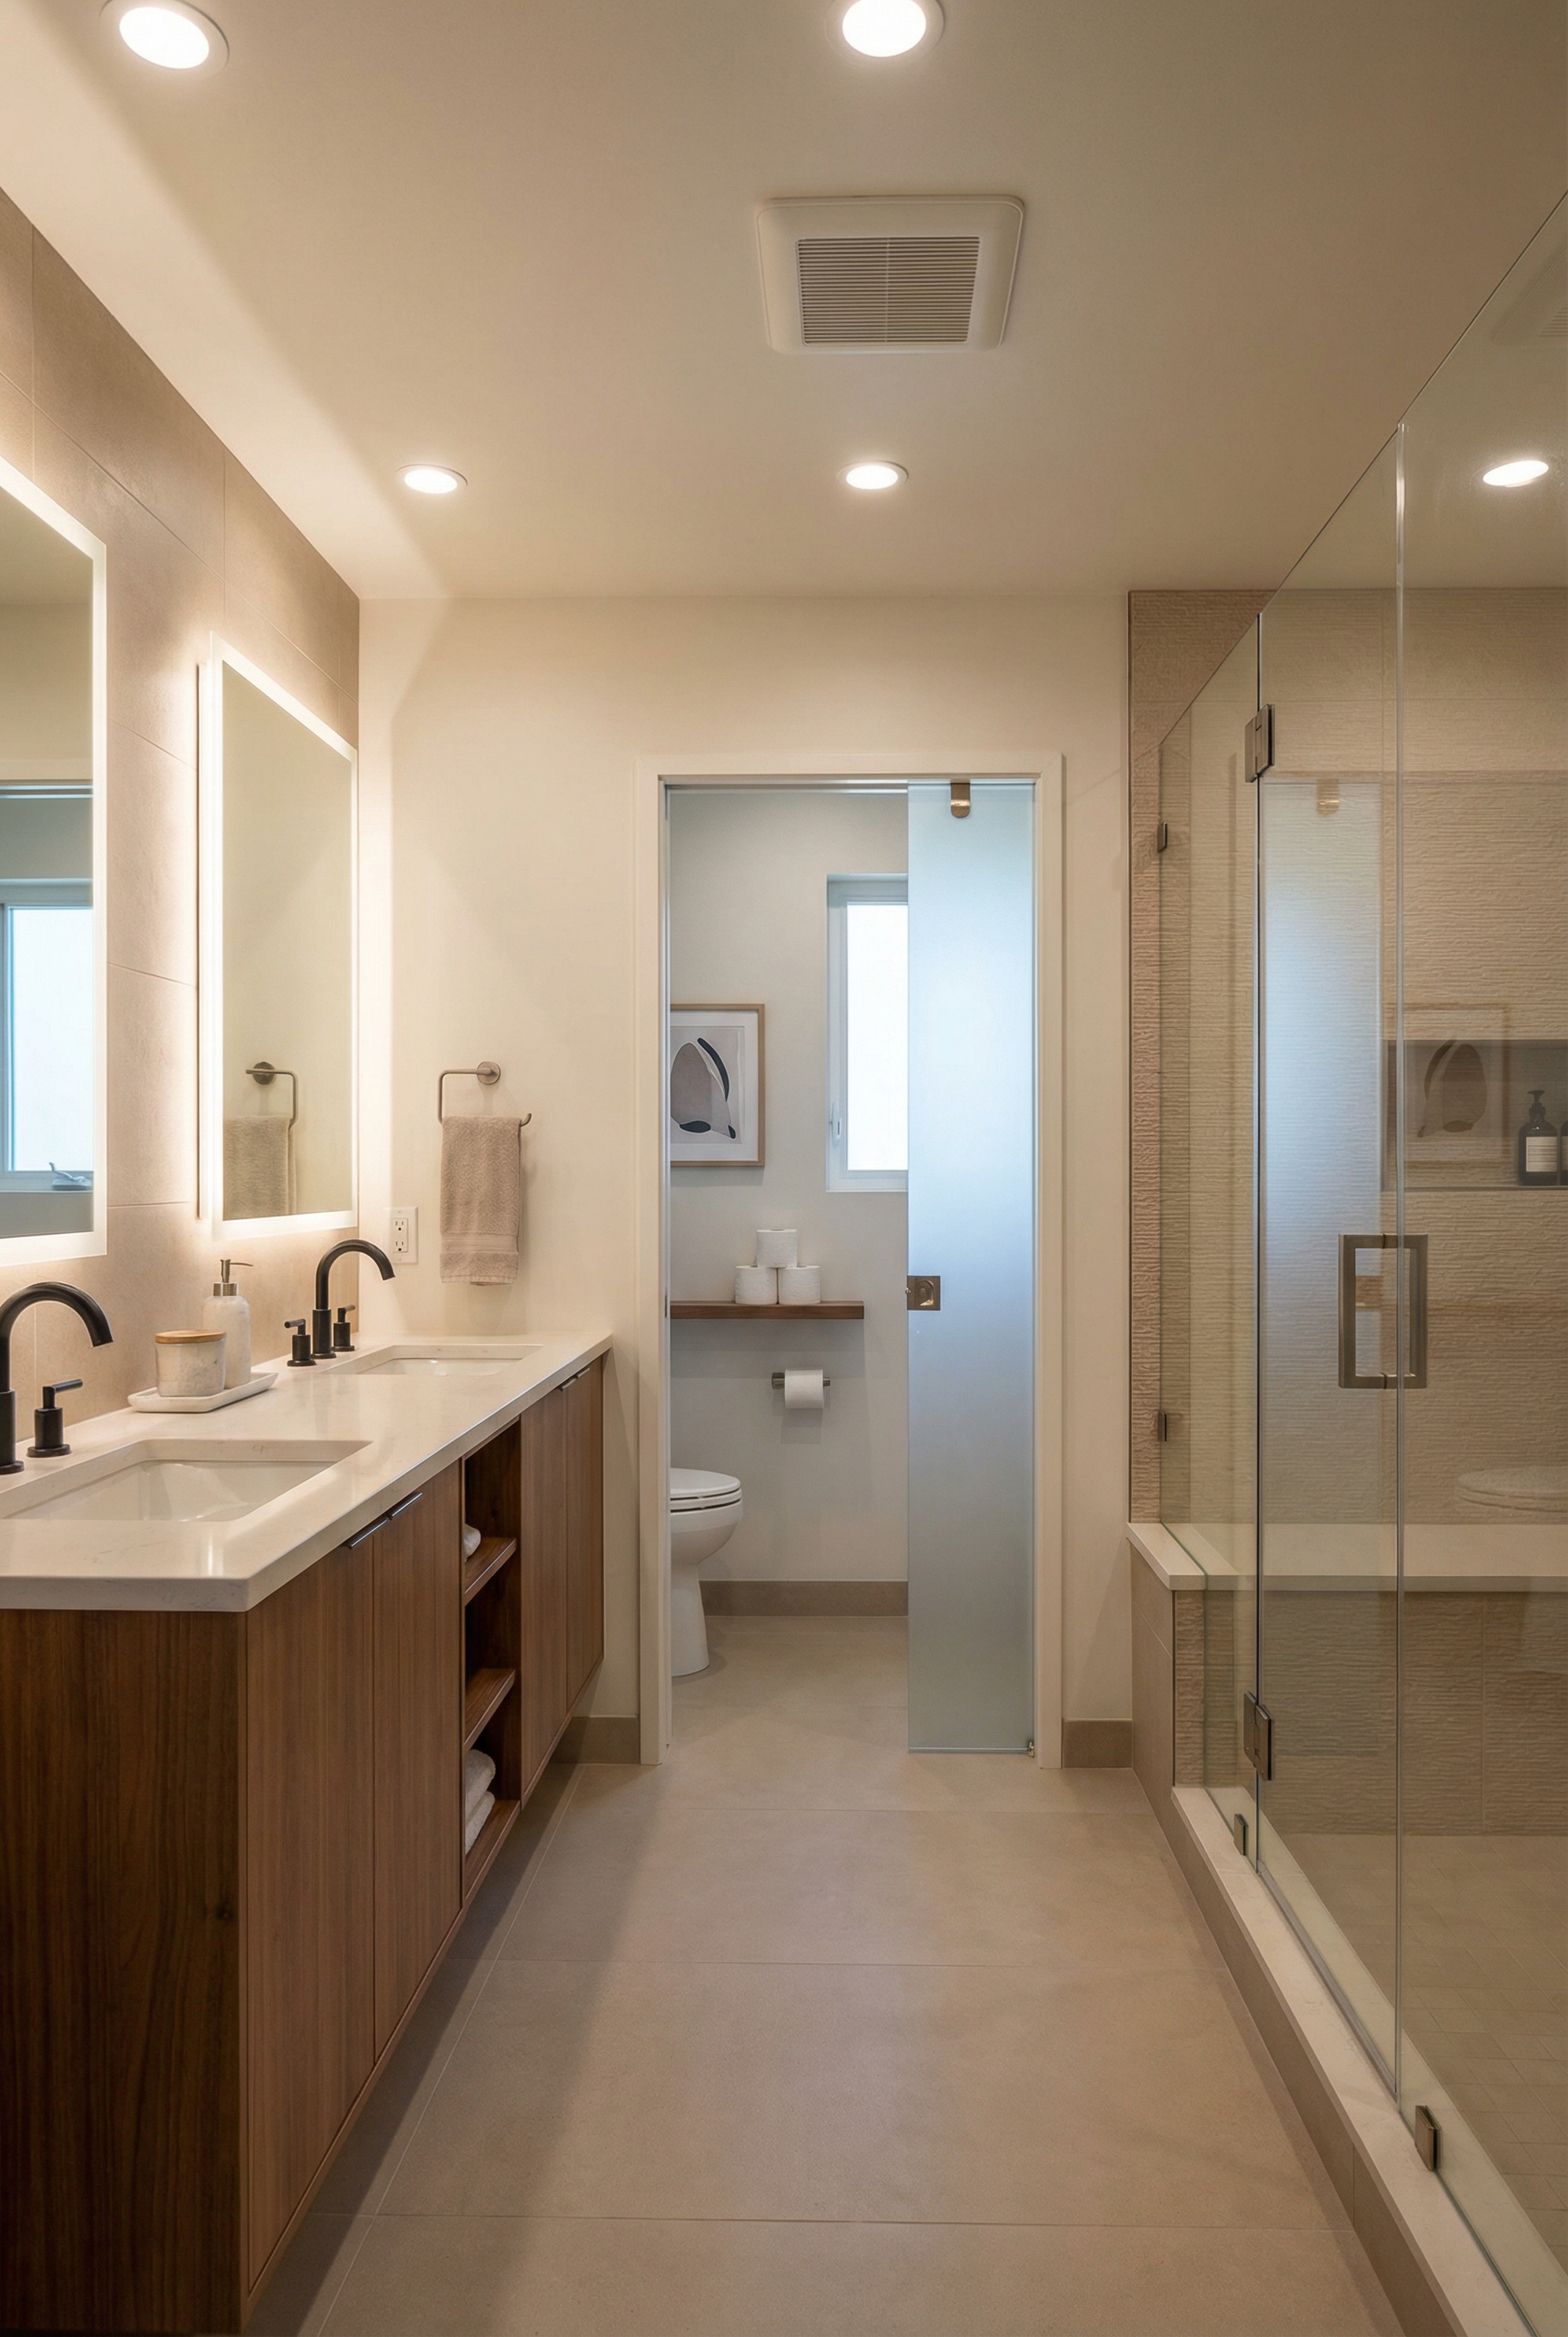
Children can enter the bathroom while someone is brushing, so this layout suits families with children and households that place a high value on privacy. The separate toilet room keeps that need apart from the main space.
In the main space, a generous double vanity and shower serve the bathroom. The separate toilet room measures around 3 by 5 feet or more and can have its own fan, with an optional tiny window.
A private toilet room provides greater privacy while allowing the sink and shower to remain available for concurrent use.
The toilet room should not be excessively small, and it requires an exhaust fan. Provide reasonable width and adequate ventilation in the room.
A narrow shelf can hold extra paper in the toilet room, while art adds something to the wall and a soft-close door latch helps prevent slamming.
Modern Minimal Wet Room Layout
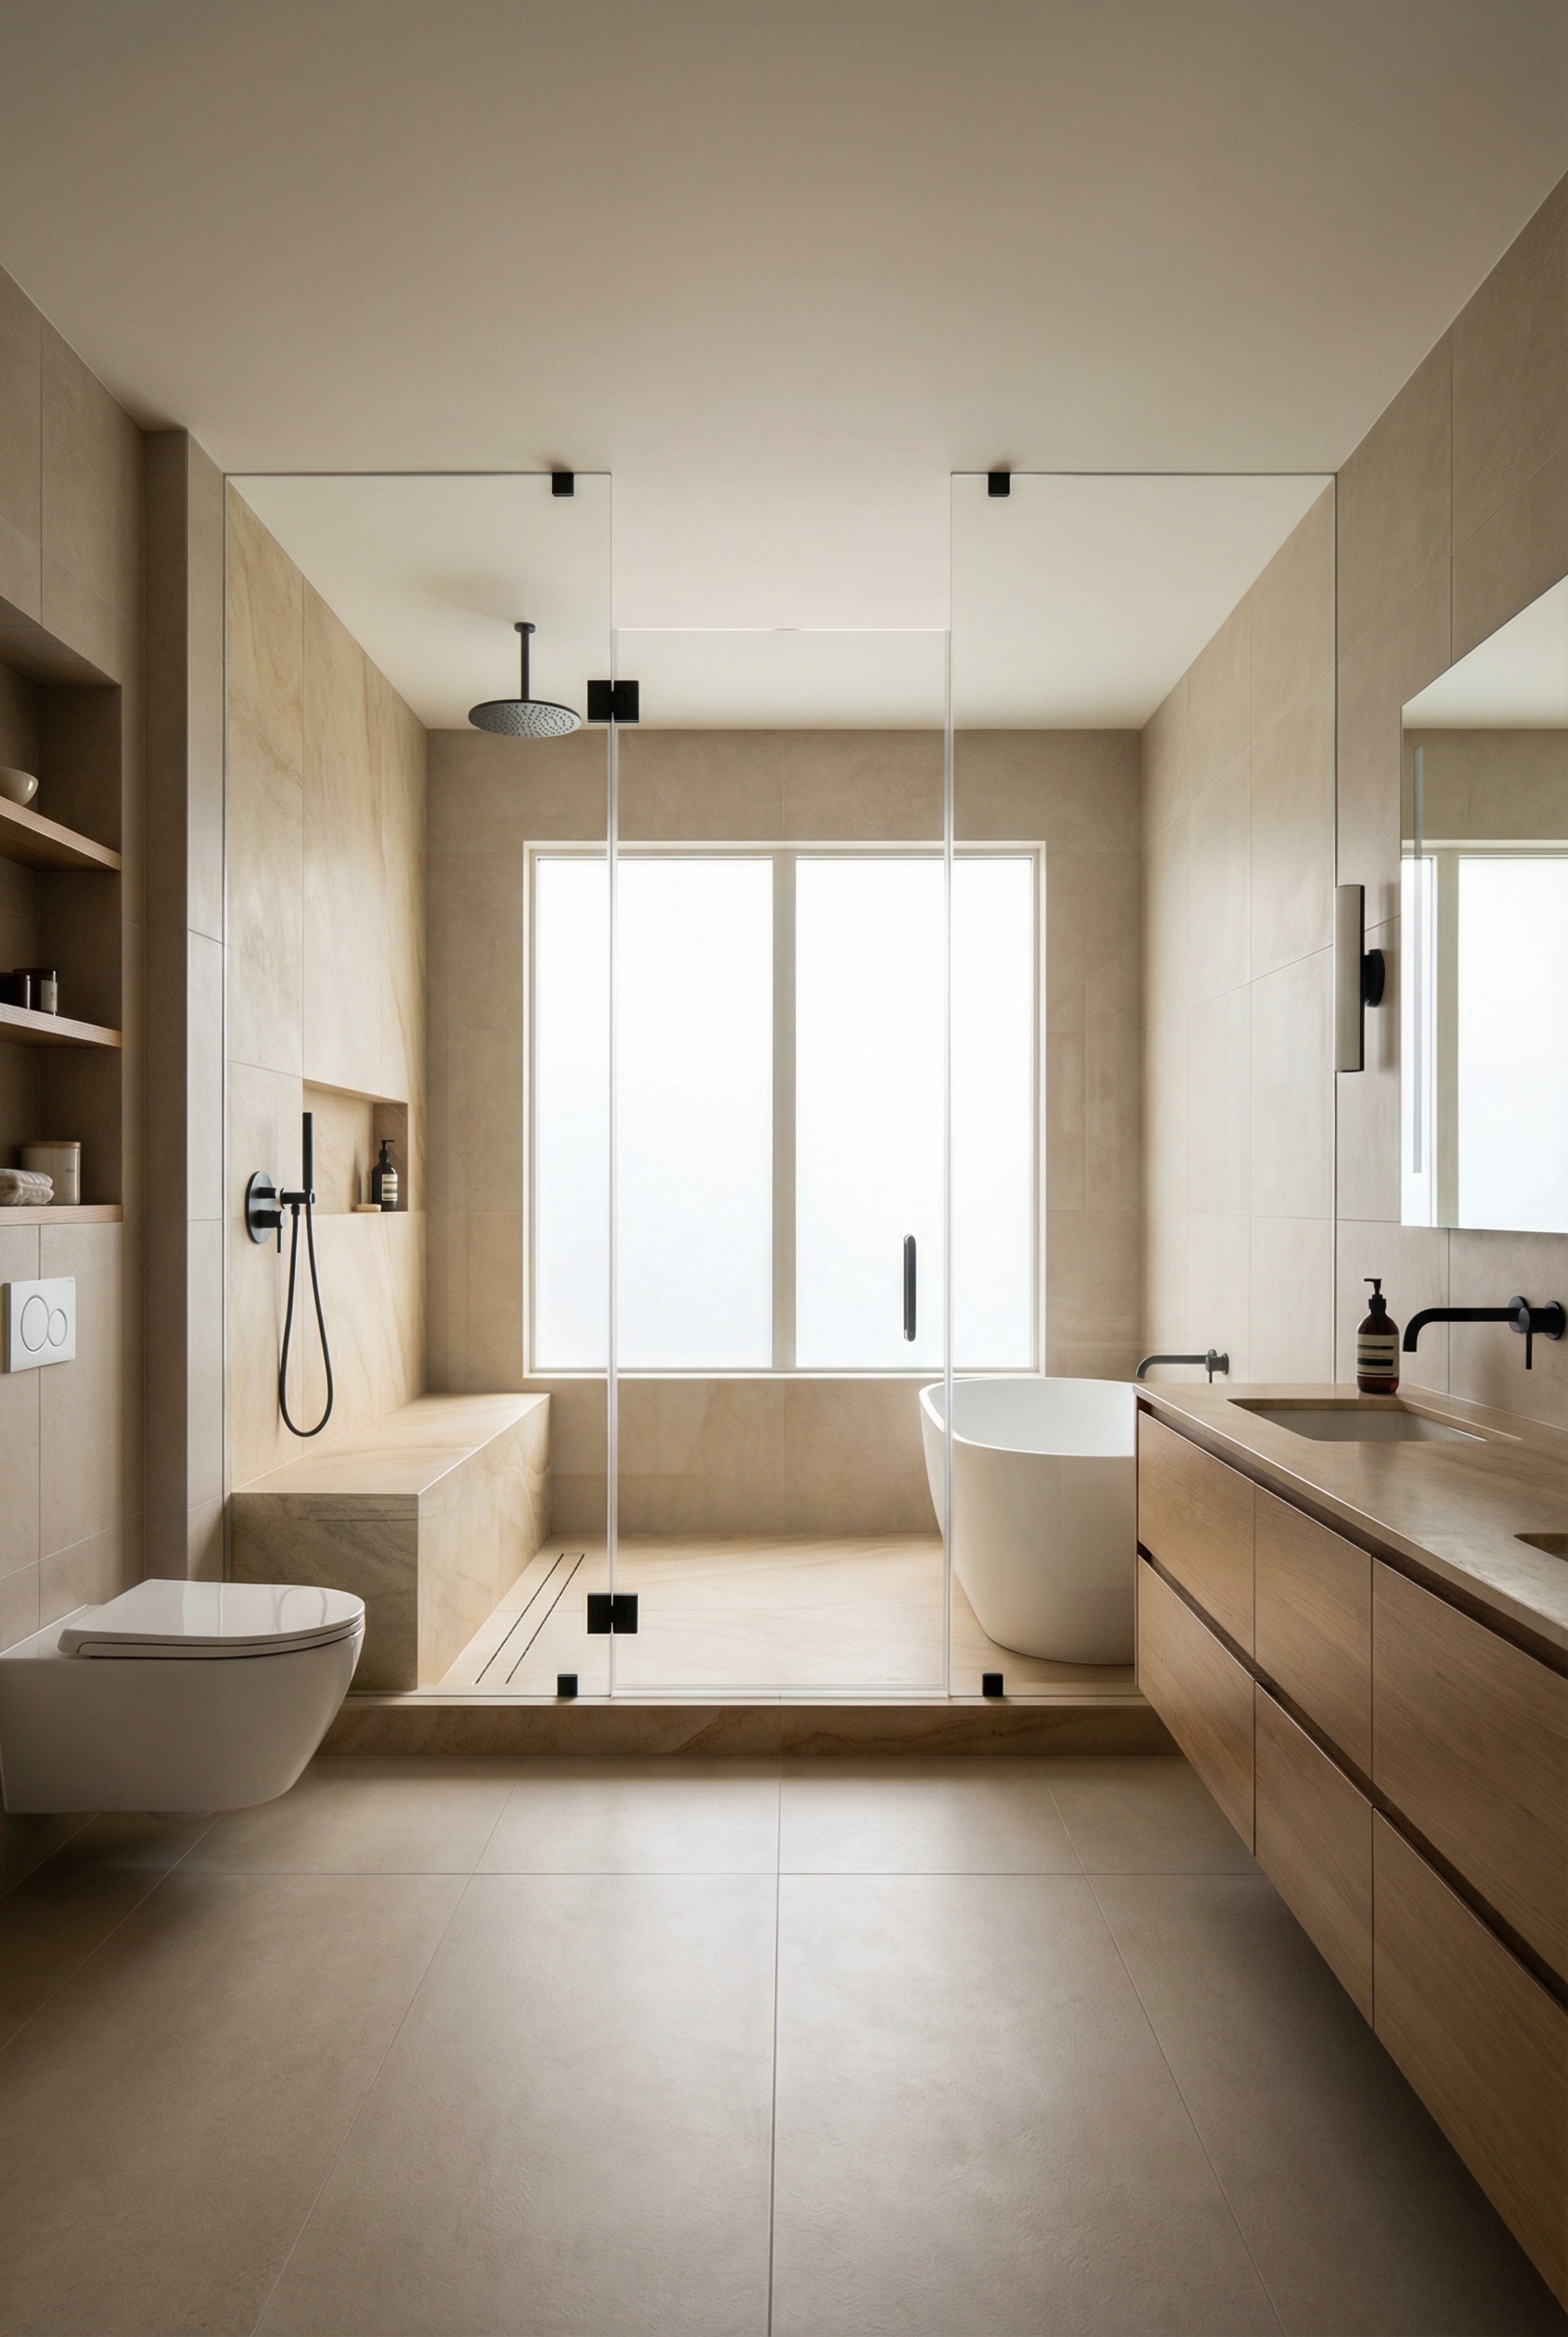
A wet room layout suits larger spaces and works well with a minimal style, creating a large bathing zone and using the available space efficiently.
The wet area includes the shower and has full waterproofing, a sloped floor, and either a central or linear drain. A tub may share this area, while the vanity and toilet stay in the dry area.
Shower spray can soak the bath mat if it reaches beyond the wet area, so aim the sprays at solid walls and keep the splash zone inside the wet area. A built-in bench adds seating, while a ceiling rain head can enhance the shower. Large-format tile or slabs reduce the number of grout lines in the room.
Walk-In Shower Layout
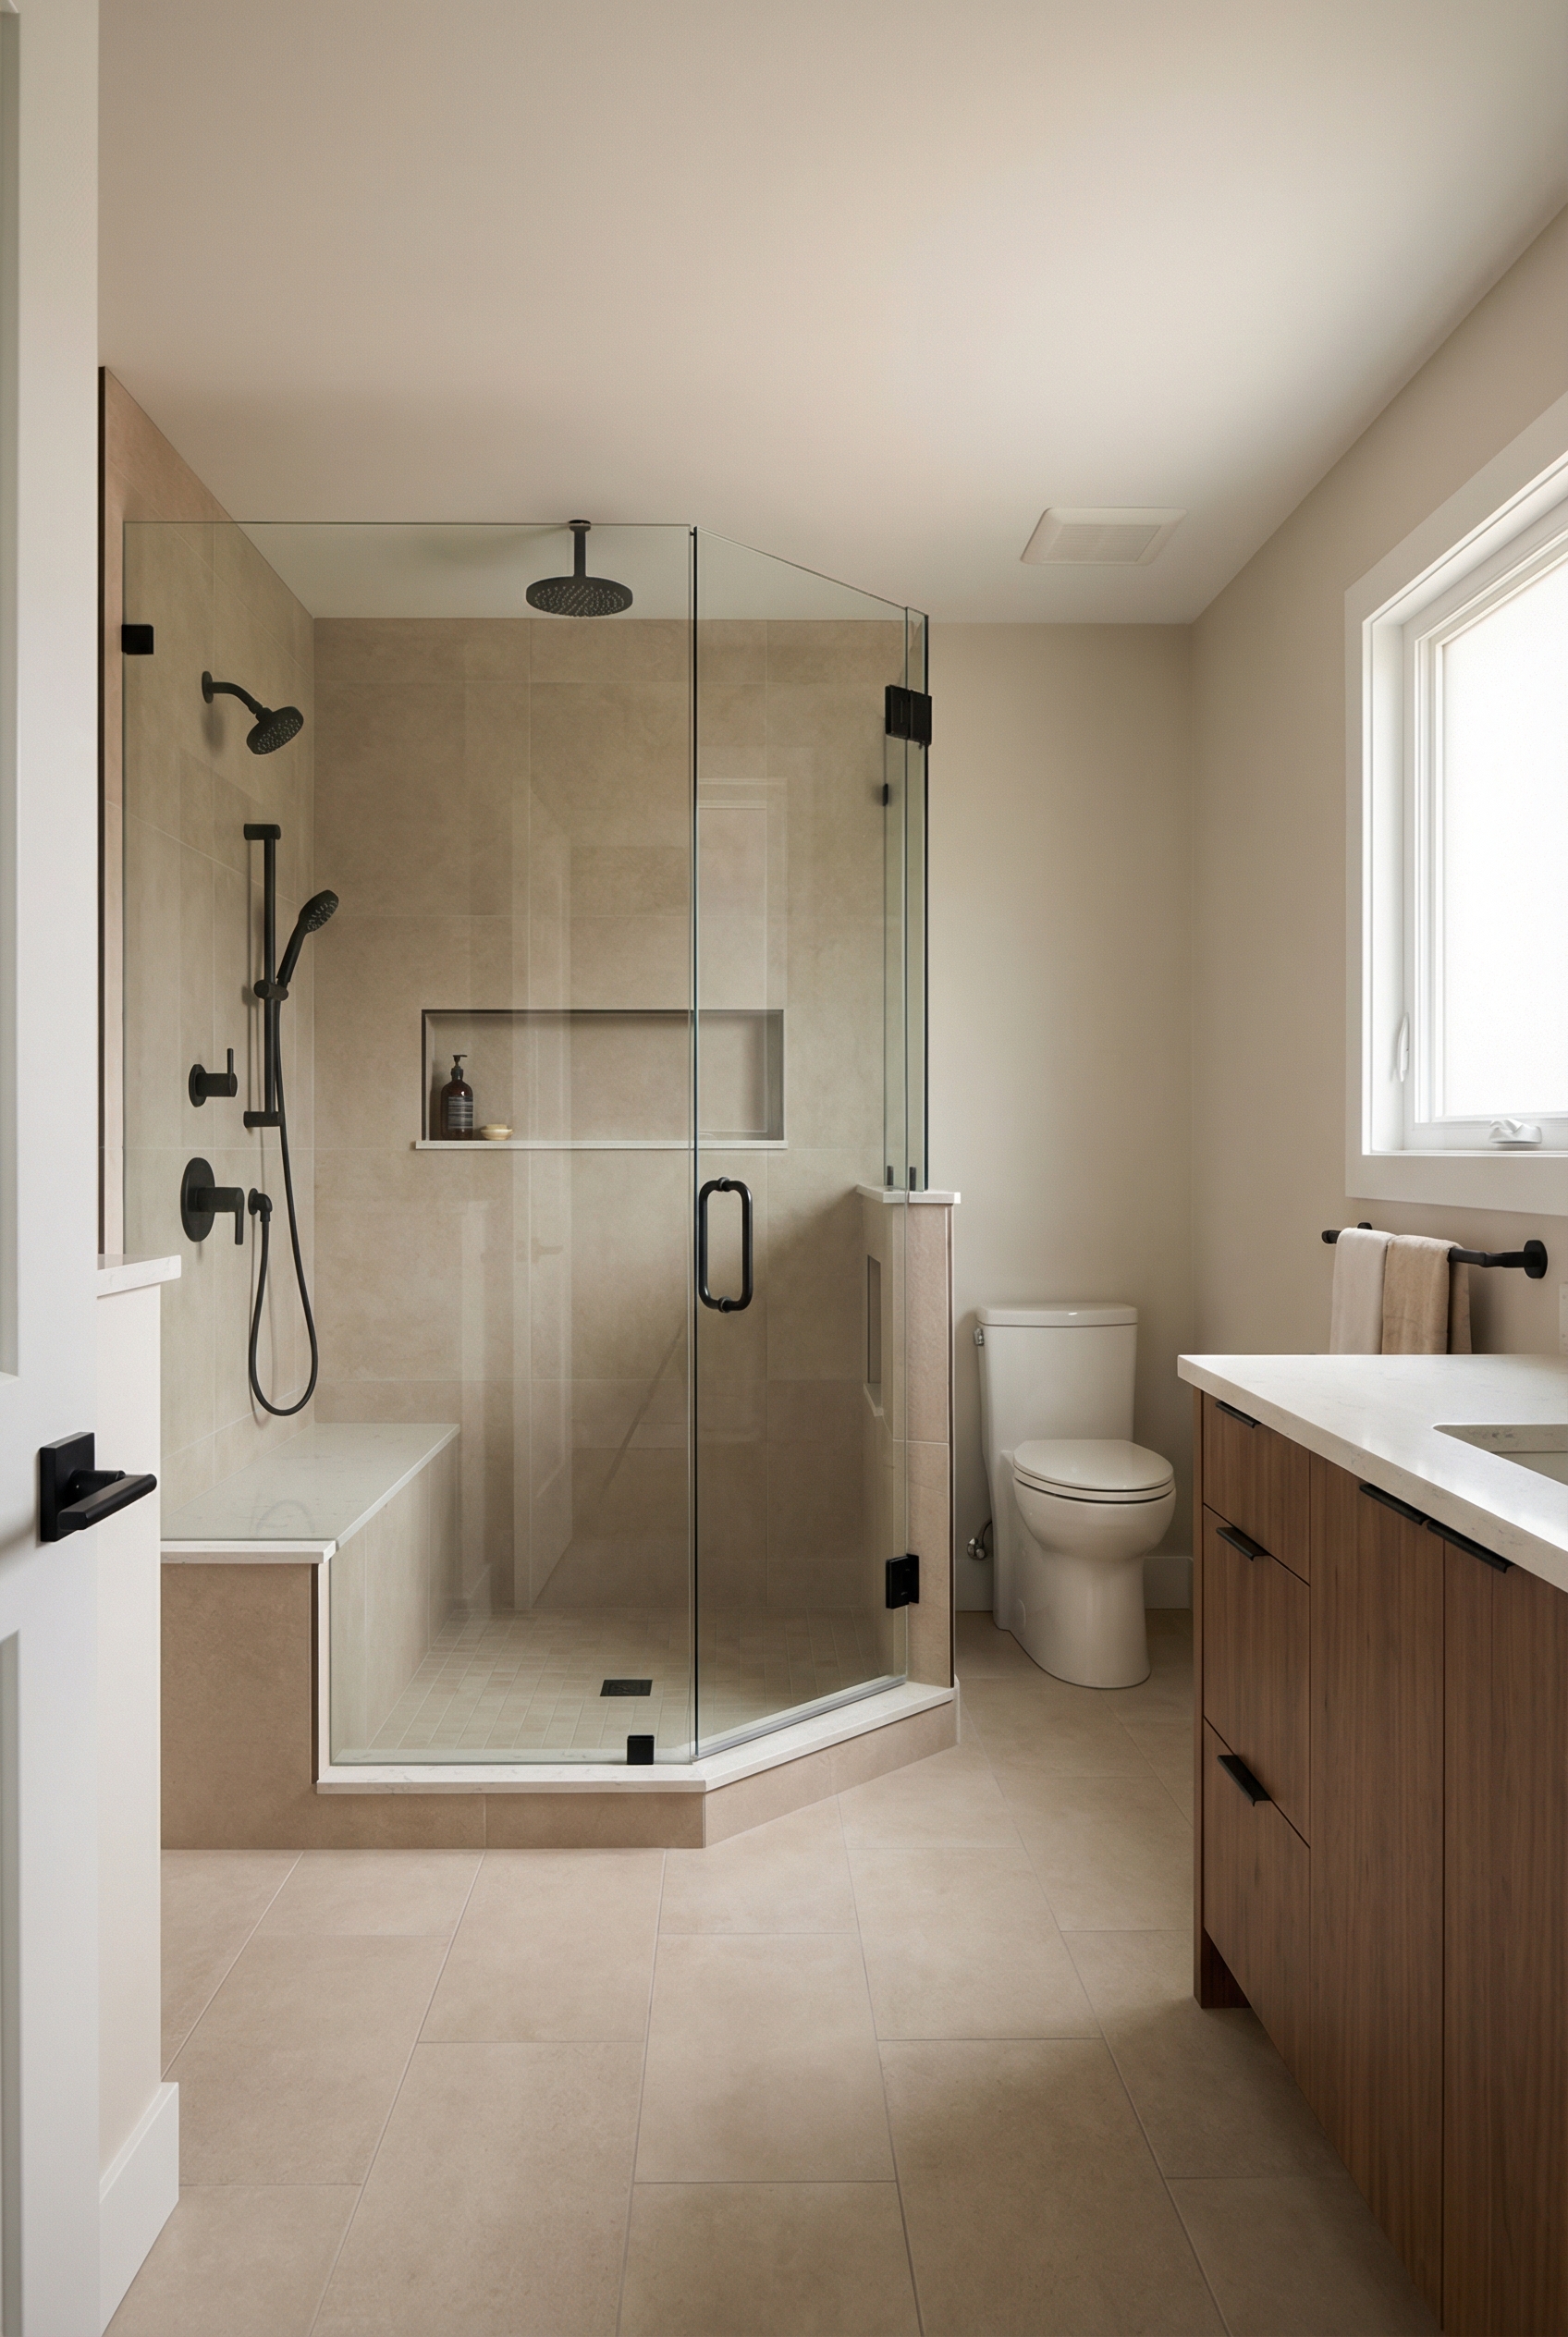
A walk-in shower layout suits small to medium rooms, especially when the tub is used infrequently. A niche and bench can make the shower more useful, with both placed in a shower measuring around 3×5 feet or more. Pair this setup with a sensible vanity that includes planned storage, and place the toilet in a corner or short nook where it is not directly visible from the door.
A walk-in shower layout supports functional use of the space and can also support aging in place. A house with no tub may face a resale risk, so consider retaining one tub in the secondary bath, where it can support families with kids.
A fixed shower head paired with a handheld shower head can provide a mini spa without requiring a separate tub. An optional steam feature adds another option.
Tub-Centered Layout
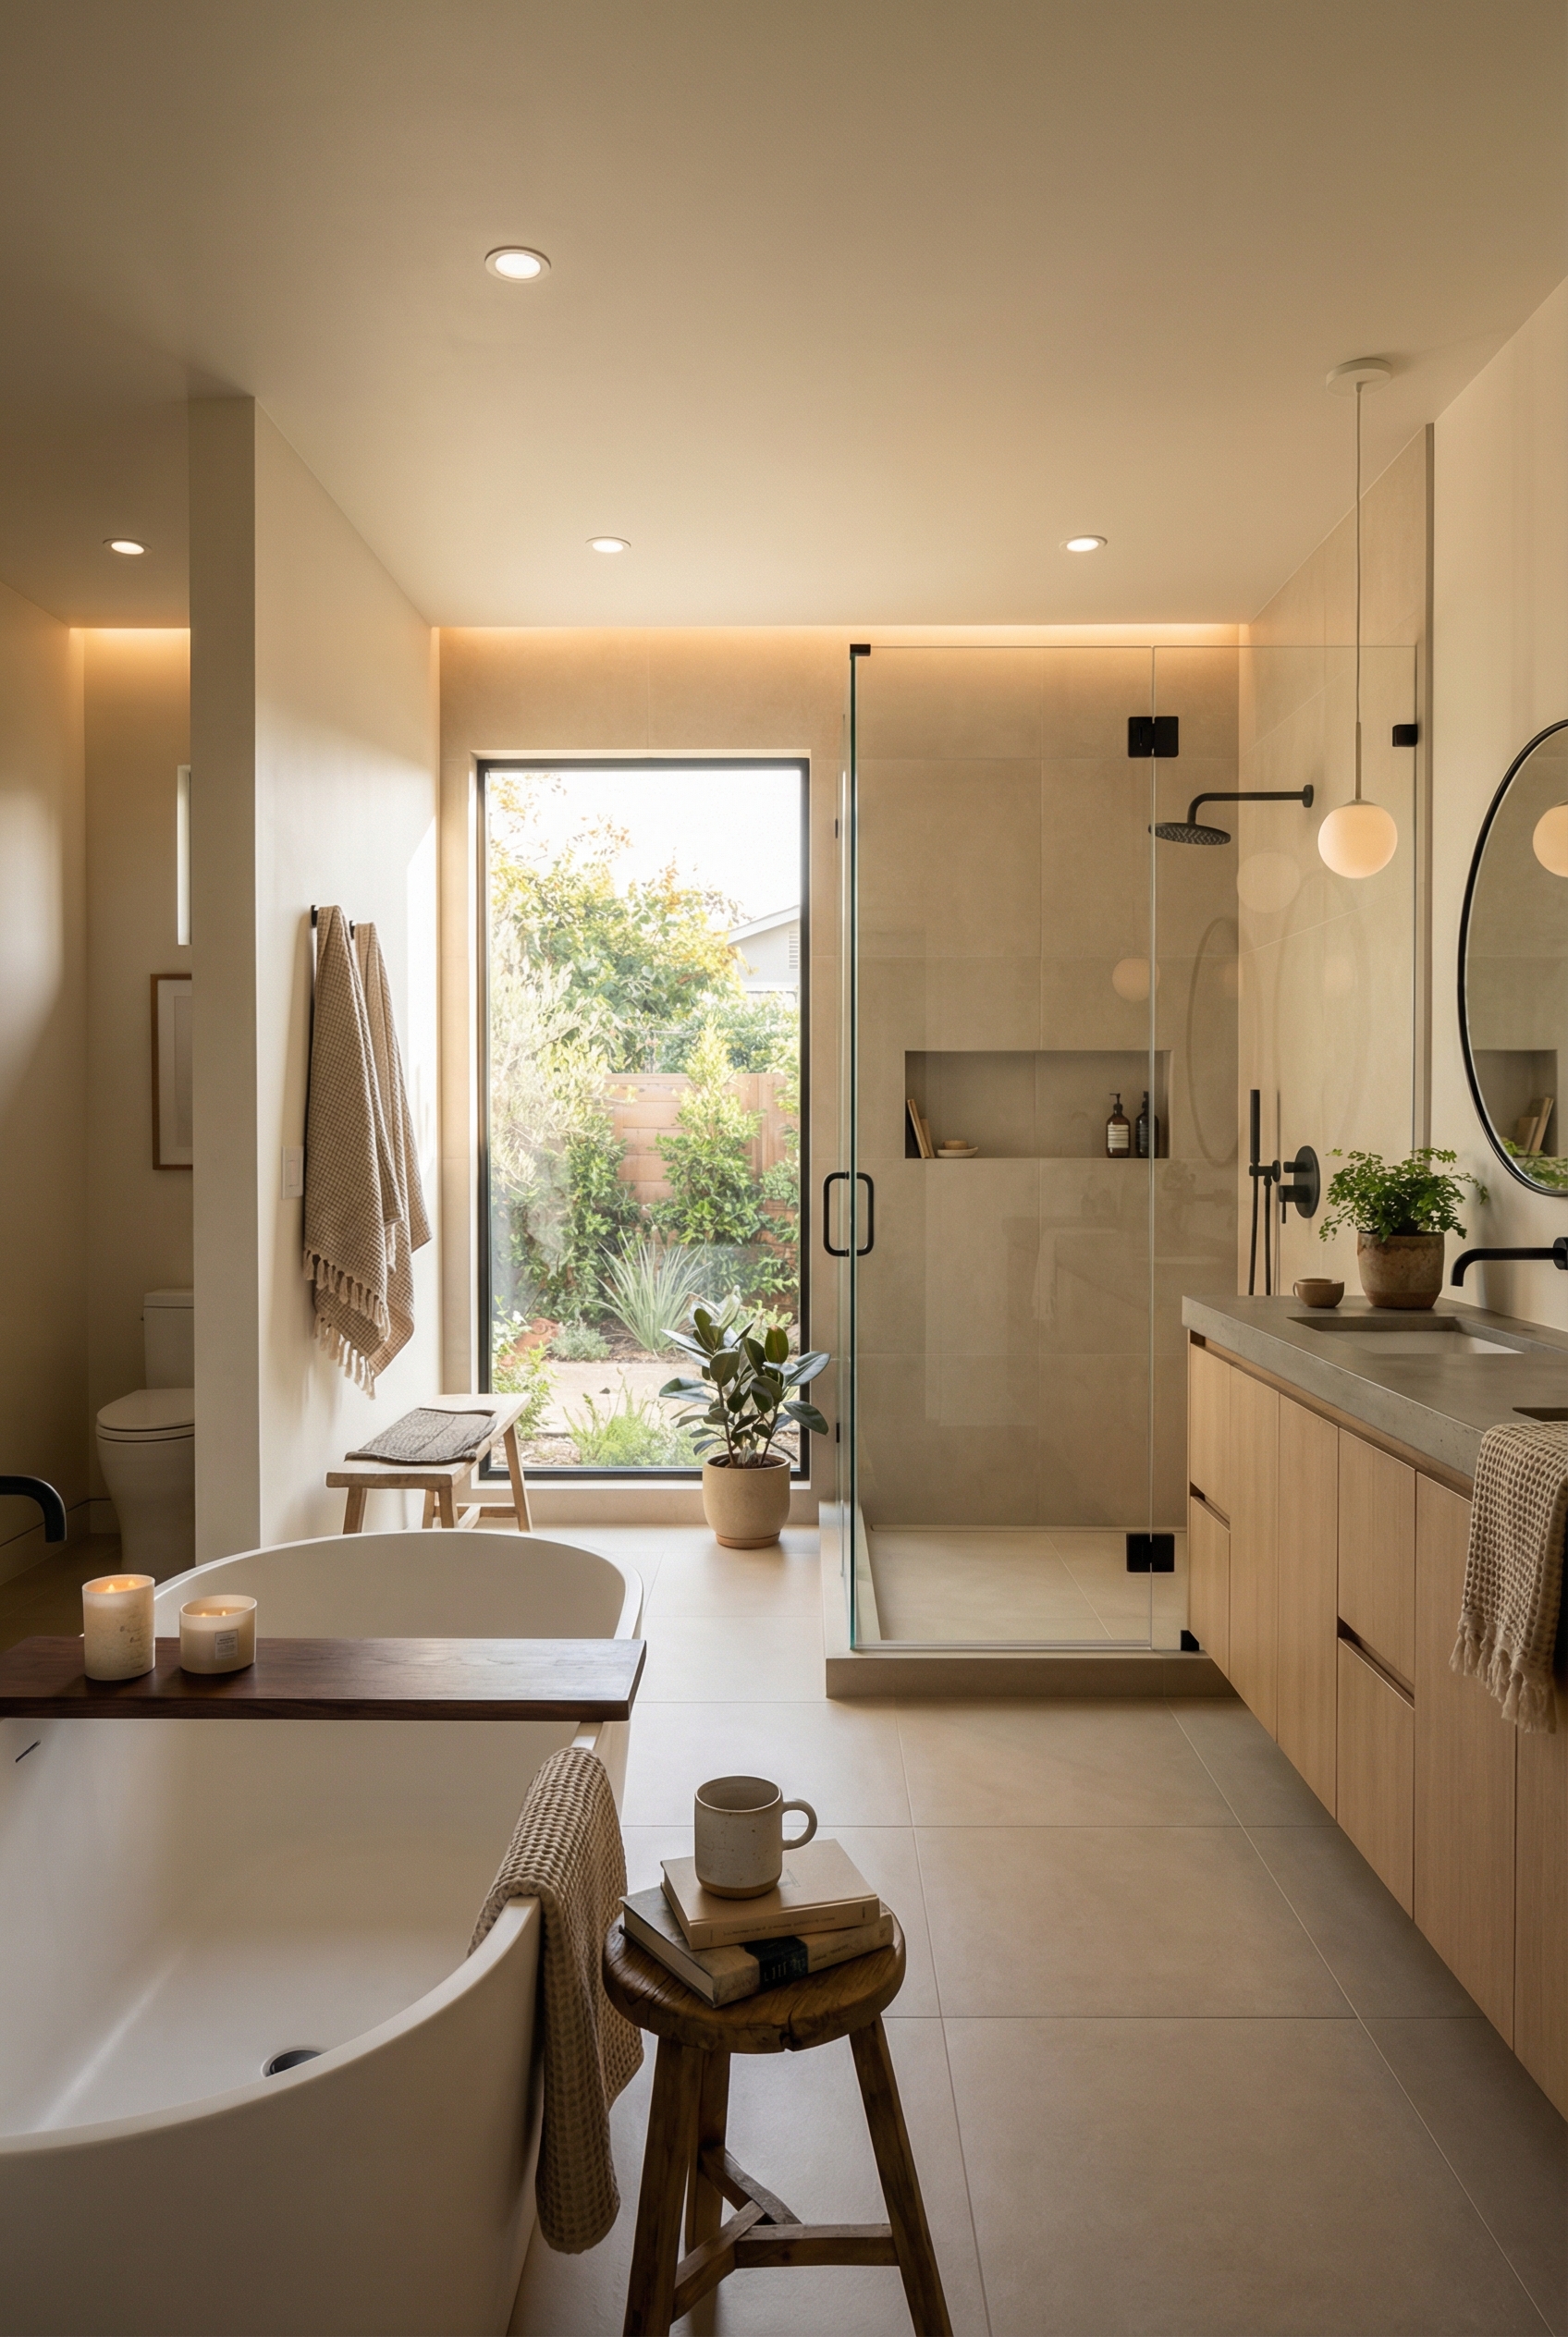
A tub-centered layout suits frequent bath users by giving the tub visual priority. Place the toilet in the least visible corner and the vanity along the remaining wall, with the tub under a window or on the back wall and an adjacent or smaller shower nearby.
The tub can serve as the room’s focal point and create a soothing feel, but an oversized tub can leave unused space and make the shower feel cramped. Right-size the tub and provide enough shower space for daily comfort.
A shelf in the niche, dimmable lighting, and a ledge for candle placement add practical details near the tub. A small table can hold candles or tea.
Storage-focused layout
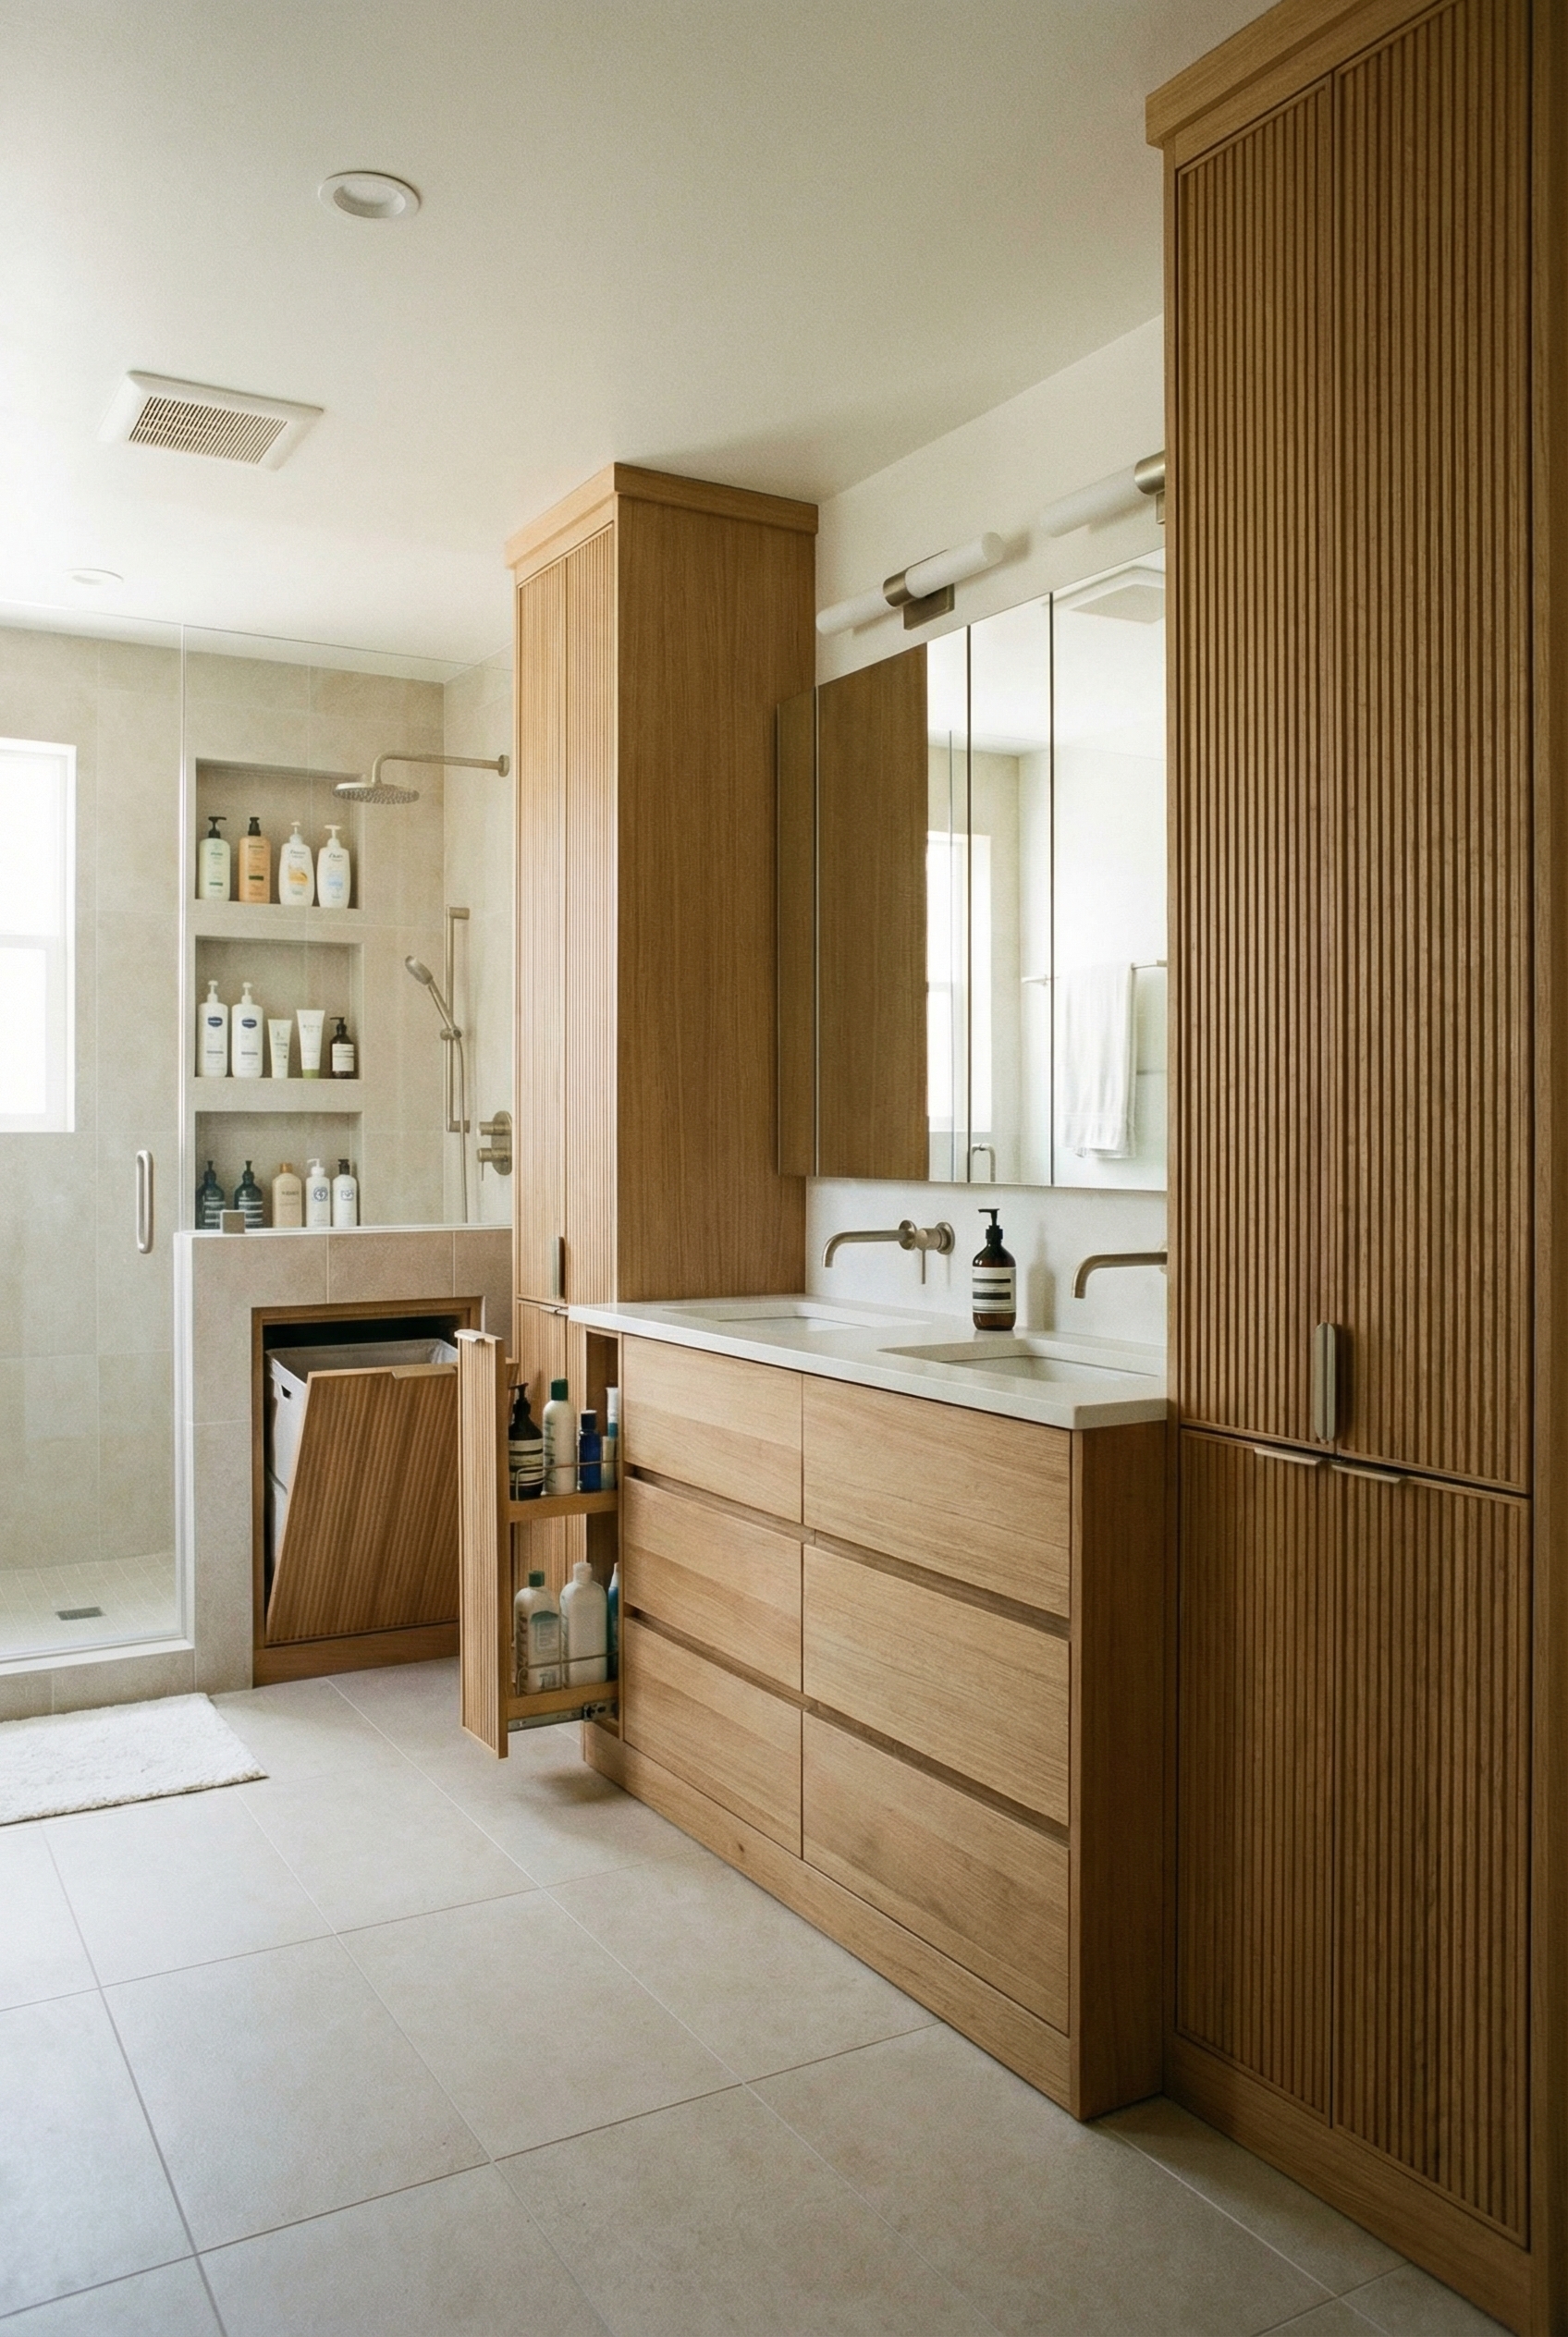
A storage-integrated layout suits any room size and helps address clutter. Storage can follow the room’s fixture positions and be integrated into the plan, with options including a tall linen cabinet beside the vanity, a recessed medicine cabinet, a built-in hamper, a toe-kick drawer, and a shower niche sized for real bottles.
Integrated storage keeps the counters clearer and makes cleaning easier, supporting a calmer room and family use. Label spaces for towels, toiletries, and cleaning supplies on the floor plan before adding storage to prevent random carts and baskets from taking over the room.
Inside a cabinet, a hidden electrical outlet can serve toothbrushes and shavers, while a narrow pull-out holds tall bottles. Choose one of 11 layout families, then refine it.
Double Vanity Setup
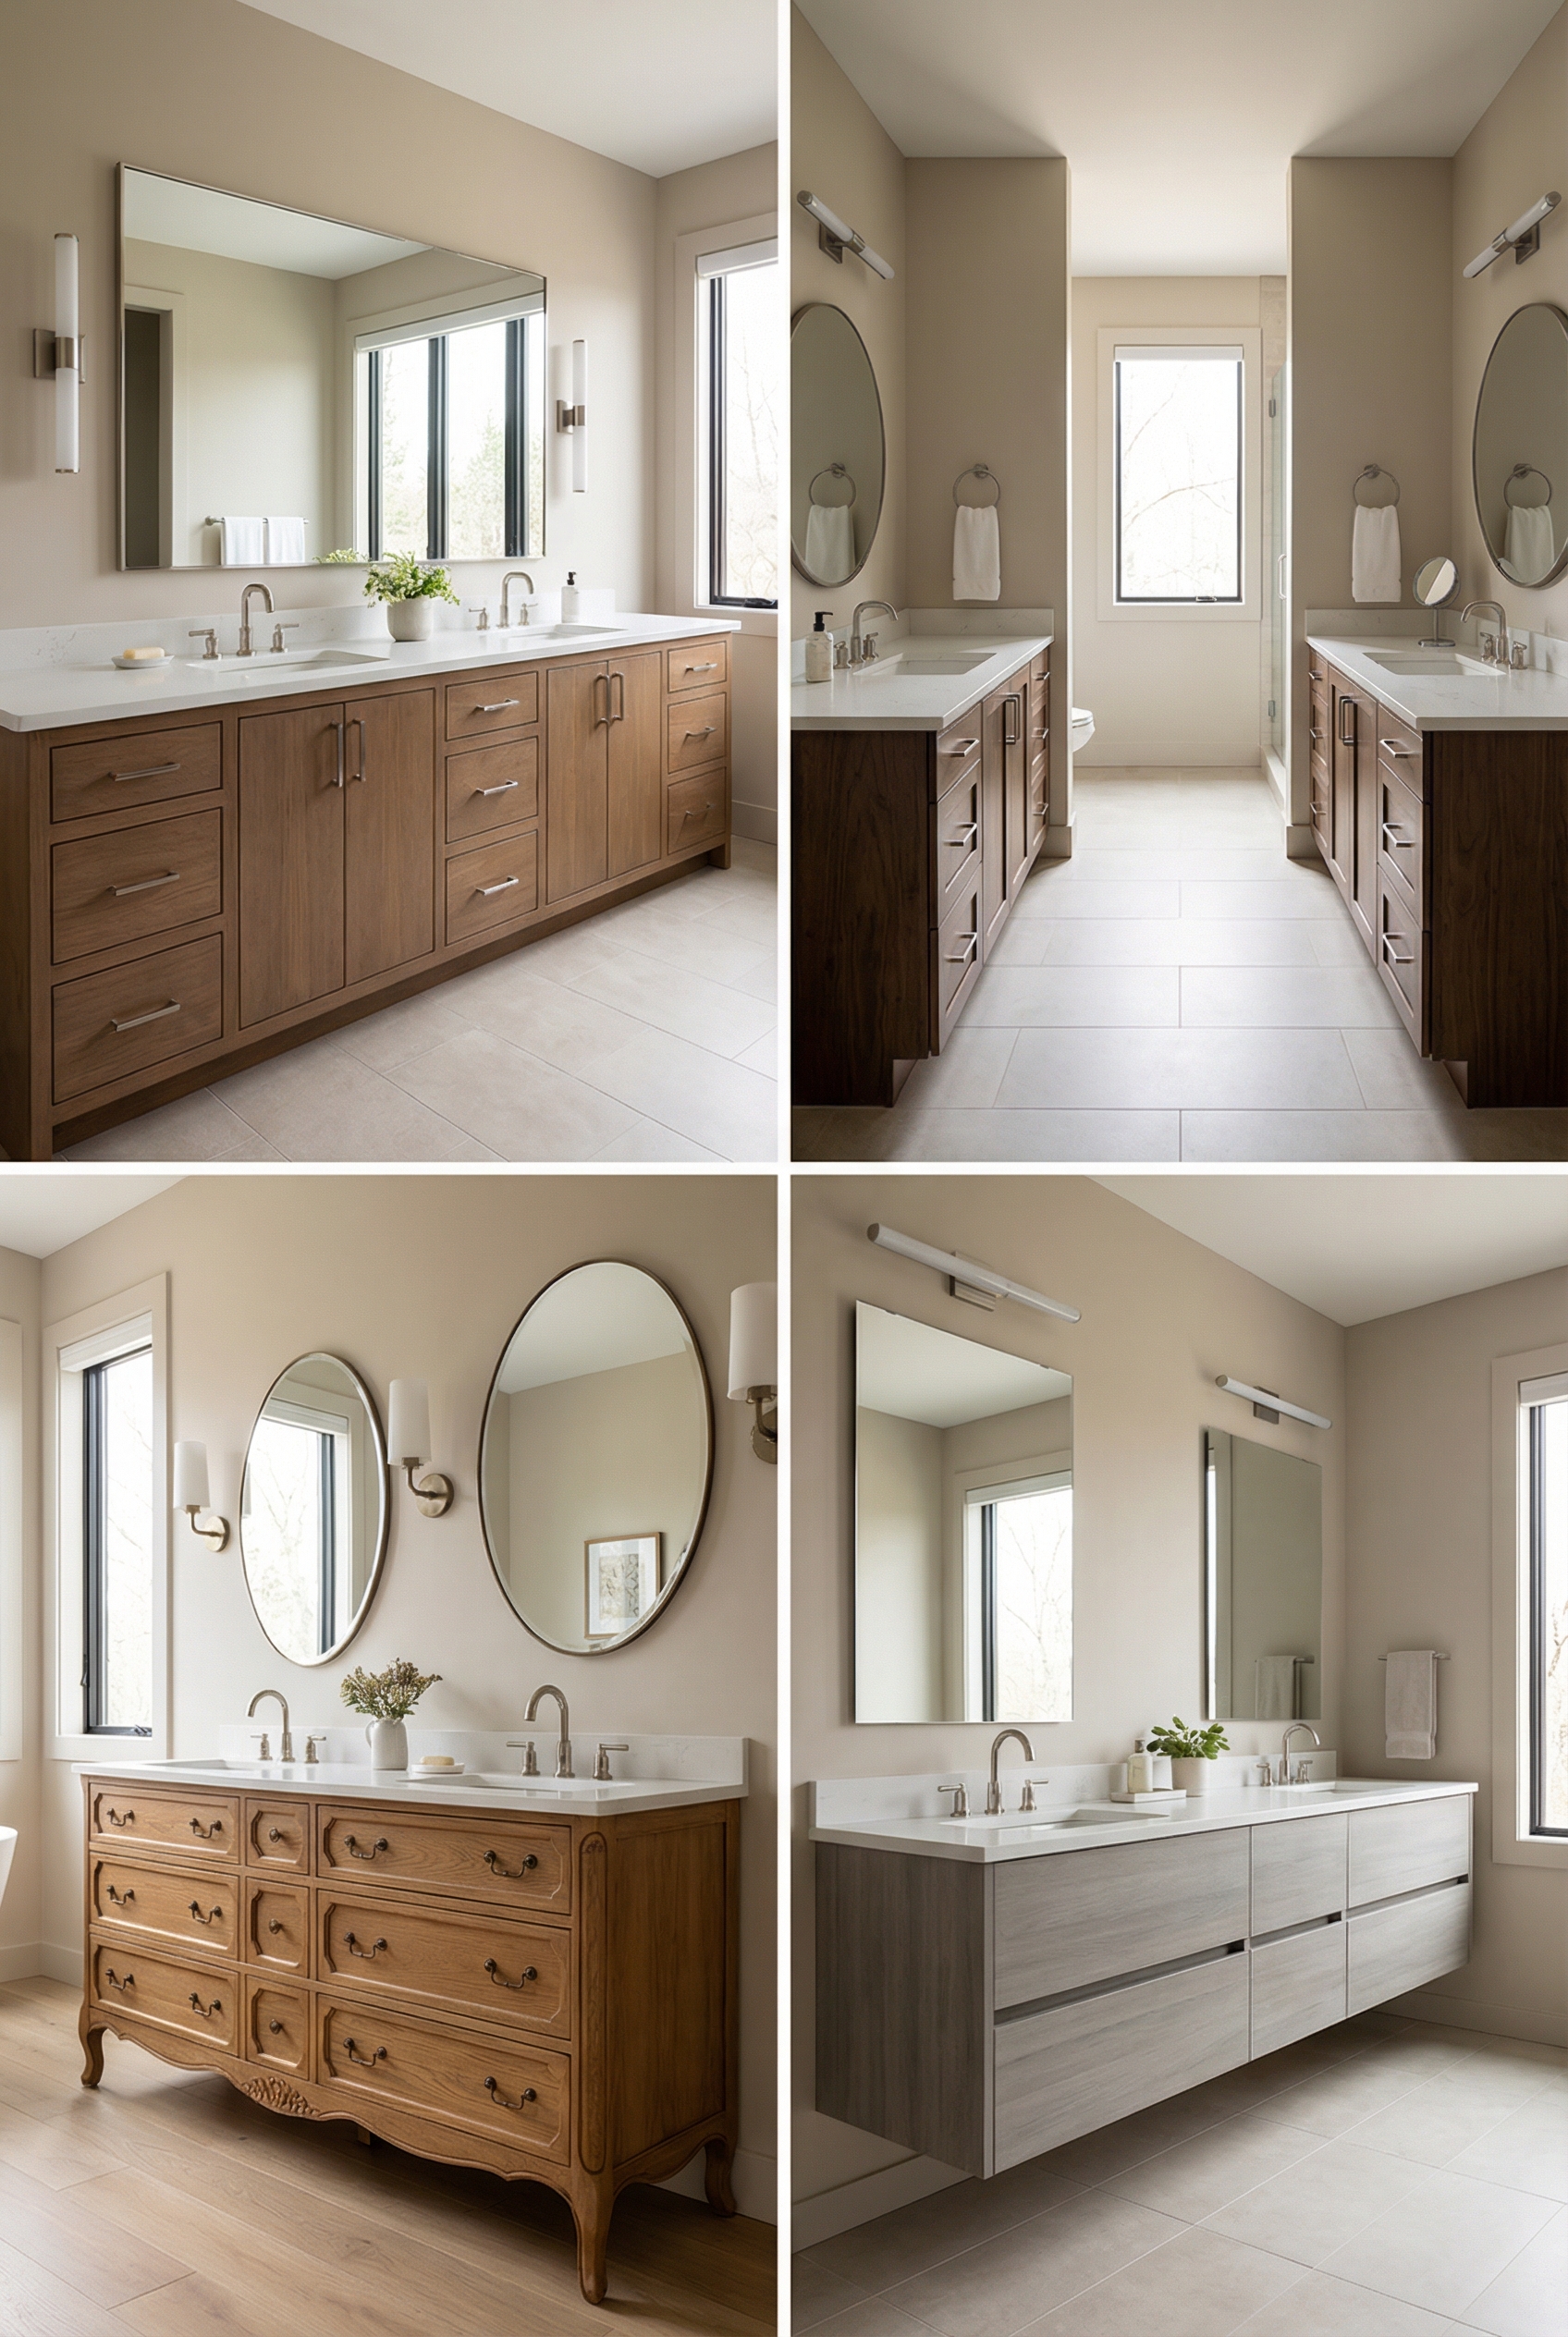
Two sinks do not automatically make a vanity convenient; the arrangement must also give each person enough counter space and room to move. Common double-vanity configurations include side-by-side sinks, separated vanities, furniture-style vanities, and floating vanities. A side-by-side vanity uses one long run and requires at least 24inches of counter per person. Separated vanities can sit on opposite walls with space between them, an arrangement that suits shared mornings. A furniture-style vanity has a dresser-like appearance that suits traditional and cottage styles, while a floating vanity sits off the floor with reduced closed storage; its open floor clearance can make the room feel bigger.
Side sconces can sit on each side of the mirror, or a vertical light bar can go near the mirror. These options are preferable to a single overhead light, which can cause facial shadows. Limited drawers can force both users to share one cabinet, making everyday routines less convenient.
Replacing the vanity would require drilling into the tile backsplash, so that decision remains unresolved.
Walk-In Shower Versus Soaking Tub for Resale
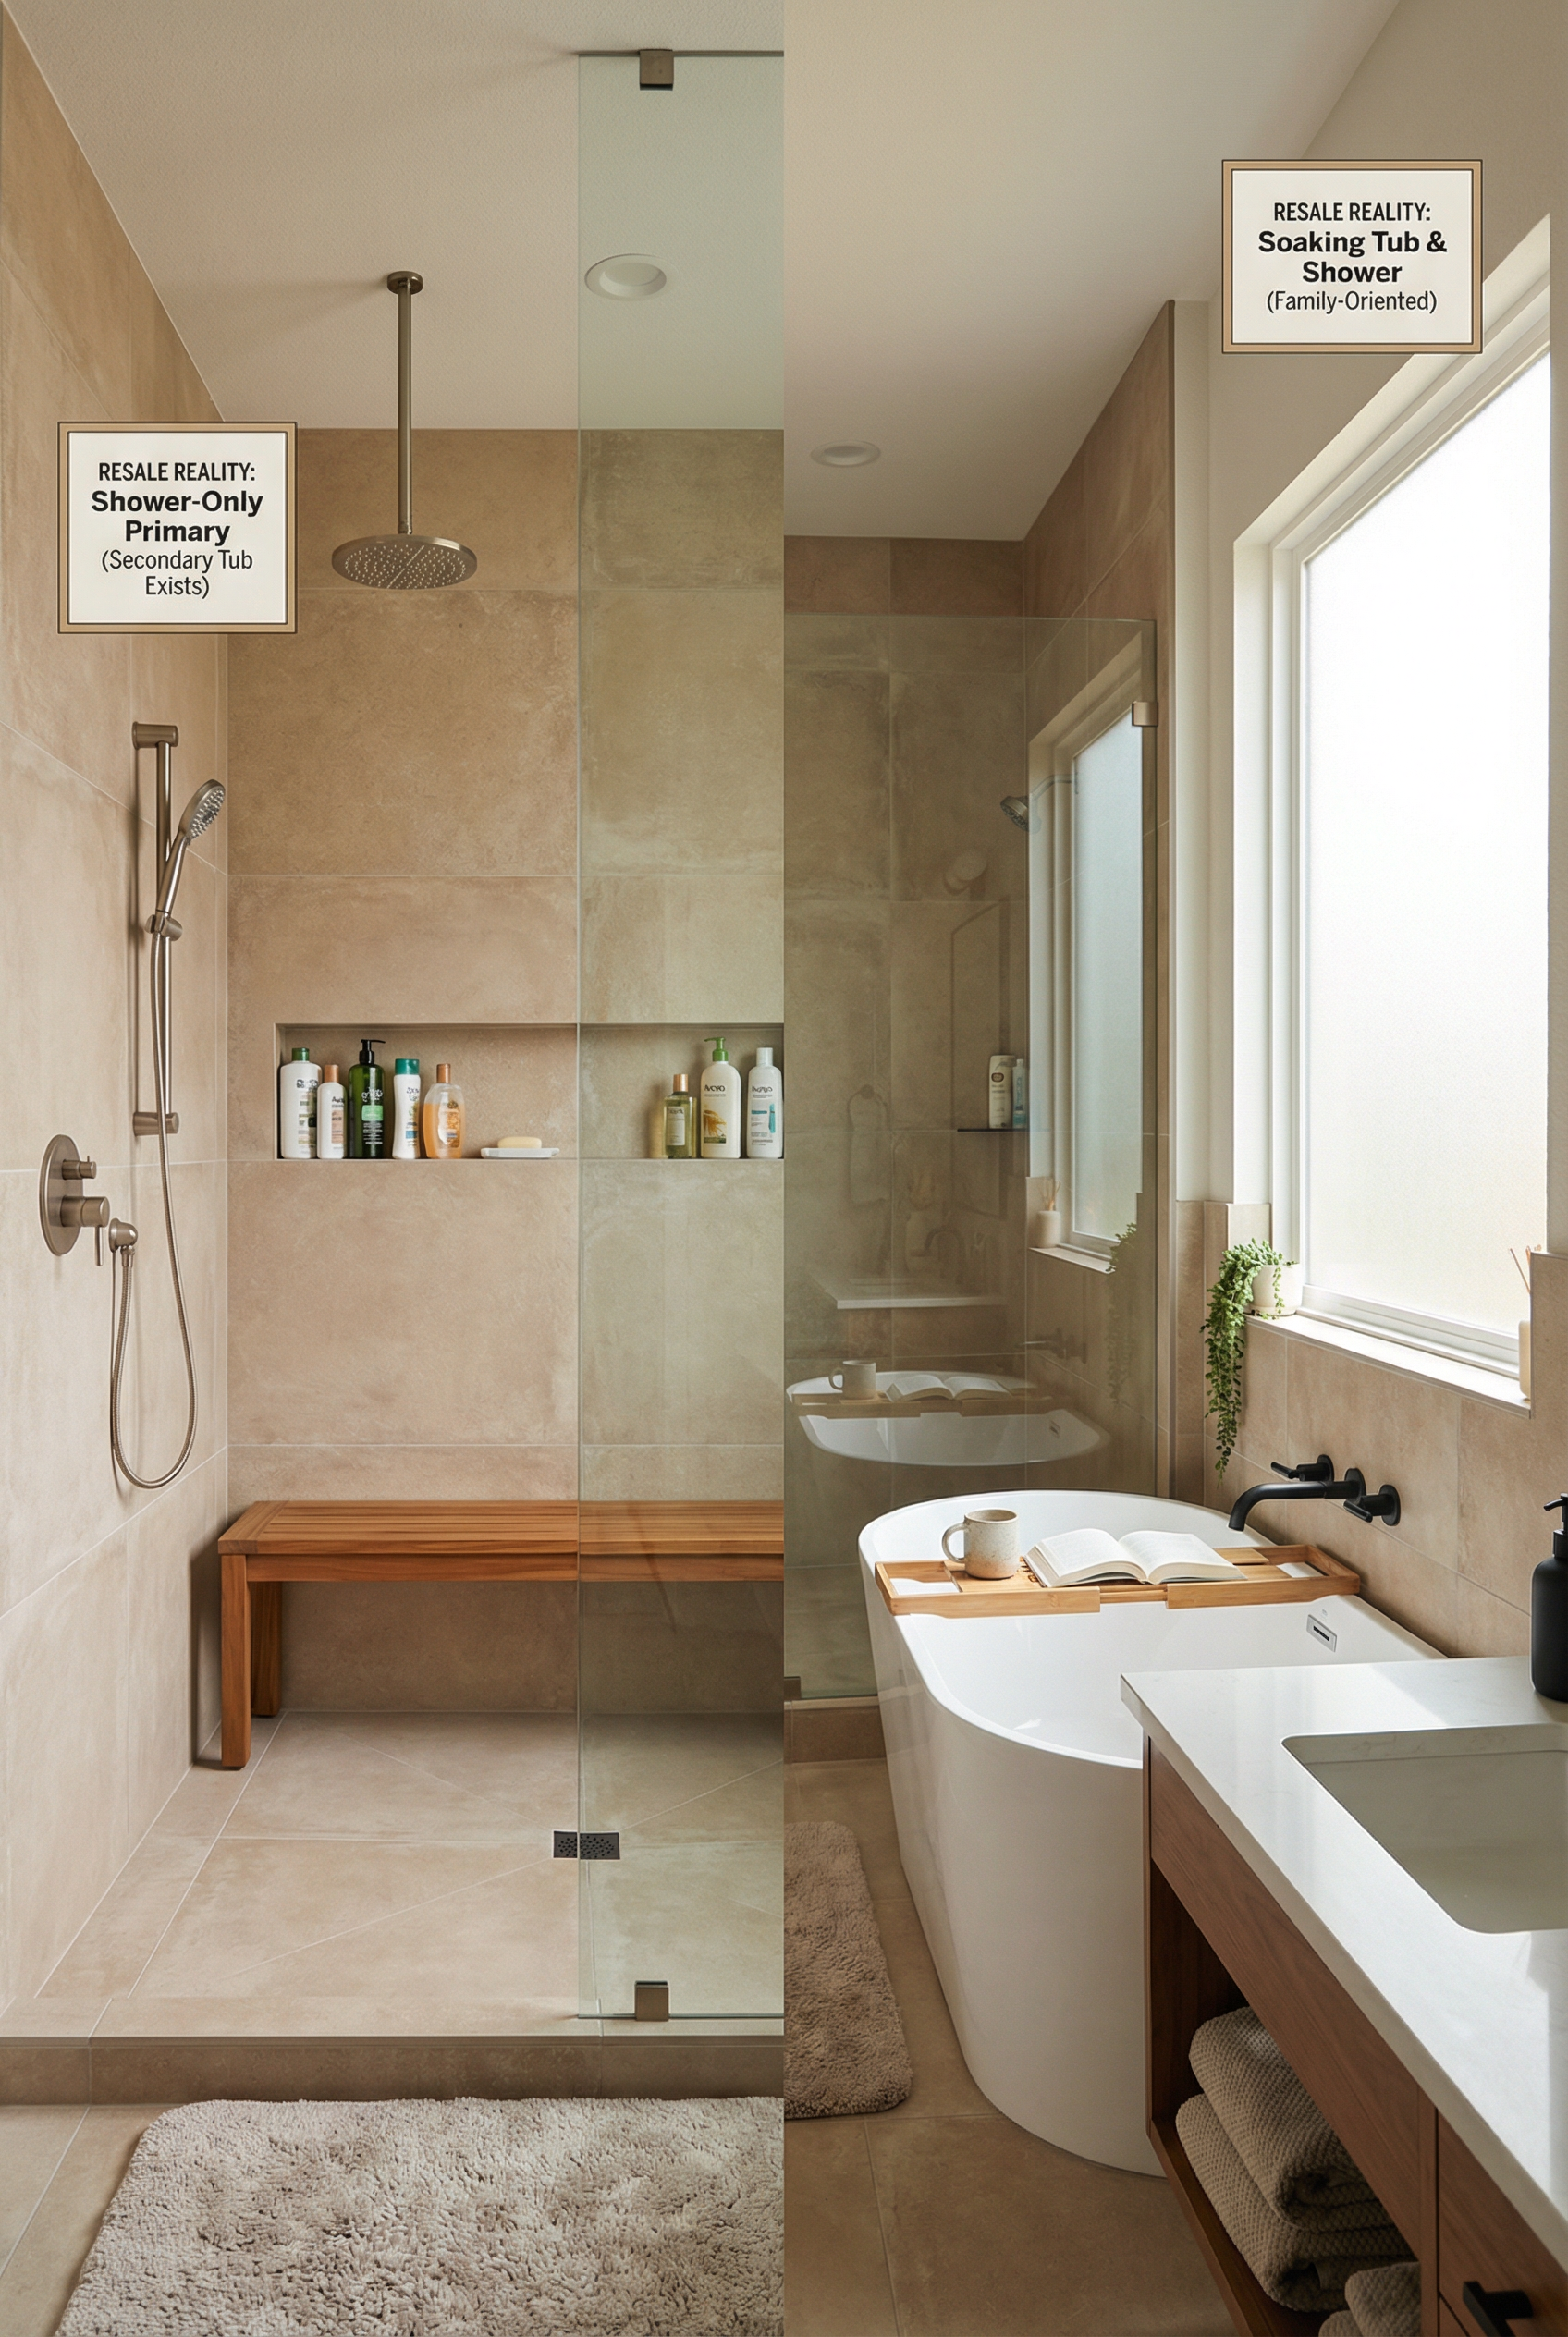
A walk-in shower and tub can coexist when space and budget permit, so the choice does not have to be one or the other.
A walk-in shower suits daily shower users and people who rarely take baths, offers easier entry now or later, and works well in smaller rooms where a tub may dominate the space. It is also more viable when a tub exists elsewhere.
A tub can serve children who bathe regularly and adults who use it at least weekly, including people who enjoy long soaks. Buyers with young children may appreciate having a tub, and keeping one can support resale value when the home has no other tub.
A fixed glass panel helps define the walk-in shower, while a sloped floor directs water toward the drain. A shower around 3 × 5feet or larger can provide a comfortable footprint; consider adding a bench and niche. In a doorless shower, aim the spray toward the interior rather than the opening.
Evaluate resale carefully before choosing a shower-only plan. Removing every tub may affect how the layout serves the home, while a shower-only primary bath is usually acceptable when there is a tub elsewhere and suits buyers focused on daily function. A local agent can explain what neighborhood buyers expect, so ask for guidance before settling on the plan.
A towel hook near a doorless shower can be reached by the shower spray, leaving the towel damp. Place towel hooks away from the spray.
Storage-Integrated Layouts
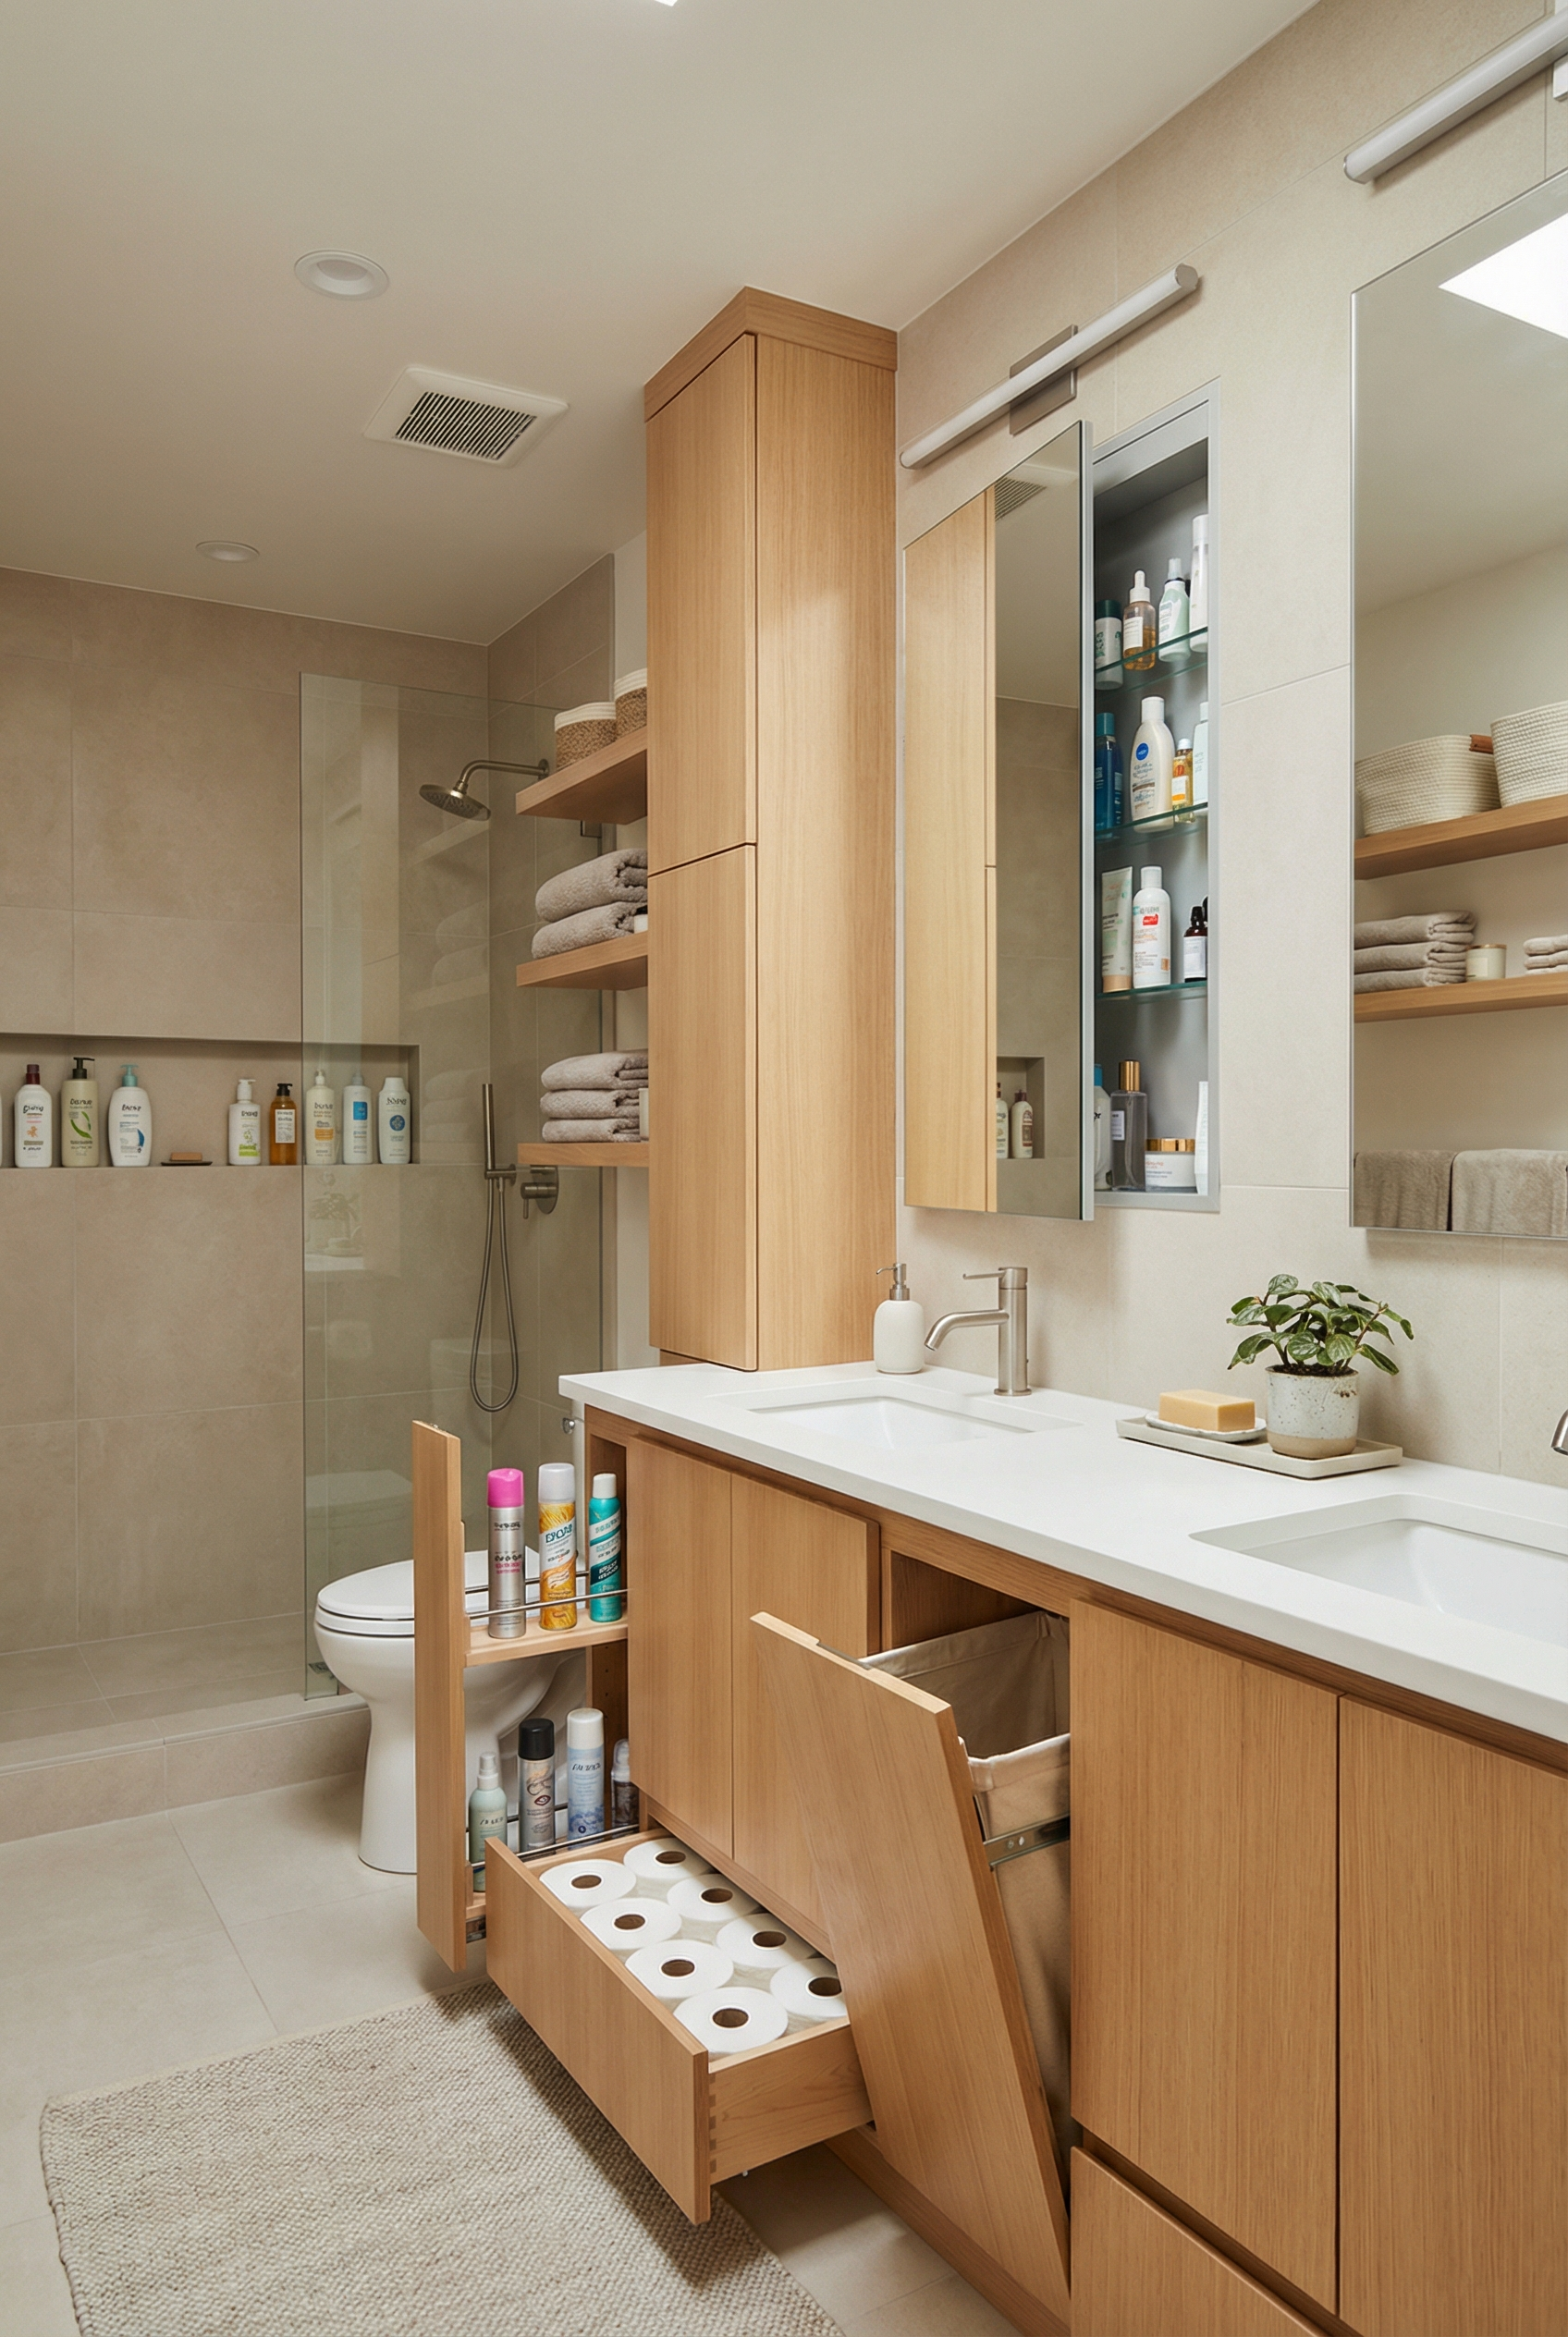
Integrate bathroom storage into the room’s structure; 19 visible bottles indicate that the layout needs improvement. Useful options include:
- A recessed medicine cabinet with a mirrored front.
- A tall linen tower at the end of the vanity, in the corner.
- An in-wall niche sized for bottles, so it can hold full-size bottles instead of mini bottles.
- A toe-kick drawer for toilet paper and other flat items.
- A built-in hamper that keeps clothing off the floor and provides a designated place to store it.
- A shallow shelf above the toilet that makes use of a small space.
Begin bathroom space planning by labeling where each category belongs: towels, children’s bath toys, extra toiletries, and cleaning products.
Layered Bathroom Lighting for Quiet Luxury
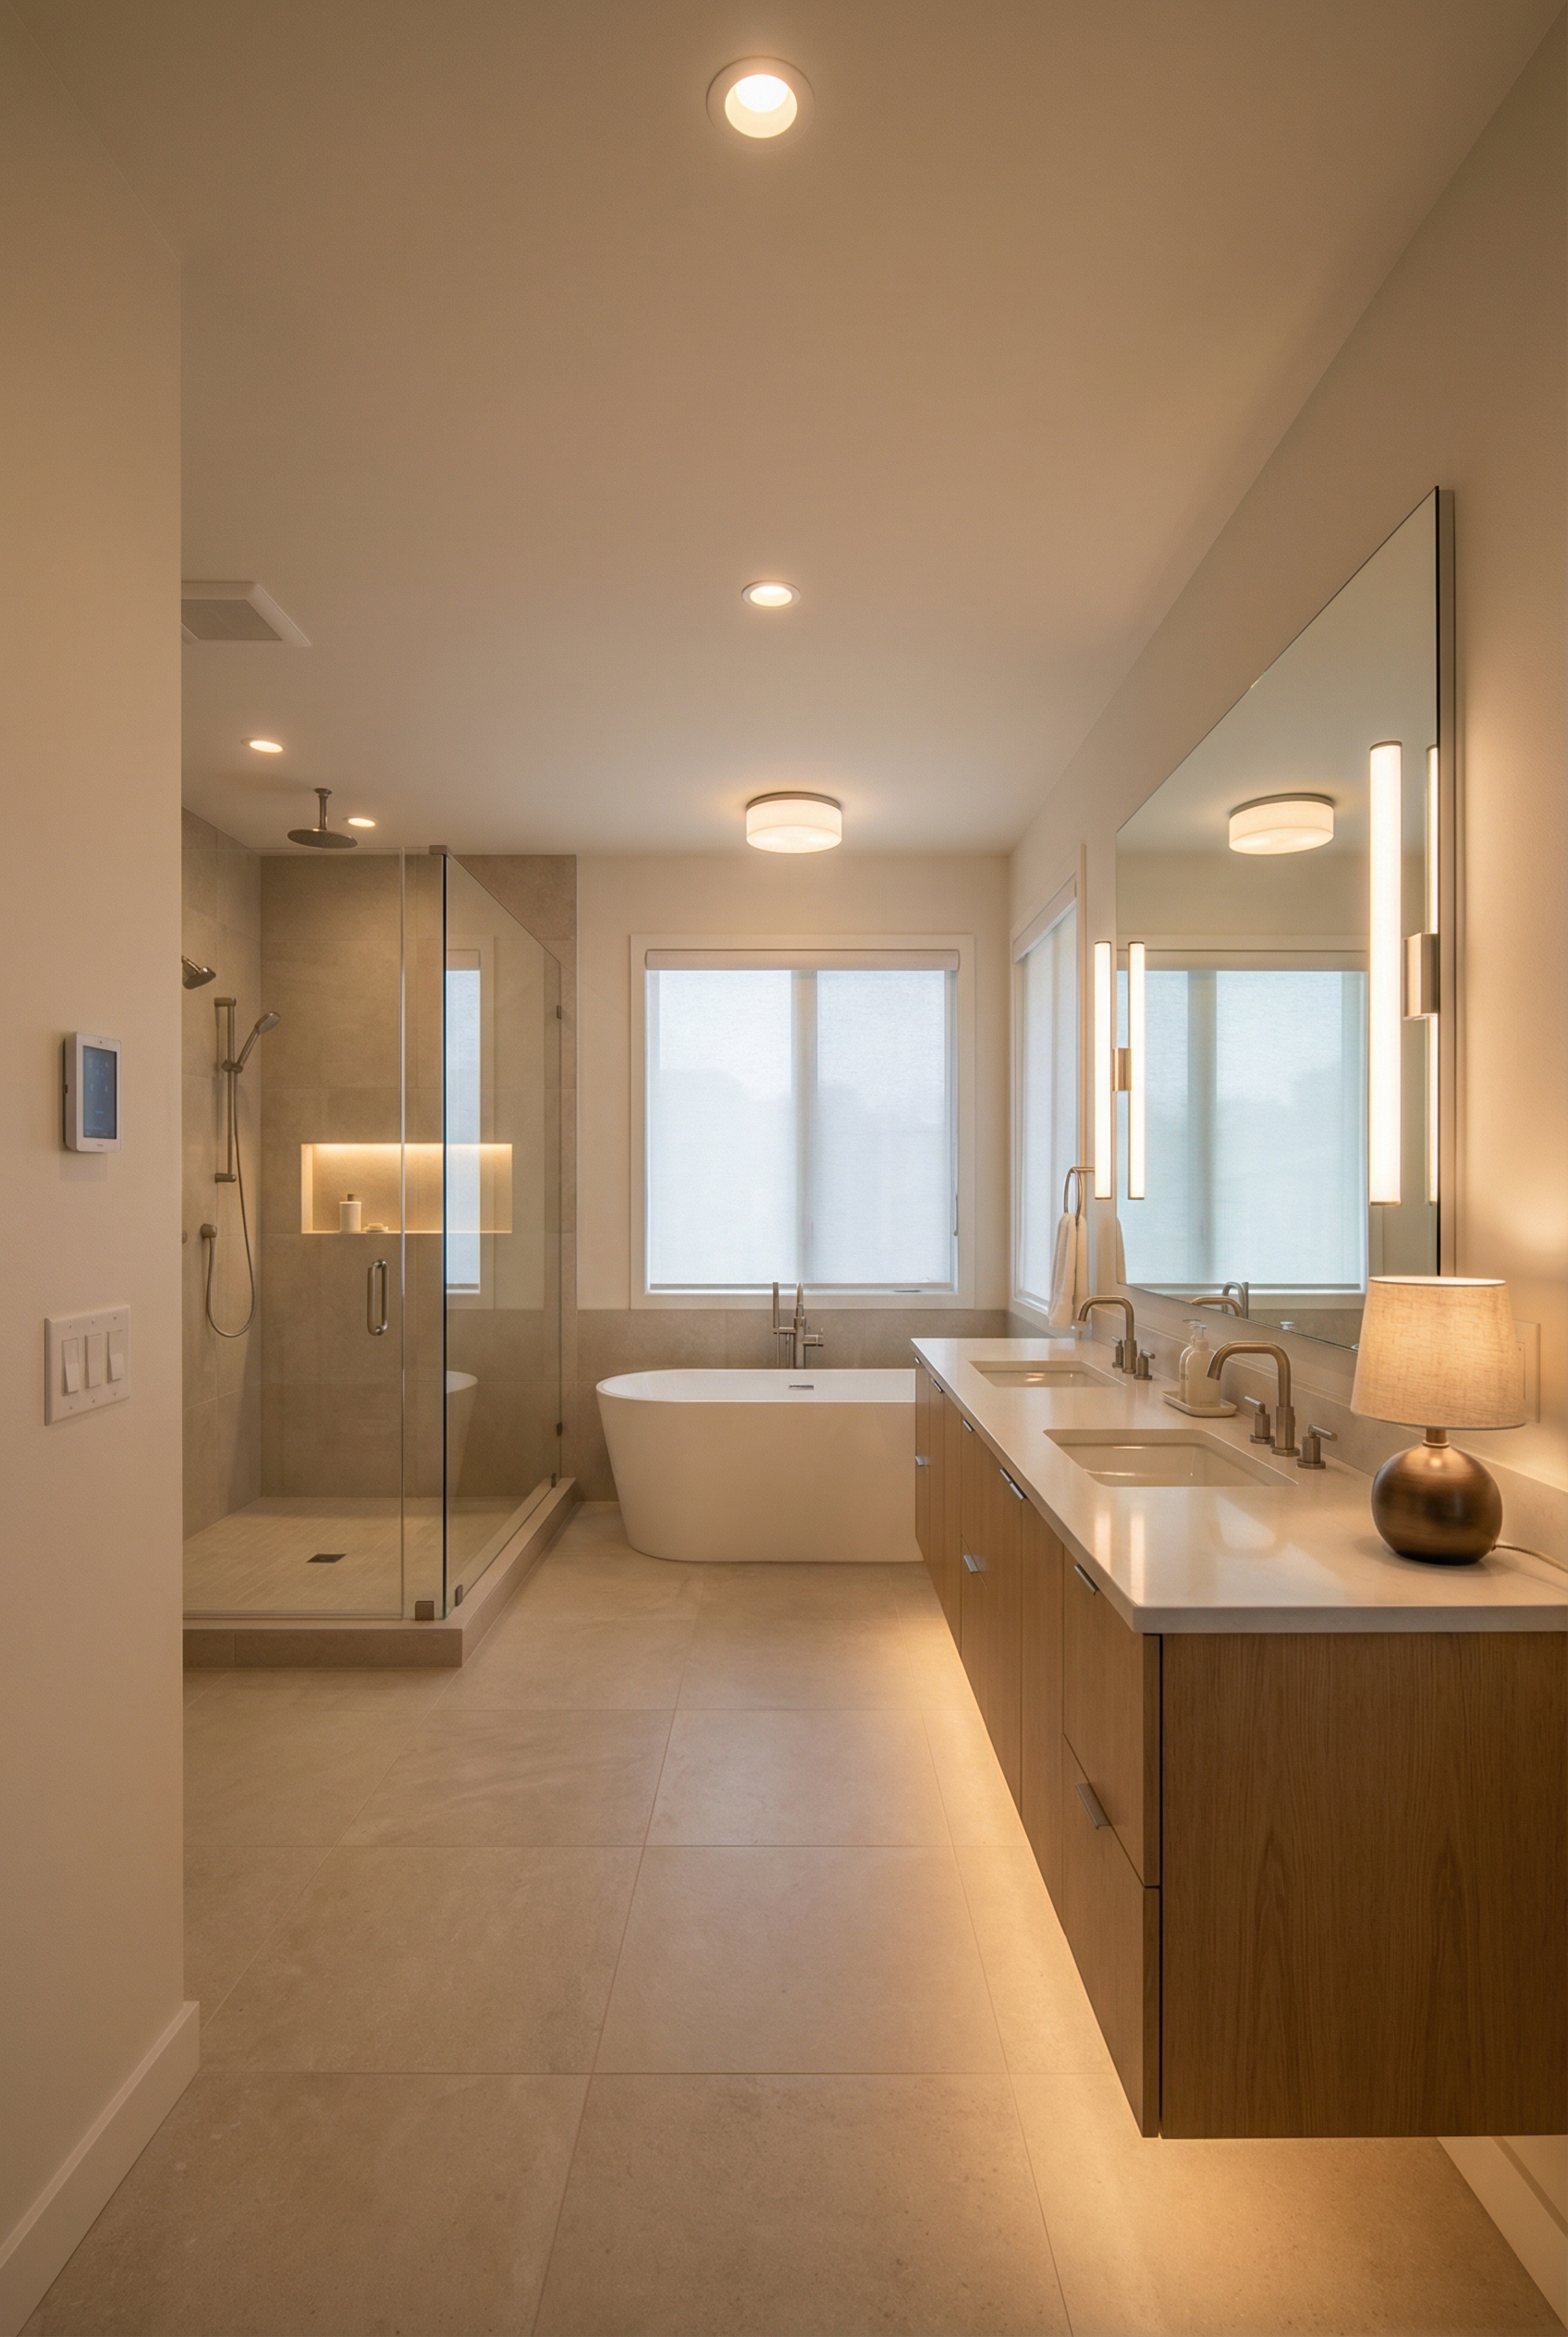
At 6 a.m., hotel bathroom lighting may feel aggressively bright, so avoid overly bright lighting. A layered lighting system with one dimmer supports transitions from task lighting to relaxation. Layer the lighting into ambient, task, and accent levels so the room can support both practical routines and lower-light evenings.
Use ceiling lights for ambient lighting, including a small flush-mount fixture when a lower-profile option fits the space. At the mirror, use sconces or vertical bars placed at eye level for task lighting. Add accent lighting with toe-kick LEDs, a lit niche, or a small shaded lamp on the counter; a shaded counter lamp or another secondary fixture can create a softer accent layer and a more relaxed bathroom atmosphere.
- Place vanity lights at eye level.
- Put most of the bathroom lighting on dimmers so the brightness can suit different routines.
- For late-night trips, add an under-vanity strip and include a nightlight mode as part of the setup.
- When possible, avoid relying on a single bright central fixture, which can create harsh light and unflattering shadows.
Bathroom Materials and Hardware
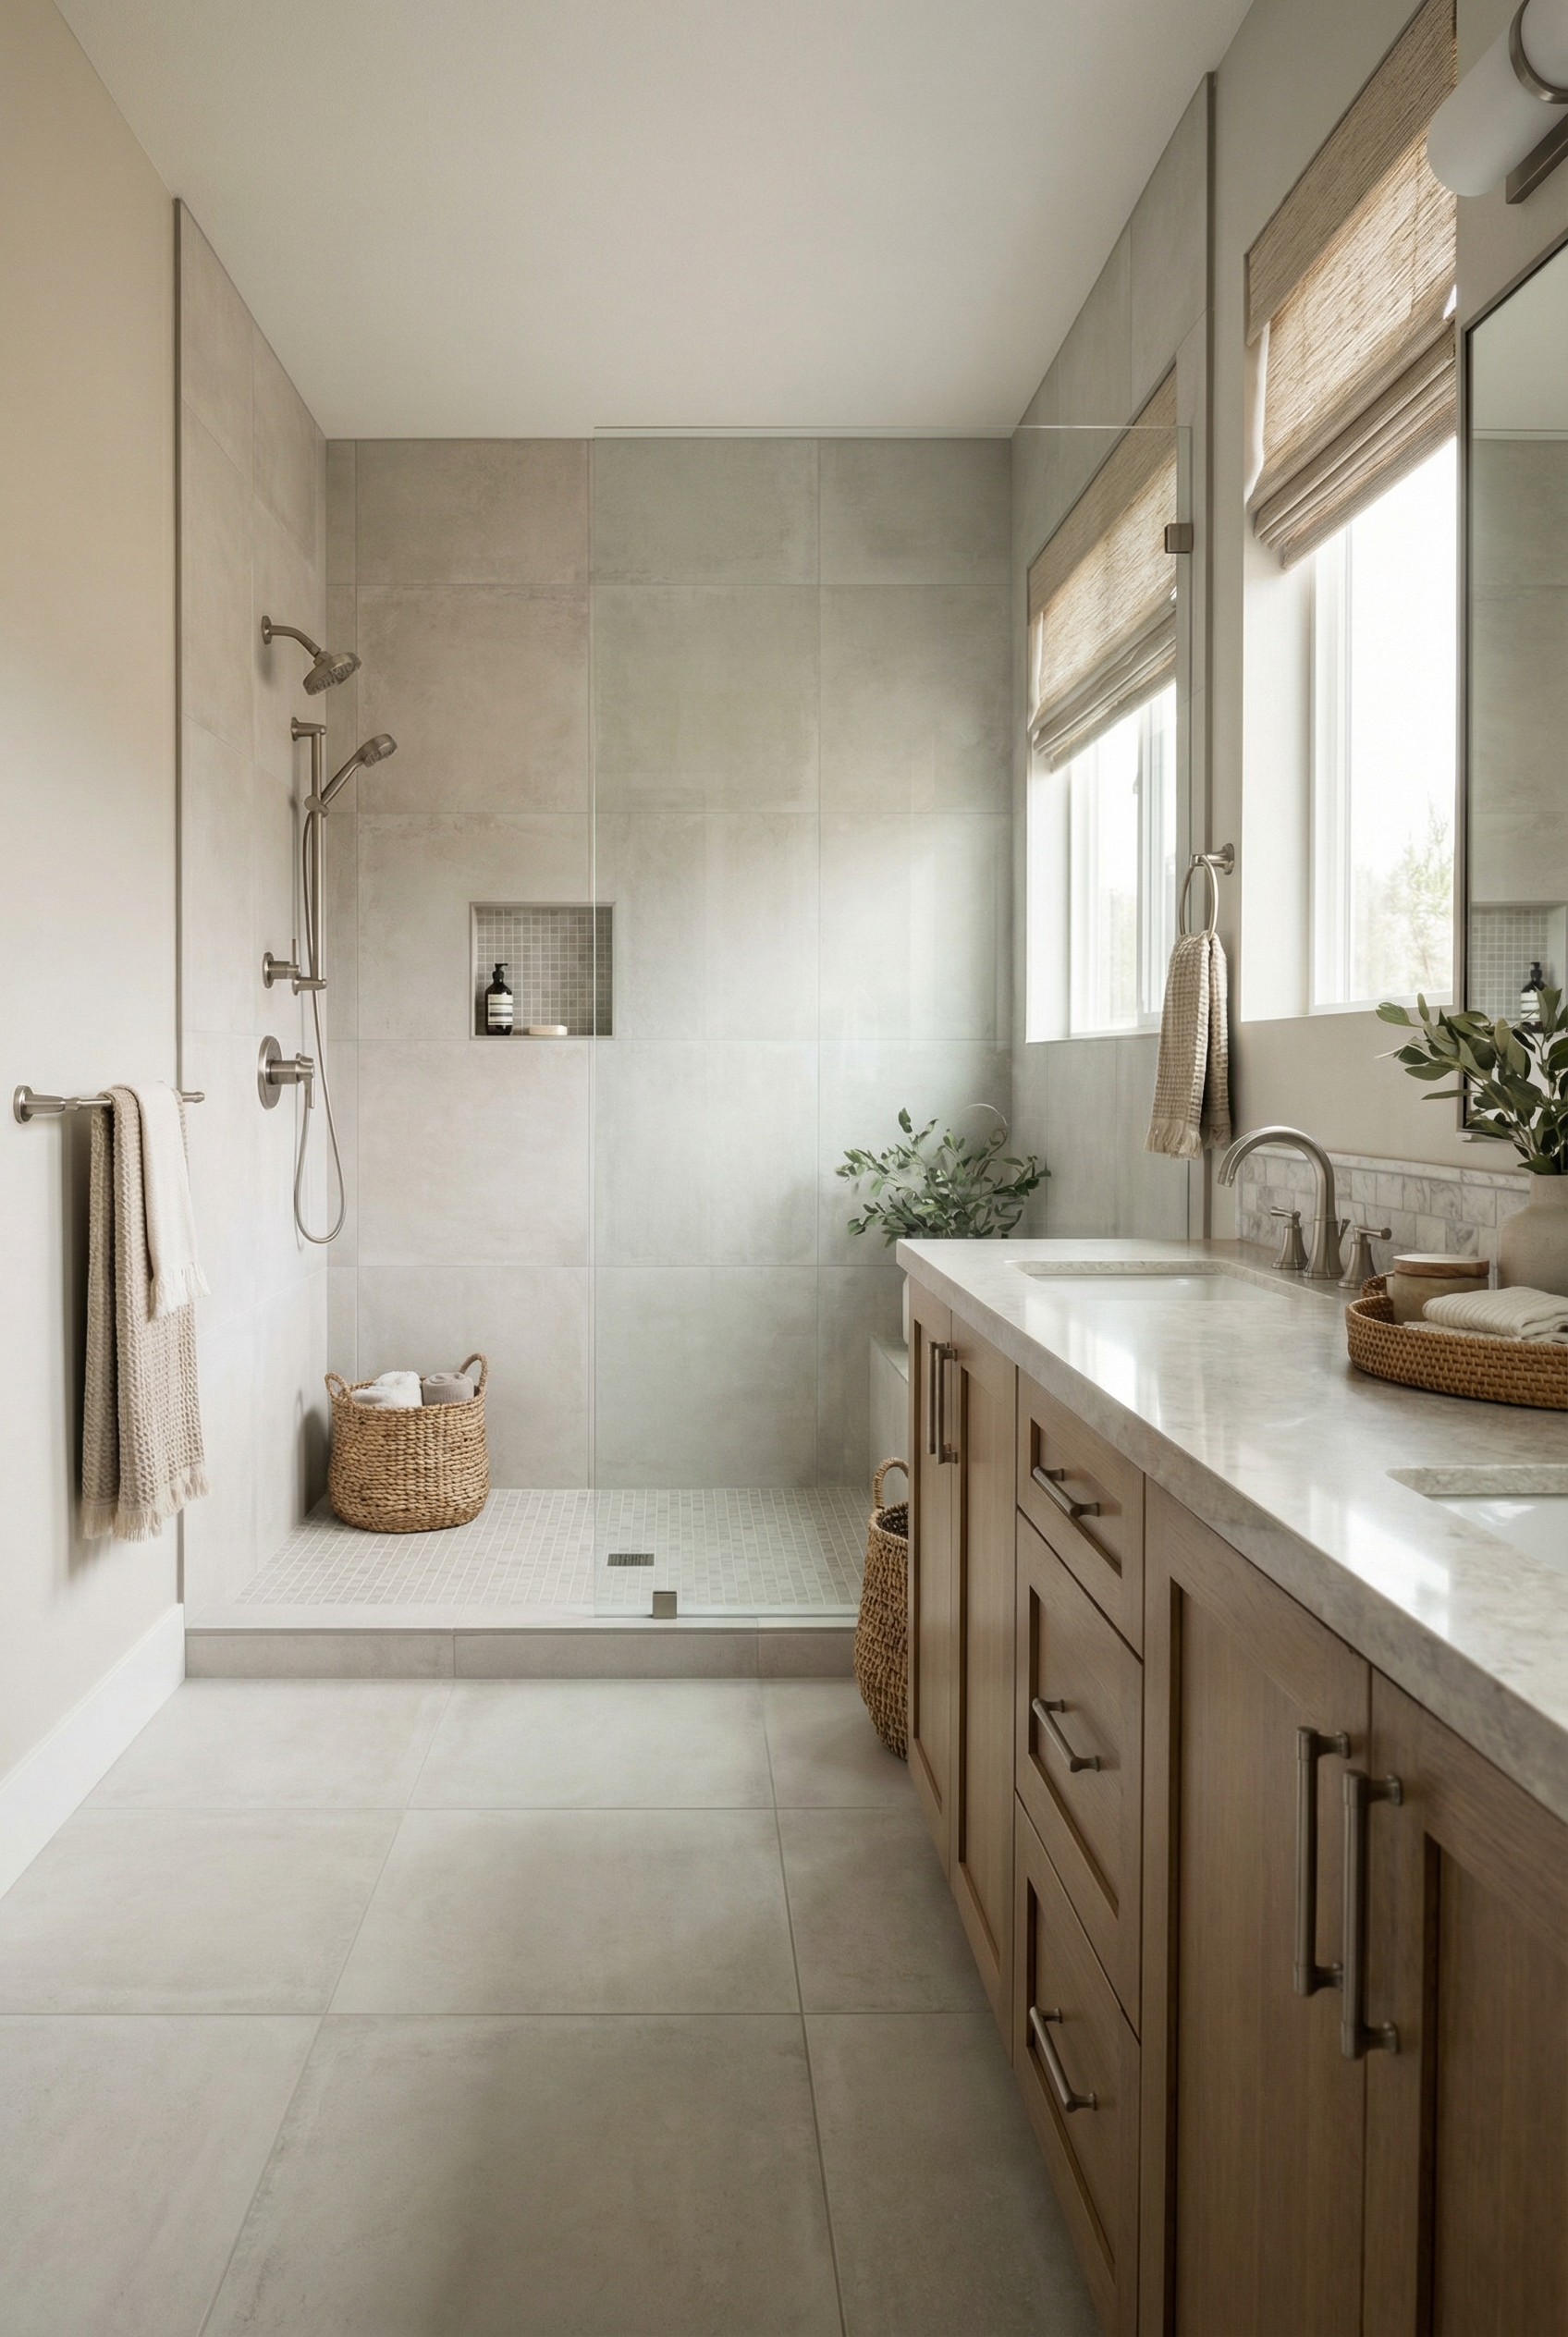
Porcelain tile offers many appearance options and is tough and low-maintenance, making it the default choice. Natural stone can look gorgeous, but it is more demanding to care for and requires more sealing than porcelain tile. A quartz counter is forgiving and easy to maintain, while marble develops a patina and a lived-in style but is more vulnerable to etching and staining than quartz.
Brass has a soft appearance and shows fewer water spots. Matte black metal looks graphic and modern, while brushed nickel and chrome also have a soft appearance with lower water-spot visibility. Limit the room to two metal families at most. Larger tiles reduce grout lines, support easier cleaning, and can make bathrooms feel calmer; avoid using tiny mosaics on every wall and floor, and reserve them for special spots. In a guest bath or hall bathroom, scale down the same material logic. This approach can also work for a future remodel.